HP 2200C HP Scanjet 2200C Scanner - Setup
HP 2200C - ScanJet - Flatbed Scanner Manual
 |
UPC - 725184623233
View all HP 2200C manuals
Add to My Manuals
Save this manual to your list of manuals |
HP 2200C manual content summary:
- HP 2200C | HP Scanjet 2200C Scanner - Setup - Page 1
and then click HP PrecisionScan LTX to open the software and scan manually. 6 Find help and support • For help using your HP ScanJet scanner, open the HP PrecisionScan LTX software and click Help. • For installation help, support, and specifications either: - click HP Online Support Supplement from
-
 1
1
 |
 |
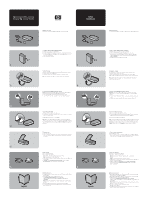
Setup
Instalación
hp
scanjet 2200c scanner
Escáner
hp
Scanjet 2200c
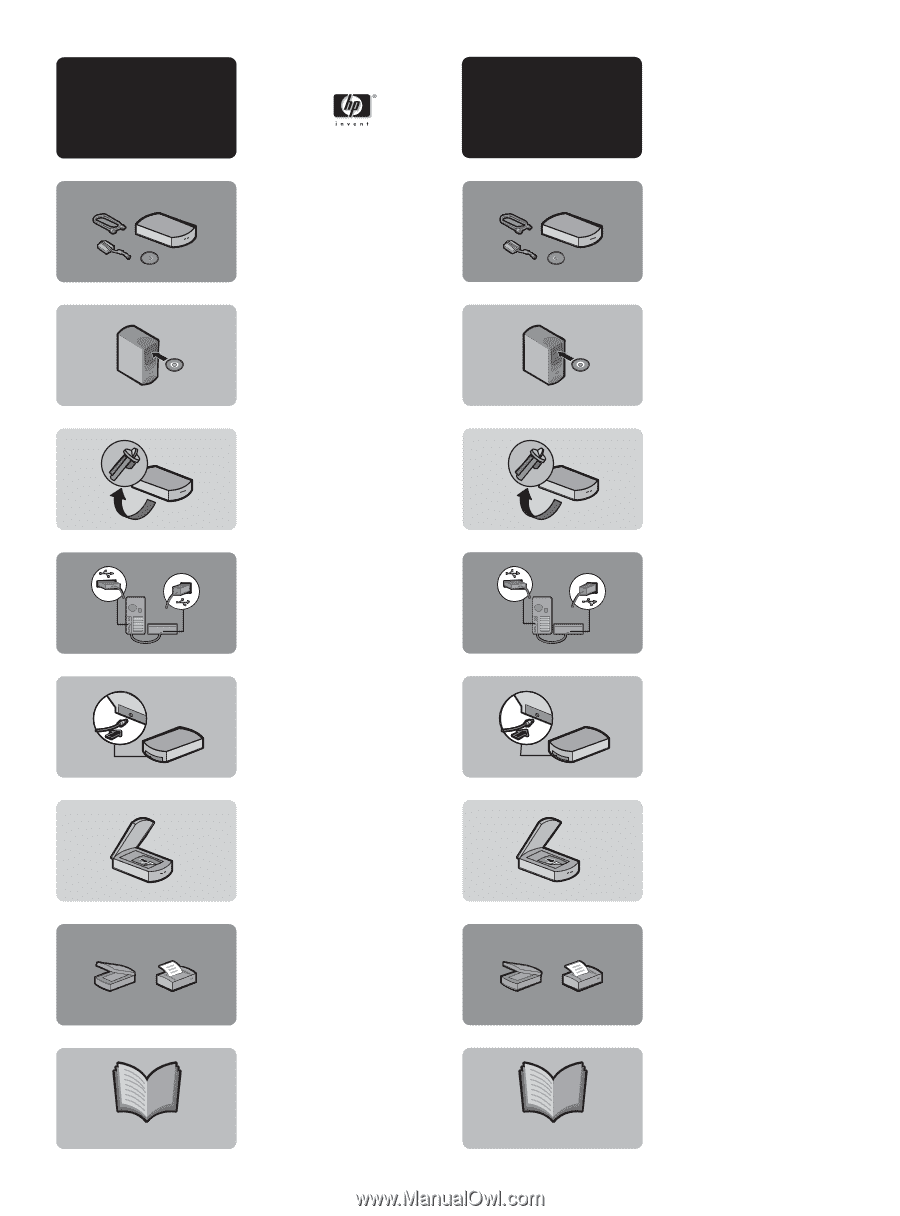
2. Unlock the scanner
Unlock the scanner by removing the plastic key from the bottom of the scanner.
a. Turn the scanner so the bottom is up.
b. Turn the green key to the left 1/4 turn and remove it from the scanner.
Note:
Store the key in a safe place to re-lock the scanner if it is transported.
3. Connect the scanner (AFTER installing the software)
Caution:
Only use the power supply, cables, and accessories supplied with this
equipment or expressly approved by Hewlett-Packard Company.
a. Connect the USB cable to the USB port on the back of the scanner.
b. Connect the other end of the USB cable to one of the USB ports on your PC.
4. Connect the power supply
a. Connect the power supply to the scanner.
b. Plug the power cord into an electrical outlet. This turns on power to the scanner
(there is no on/off switch).
Congratulations! Your scanner is now installed.
Note:
When your computer detects new hardware, you might see a message
indicating a file was not found. To resolve this message, click
Browse
in the dialog
box, locate the CD-ROM drive, and then click
OK.
Click
OK
again to close the
dialog box.
5. Before you scan
a. Open the scanner lid.
b. Place the item to be scanned face-down on the scanner glass. The item must be
centered on the glass, with the top of the graphic or text closest to the front of
the scanner.
Setting up your scanner
Your scanner comes with a CD-ROM, a USB cable, and a power supply.
6. Begin scanning
Choose one of the following:
• Press a button on the scanner:
Scan:
Starts the HP scanning software and scans your item.
Copy:
Scans and prints a copy of your item.
• Double-click the scanner icon on the Windows desktop to open the software and
scan manually.
• Click
Start
, point to
Programs
,
HP PrecisionScan LTX
, and then click
HP
PrecisionScan LTX
to open the software and scan manually.
Find help and support
• For help using your HP ScanJet scanner, open the HP PrecisionScan LTX software
and click
Help.
•
For installation help, support, and specifications either:
- click
HP Online Support Supplement
from the Help menu.
- open the folder for your language on the CD-ROM and double-click
hpscanjt.hlp.
Note:
The Support Supplement also contains warranty, service, and regulatory
information.
• For technical support and drivers, go to www.hp.com/go/cposupport
• For scanning ideas, tips, and product demonstrations, visit the HP Web site at
www.scanjet.hp.com
1. Install the software (BEFORE installing the hardware)
a. Quit all open programs (except Windows).
b. Insert the CD-ROM. If the installation program does not start automatically, open
the Windows
Start
menu, click
Run
, and then type
x:setup.exe
(where x is the
letter of the CD-ROM drive).
c. Follow the directions onscreen.
2. Desbloquee el escáner
Para desbloquear el escáner, retire la llave de bloqueo de plástico que se
encuentra en la parte inferior del escáner.
a. Dé la vuelta al escáner de manera que la parte inferior quede arriba.
b. Gire la llave verde hacia la izquierda un cuarto de vuelta y retírela del escáner.
Nota:
guarde la llave en un lugar seguro para poder bloquear el escáner de
nuevo si tiene que transportarlo.
3. Conecte el escáner (DESPUÉS de instalar el software)
Precaución:
utilice sólo el cable de alimentación, los cables y los accesorios
suministrados con el equipo o aprobados explícitamente por Hewlett-Packard
Company.
a. Conecte el cable USB al puerto USB que se encuentra en la parte posterior del
escáner.
b. Conecte el otro extremo del cable USB a uno de los puertos USB del PC.
4. Conecte el cable de alimentación
a. Conecte el cable de alimentación al escáner.
b. Conecte el cable de alimentación a un enchufe eléctrico. Con esto el escáner
quedará encendido (no hay interruptor de encendido/apagado).
¡Enhorabuena! El escáner ya está instalado.
Nota:
cuando el PC detecta nuevo hardware, es posible que aparezca un mensaje
indicando que no se puede encontrar un archivo. Para solucionarlo, haga clic en
Examinar
en el cuadro de diálogo, busque la unidad de CD-ROM y haga clic en
Aceptar
.
Vuelva a hacer clic en
Aceptar
para cerrar el cuadro de diálogo.
5. Antes de realizar una exploración
a. Abra la tapa del escáner.
b. Sitúe el elemento que desee explorar boca abajo sobre el cristal de originales.
Debe centrar el elemento sobre el cristal colocando la parte superior del gráfico
o del texto lo más cerca posible de la parte frontal del escáner.
Instalación del escáner
Con el escáner encontrará un CD-ROM, un cable USB y un cable de alimentación.
6. Realice una exploración
Elija uno de los siguientes procedimientos:
• Pulse uno de estos botones del escaner:
Explorar:
se iniciará el software de exploración HP y se explorará el
elemento.
Copiar:
se iniciará el imprimirá una copia del elemento.
• Haga doble clic en el icono del escáner del escritorio de Windows para abrir el
software y explorar manualmente.
• Haga clic en
Inicio
, señale
Programas
y después
HP PrecisionScan LTX
. A
continuación, haga clic en
HP PrecisionScan LTX
para abrir el software y
explorar manualmente.
Ayuda y asistencia técnica
• Para obtener ayuda sobre cómo utilizar el escáner HP Scanjet, abra el software
HP PrecisionScan LTX y haga clic en
Ayuda
.
• Para obtener ayuda sobre la instalación, asistencia técnica o información sobre
las especificaciones, utilice una de estas dos opciones:
- Haga clic en el
suplemento de asistencia técnica
del menú
Ayuda
.
- Abra la carpeta correspondiente a su idioma del CD-ROM y haga doble clic en
hpscanjt.hlp
.
Nota:
el suplemento de asistencia técnica también contiene información sobre la
garantía, los servicios y las normativas.
• Para obtener asistencia técnica y controladores, visite
www.hp.com/cposupport/es
• Para obtener ideas, sugerencias y demostraciones del producto, visite la página
de Internet de HP en www.scanjet.hp.com
1. Instale el software (ANTES de instalar el hardware)
a. Salga de todos los programas (excepto de Windows).
b. Inserte el CD-ROM. Si el programa de instalación no se ejecuta
automáticamente, abra el menú
Inicio
de Windows, haga clic en
Ejecutar
y
escriba
x:setup.exe
(dónde x representa representa la letra asignada a la
unidad de CD-ROM).
c. Siga las instrucciones que aparecen en pantalla.
1
2
3
4
5
6
helpful
1
3
4
5
6
Ayuda
2