HP 4100n HP LaserJet 4100 Series - User Guide - Page 132
Light print (partial Specks, ECONOMODE, TONER DENSITY
 |
View all HP 4100n manuals
Add to My Manuals
Save this manual to your list of manuals |
Page 132 highlights
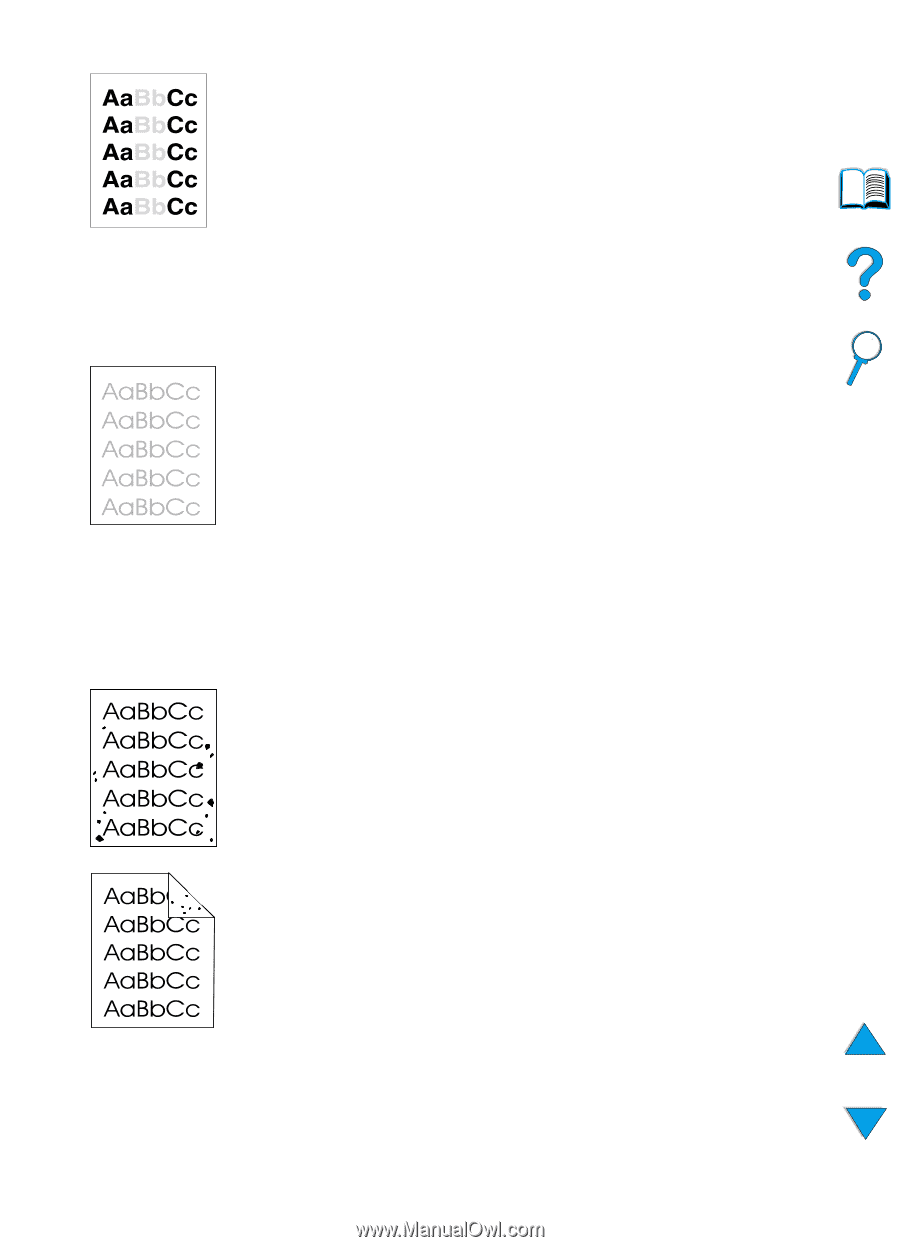
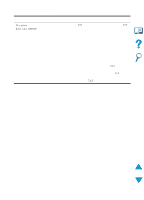
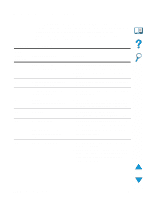
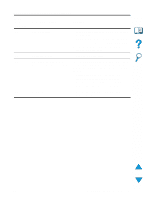
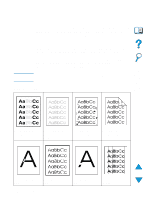
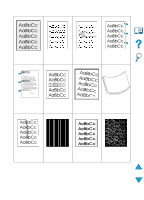
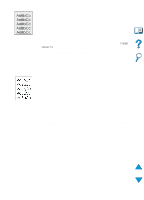
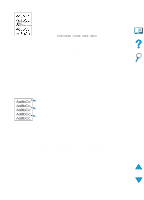
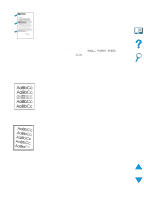
Light print (partial page) 1 The toner cartridge might be low. Replace the toner cartridge. 2 Maintenance might be due. Check this by printing a copy of the supplies status page (see "Supplies status page" on page 154). If maintenance is due, order and install the printer maintenance kit (see "Performing preventative maintenance" on page 93). 3 The toner cartridge might be almost empty. Replace the toner cartridge. Light print (entire page) 1 Make sure that EconoMode is turned off (see ECONOMODE in "Print Quality Menu" on page 217). 2 At the printer control panel, use the Print Quality Menu to increase the toner density setting (see TONER DENSITY in "Print Quality Menu" on page 217)). 3 Try using a different type of paper. 4 The toner cartridge might be almost empty. Replace the toner cartridge. Specks Specks might appear on a page after a jam has been cleared. 1 Print a few more pages to see if the problem corrects itself. 2 If specks occur frequently, set your printer up to automatically run a cleaning page (see "Running the cleaning page automatically" on page 92). 3 Clean the inside of the printer (see "Cleaning the printer" on page 88) and run a manual cleaning page to clean the fuser (see "Running the cleaning page manually" on page 91). 4 Try using a different type of paper. 5 Check for toner cartridge leaks. If the toner cartridge is leaking, replace it. 130 Chapter 4 - Problem solving EN
-
 1
1 -
2
-
3
-
4
-
5
-
6
-
7
-
8
-
9
-
10
-
11
-
12
-
13
-
14
-
15
-
16
-
17
-
18
-
19
-
20
-
21
-
22
-
23
-
24
-
25
-
26
-
27
-
28
-
29
-
30
-
31
-
32
-
33
-
34
-
35
-
36
-
37
-
38
-
39
-
40
-
41
-
42
-
43
-
44
-
45
-
46
-
47
-
48
-
49
-
50
-
51
-
52
-
53
-
54
-
55
-
56
-
57
-
58
-
59
-
60
-
61
-
62
-
63
-
64
-
65
-
66
-
67
-
68
-
69
-
70
-
71
-
72
-
73
-
74
-
75
-
76
-
77
-
78
-
79
-
80
-
81
-
82
-
83
-
84
-
85
-
86
-
87
-
88
-
89
-
90
-
91
-
92
-
93
-
94
-
95
-
96
-
97
-
98
-
99
-
100
-
101
-
102
-
103
-
104
-
105
-
106
-
107
-
108
-
109
-
110
-
111
-
112
-
113
-
114
-
115
-
116
-
117
-
118
-
119
-
120
-
121
-
122
-
123
-
124
-
125
-
126
-
 127
127 -
 128
128 -
 129
129 -
 130
130 -
 131
131 -
 132
132 -
 133
133 -
 134
134 -
 135
135 -
 136
136 -
 137
137 -
138
-
139
-
140
-
141
-
142
-
143
-
144
-
145
-
146
-
147
-
148
-
149
-
150
-
151
-
152
-
153
-
154
-
155
-
156
-
157
-
158
-
159
-
160
-
161
-
162
-
163
-
164
-
165
-
166
-
167
-
168
-
169
-
170
-
171
-
172
-
173
-
174
-
175
-
176
-
177
-
178
-
179
-
180
-
181
-
182
-
183
-
184
-
185
-
186
-
187
-
188
-
189
-
190
-
191
-
192
-
193
-
194
-
195
-
196
-
197
-
198
-
199
-
200
-
201
-
202
-
203
-
204
-
205
-
206
-
207
-
208
-
209
-
210
-
211
-
212
-
213
-
214
-
215
-
216
-
217
-
218
-
219
-
220
-
221
-
222
-
223
-
224
-
225
-
226
-
227
-
228
-
229
-
230
-
231
-
232
-
233
-
234
-
235
-
236
-
237
-
238
-
239
-
240
-
241
-
242
-
243
-
244
-
245
-
246
-
247
-
248
-
249
-
250
-
251
-
252
-
253
-
254
-
255
-
256
-
257
-
258
-
259
-
260
-
261
-
262
-
263
-
264
-
265
-
266
-
267
-
268
-
269
-
270
-
271
-
272
-
273
-
274
-
275
-
276
-
277
-
278
 |
 |