HP C4680 Setup Guide
HP C4680 - Photosmart All-in-One Color Inkjet Manual
 |
UPC - 884420459378
View all HP C4680 manuals
Add to My Manuals
Save this manual to your list of manuals |
HP C4680 manual content summary:
- HP C4680 | Setup Guide - Page 1
HP Photosmart C4600 All-in-One series EN Start Here PT Commencez ici FR Commencez ici até ser solicitado na Etapa 11. AR USB .11 2a b c EN a. Lower both the paper tray and the print cartridge door. b. Remove all packing material and protective film from the device. If there is a - HP C4680 | Setup Guide - Page 2
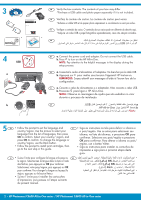
Back button. • Follow the prompt to install print cartridges, then go to the next step in this guide. • Siga as instruções na tela installer les cartouches d'impression, puis passez à l'étape suivante du présent manuel. OK OK Back 2 • HP Photosmart C4600 All-in-One series / HP Photosmart - HP C4680 | Setup Guide - Page 3
print cartridge door. Make sure the printer carriage moves to the center. If it does not move to the center, turn the device off, then turn it back on again. IMPORTANT: The device must be turned on to insert cartridges HP Photosmart C4600 All-in-One series / HP Photosmart C4600 All-in - HP C4680 | Setup Guide - Page 4
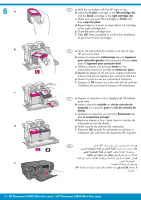
in firmly until they snap into place. d. Repeat steps a, b and c to insert black ink cartridge in the right cartridge slot. e. Close the print cartridge door. f. Press OK when prompted to confirm the installation of genuine HP print cartridges. FR a. Tenez les cartouches de manière à ce que le logo - HP C4680 | Setup Guide - Page 5
and then load plain white paper. Press OK. FR Déployez la rallonge du bac et chargez du papier blanc ordinaire. Appuyez sur OK. PT Retire o extensor da bandeja e coloque papel branco simples. Pressione OK. AR OK 10 a b EN a. Follow the instructions on the display to print the alignment page - HP C4680 | Setup Guide - Page 6
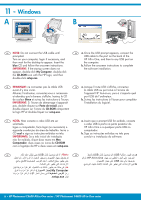
prompt appears, connect the USB cable to the port on the back of the HP All-in-One, and then to any USB port on the computer. b. Follow the onscreen instructions to complete the software installation. FR REMARQUE: ne connectez pas le câble USB avant d'y être invité. Allumez l'ordinateur, connectez - HP C4680 | Setup Guide - Page 7
11 - Mac A B EN Connect the USB cable to the port on the back of EN a. Insert the blue CD. the HP All-in-One, and then to any USB port on the b. Double-click the HP Photosmart CD icon on the computer. desktop. c. Double-click the HP Installer icon. Follow the onscreen instructions. d. - HP C4680 | Setup Guide - Page 8
EN Troubleshooting FR Résolution des problèmes PT Solução de problemas AR www.hp.com/support EN Problem: (Windows) The Microsoft Add Hardware screen appears. Action: Cancel all screens. Unplug the USB cable, and then insert the blue HP All-in-One CD. FR Problème: (Windows) L'écran Ajout de
-
 1
1 -
 2
2 -
 3
3 -
 4
4 -
 5
5 -
 6
6 -
 7
7 -
8
 |
 |
2
1
*Q8418-90031*
*Q8418-90031*
*Q8418-90031*
HP Photosmart C4600 All-in-One series
.
ﺍﻟﻄﺒﺎﻋﺔ
ﺧﺮﻃﻮﺷﺔ
ﻭﺑﺎﺏ
ﺍﻟﻮﺭﻕ
ﺩﺭﺝ
ﻣﻦ
ٍ
ﻛﻞ
ﺑﺨﻔﺾ
ﻗﻢ
ﻭﺟﻮﺩ
ﺣﺎﻟﺔ
ﻓﻲ
.
ﺍﻟﺠﻬﺎﺯ
ﻣﻦ
ﺍﻟﻮﺍﻗﻲ
ﻭﺍﻟﻐﺸﺎء
ﺍﻟﺘﻐﻠﻴﻒ
ﻣﻮﺍﺩ
ﻛﺎﻓﺔ
ﺑﺈﺯﺍﻟﺔ
ﻗﻢ
.
ﺑﺈﺯﺍﻟﺘﻪ
ﻗﻢ
ﺍﻟﻤﻠﻮﻧﺔ،
ﺍﻟﺮﺳﻮﻣﻴﺔ
ﺍﻟﺸﺎﺷﺔ
ﻋﻠﻰ
ﻣﻠﺼﻖ
.
ﺍﻟﻄﺒﺎﻋﺔ
ﺧﺮﻃﻮﺷﺔ
ﺑﺎﺏ
ﺃﻏﻠﻖ
.a
.b
.c
ﻫﻨﺎ
ﺍﺑﺪﺃ
ﻓﻲ
ﺑﺬﻟﻚ
ﻣﻄﺎﻟﺒﺘﻚ
ﺗﺘﻢ
ﺃﻥ
ﺇﻟﻰ
USB
ﻛﺎﺑﻞ
ﺑﺘﻮﺻﻴﻞ
ﺗﻘﻢ
ﻻ
:
ﻫﺎﻡ
.
11
ﺍﻟﺨﻄﻮﺓ
Abaixe a bandeja de papel e a porta dos
cartuchos de impressão.
Remova todo o material de embalagem e o
fi
lme
protetor do dispositivo. Se houver um adesivo no
visor grá
fi
co colorido, remova-o.
Feche a porta do cartucho de impressão.
a.
b.
c.
Commencez ici
IMPORTANTE:
Não conecte o cabo USB até ser solicitado na
Etapa 11
.
Commencez ici
Abaissez le bac d’alimentation du papier
et ouvrez la porte d’accès aux cartouches
d’impression.
Retirez tout matériel d’emballage ou de
protection du périphérique. Si un autocollant
est placé sur l’écran graphique couleur, ôtez-le.
Fermez la porte d’accès aux cartouches
d’impression.
a.
b.
c.
IMPORTANT :
Ne connectez pas le câble USB
avant d’y être invité à
l’Étape 11
.
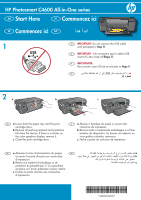
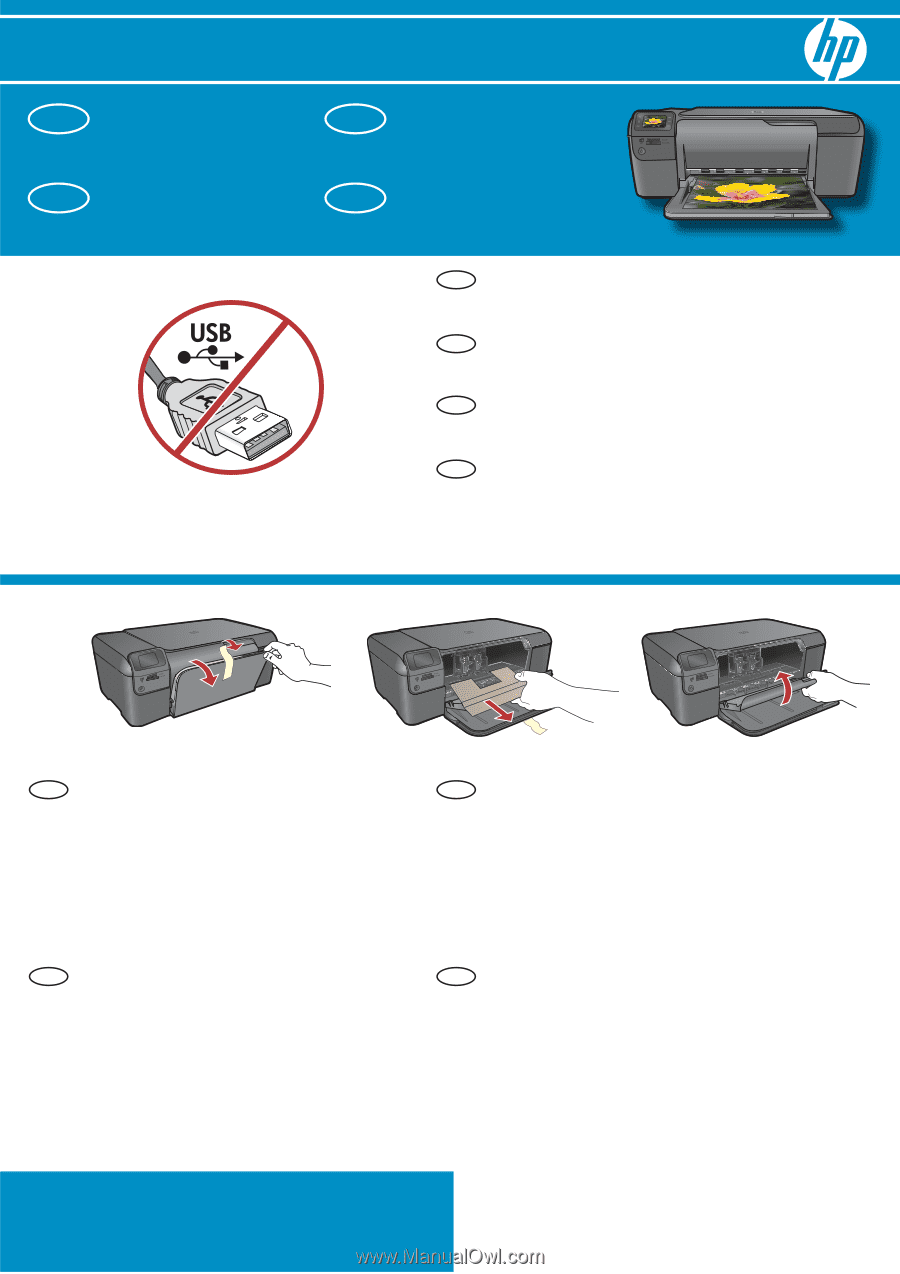
Start Here
Lower both the paper tray and the print
cartridge door.
Remove all packing material and protective
fi
lm from the device. If there is a sticker on
the color graphics display, remove it.
Close the print cartridge door.
a.
b.
c.
IMPORTANT:
Do not connect the USB cable
until prompted in
Step 11
.
AR
AR
AR
PT
PT
EN
EN
FR
FR
PT
EN
FR
a
b
c