HP Dc5750 HP Backup and Recovery Manager - User Guide (Version 1.0) - Page 10
Saving Backups to Network or CD/DVD
 |
UPC - 883585056446
View all HP Dc5750 manuals
Add to My Manuals
Save this manual to your list of manuals |
Page 10 highlights
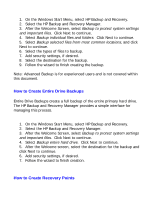
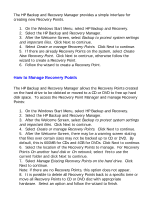
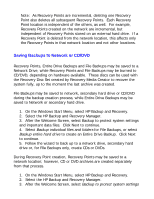
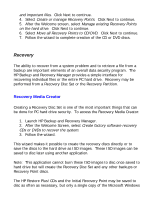
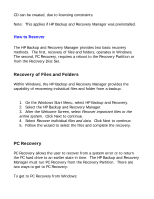
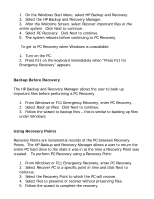
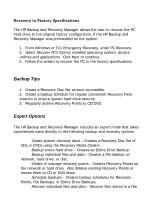
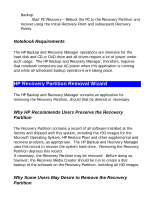
Note: As Recovery Points are incremental, deleting one Recovery Point also deletes all subsequent Recovery Points. Each Recovery Point location is independent of the others, as well. For example, Recovery Points created on the network are incremental, but independent of Recovery Points stored on an external hard drive. If a Recovery Point is deleted from the network location, this affects only the Recovery Points in that network location and not other locations. Saving Backups to Network or CD/DVD Recovery Points, Entire Drive Backups and File Backups may be saved to a Network Drive, while Recovery Points and File Backups may be burned to CD/DVD, depending on hardware available. These discs can be used with the Recovery Disc Set created by Recovery Media Creator to recover the system fully, up to the moment the last archive was created. File Backups may be saved to network, secondary hard drive or CD/DVD during the backup creation process, while Entire Drive Backups may be saved to Network or secondary hard drive. 1. On the Windows Start Menu, select HP Backup and Recovery. 2. Select the HP Backup and Recovery Manager. 3. After the Welcome Screen, select Backup to protect system settings and important data files. Click Next to continue. 4. Select Backup individual files and folders for File Backups, or select Backup entire hard drive to create an Entire Drive Backup. Click Next to continue. 5. Follow the wizard to back up to a network drive, secondary hard drive or, for File Backups only, create CDs or DVDs. During Recovery Point creation, Recovery Points may be saved to a network location; however, CD or DVD archives are created separately from that process. 1. On the Windows Start Menu, select HP Backup and Recovery. 2. Select the HP Backup and Recovery Manager. 3. After the Welcome Screen, select Backup to protect system settings
-
 1
1 -
2
-
3
-
4
-
 5
5 -
 6
6 -
 7
7 -
 8
8 -
 9
9 -
 10
10 -
 11
11 -
 12
12 -
 13
13 -
 14
14 -
 15
15 -
16
-
17
-
18
 |
 |