HP Deskjet 3050A User Guide - Page 27
application. Click Start > Programs >HP > HP Deskjet 3050A J611 series >HP Scan
 |
View all HP Deskjet 3050A manuals
Add to My Manuals
Save this manual to your list of manuals |
Page 27 highlights
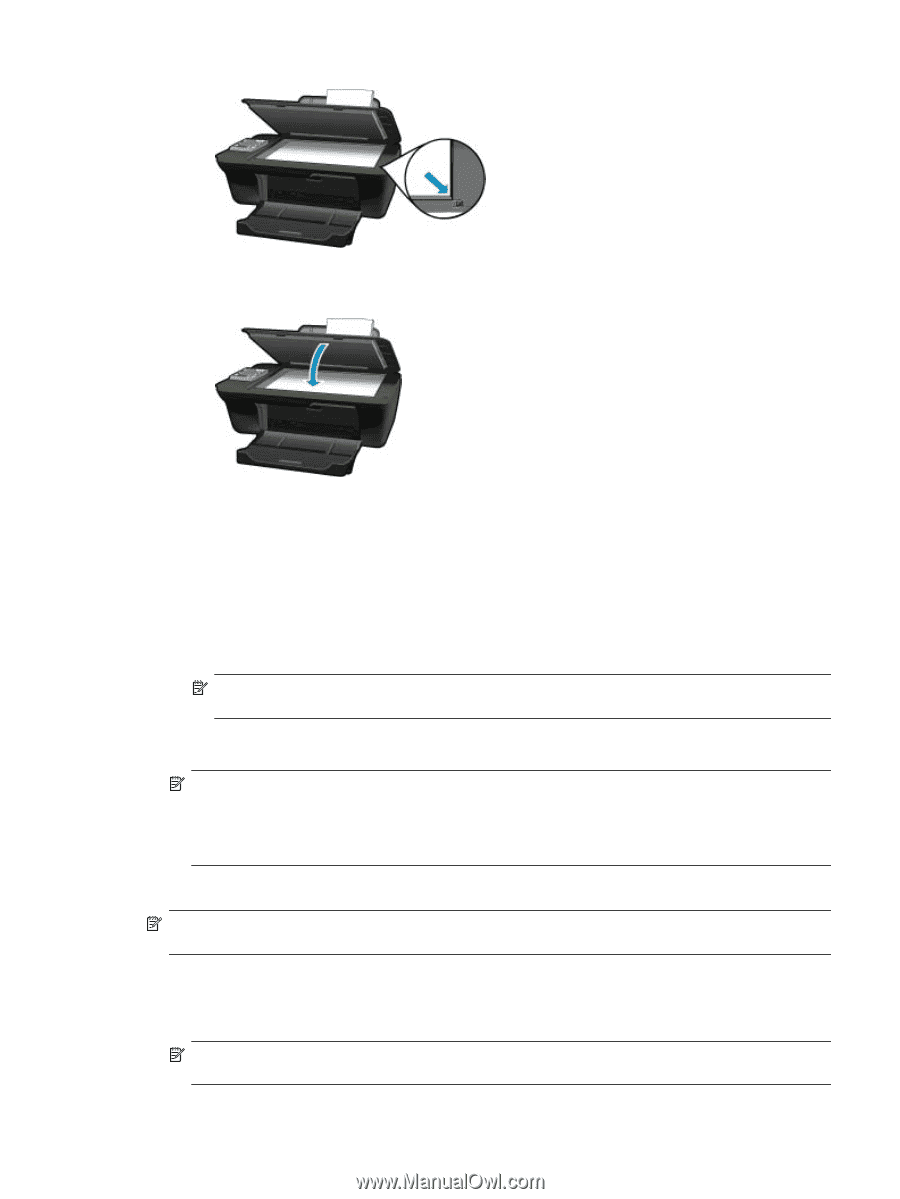
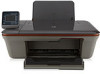
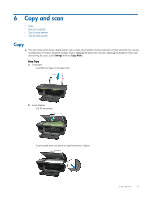
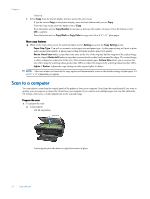
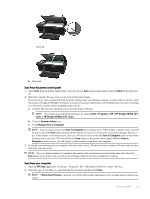
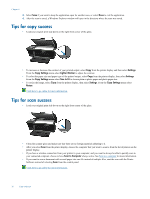
Close lid. b. Start scan. Scan from the printer control panel 1. Select Scan from the printer display menu. If you do not see Scan on the printer display press the Back button until you do. 2. Select the computer that you want to scan to from the printer display. If you do not see your computer listed on the printer display make sure that your computer is connected to the printer either wirelessly or through a USB cable. If you have a wireless connection and you have confirmed that the connection is working, you will need to enable wireless scanning in the software. a. Click the HP All-in-One desktop icon to open the Printer Software. NOTE: You can also access the Printer Software by clicking Start > Programs > HP > HP Deskjet 3050A J611 series > HP Deskjet 3050A J611 series b. Click the Scanner Actions icon. c. Click Manage Scan to Computer. NOTE: You can choose to keep the Scan to Computer option always active. If this feature is always active, you will be able to select the Scan option from the printer display to scan to your wirelessly connected computers that are in use. If this feature is not always active, then you will need to first activate the Scan to Computer option in the Printer Software before you scan. This only affects the Scan button on the printer control panel. Whether Scan to Computer is active or not, you will always be able to make a scan from your computer 3. Locate the scanned image on your computer. After the scan is saved, a Windows Explorer window will open in the directory where the scan was saved. NOTE: There is a limited number of computers that can have the scan function activated at the same time. Press the Scan button on the printer and you will see the computers that are currently available for scanning. Scan from your computer 1. Open the HP Scan application. Click Start > Programs >HP > HP Deskjet 3050A J611 series >HP Scan 2. Select the type of scan that you want from the shortcut menu and then click Scan. NOTE: If Show Scan Preview is selected, you will be able to make adjustments to the scanned image in the preview screen. Scan to a computer 25
-
 1
1 -
2
-
3
-
4
-
5
-
6
-
7
-
8
-
9
-
10
-
11
-
12
-
13
-
14
-
15
-
16
-
17
-
18
-
19
-
20
-
21
-
 22
22 -
 23
23 -
 24
24 -
 25
25 -
 26
26 -
 27
27 -
 28
28 -
 29
29 -
 30
30 -
 31
31 -
 32
32 -
33
-
34
-
35
-
36
-
37
-
38
-
39
-
40
-
41
-
42
-
43
-
44
-
45
-
46
-
47
-
48
-
49
-
50
-
51
-
52
-
53
-
54
-
55
-
56
-
57
-
58
 |
 |