HP Deskjet 3070A User Guide - Page 11
Print, Print photos, To print a photo on photo paper, Properties, Options, Printer Setup, Preferences - software
 |
View all HP Deskjet 3070A manuals
Add to My Manuals
Save this manual to your list of manuals |
Page 11 highlights
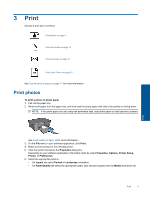
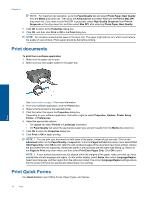
3 Print Choose a print job to continue. Print photos on page 9 Print documents on page 10 Print envelopes on page 11 Print Quick Forms on page 10 See Tips for print success on page 11 for more information. Print photos To print a photo on photo paper 1. Pull out the paper tray. 2. Remove all paper from the paper tray, and then load the photo paper with side to be printed on facing down. NOTE: If the photo paper you are using has perforated tabs, load photo paper so that tabs face outward. Print See Load media on page 18 for more information. 3. On the File menu in your software application, click Print. 4. Make sure the product is the selected printer. 5. Click the button that opens the Properties dialog box. Depending on your software application, this button might be called Properties, Options, Printer Setup, Printer, or Preferences. 6. Select the appropriate options. • On Layout tab select Portrait or Landscape orientation. • On Paper/Quality tab select the appropriate paper type and print quality from the Media drop-down list. Print 9
-
 1
1 -
2
-
3
-
4
-
5
-
 6
6 -
 7
7 -
 8
8 -
 9
9 -
 10
10 -
 11
11 -
 12
12 -
 13
13 -
 14
14 -
 15
15 -
 16
16 -
17
-
18
-
19
-
20
-
21
-
22
-
23
-
24
-
25
-
26
-
27
-
28
-
29
-
30
-
31
-
32
-
33
-
34
-
35
-
36
-
37
-
38
-
39
-
40
-
41
-
42
-
43
-
44
-
45
-
46
-
47
-
48
-
49
-
50
-
51
-
52
-
53
-
54
-
55
-
56
-
57
-
58
-
59
-
60
 |
 |