HP G4050 User Guide - Page 18
Change scan settings, What are you scanning?, Document, Picture, Scan to, E-mail, Show Preview, Accept - solution center
 |
UPC - 882780686793
View all HP G4050 manuals
Add to My Manuals
Save this manual to your list of manuals |
Page 18 highlights
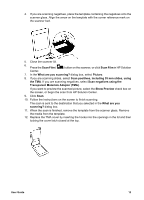
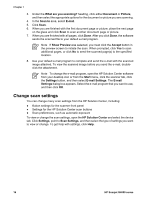
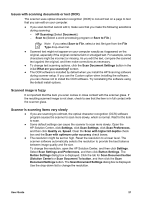
Chapter 1 3. Under the What are you scanning? heading, click either Document or Picture, and then select the appropriate options for the document or picture you are scanning. 4. In the Scan to area, select E-mail. 5. Click Scan. 6. When you are finished with the first document page or picture, place the next page on the glass and click Scan to scan another document page or picture. 7. When you are finished with all pages, click Done. After you click Done, the software sends the scanned file to your default e-mail program. Note If Show Preview was selected, you must click the Accept button in the preview screen to initiate the scan. When prompted, click Yes to scan additional pages, or click No to send the scanned page(s) to the specified location. 8. Use your default e-mail program to complete and send the e-mail with the scanned image attached. To view the scanned image before you send the e-mail, doubleclick the attachment. Note To change the e-mail program, open the HP Solution Center software from your desktop icon or from the Start menu, click the scanner tab, click the Settings button, and then select E-mail Settings. The E-mail Settings dialog box appears. Select the e-mail program that you want to use, and then click OK. Change scan settings You can change many scan settings from the HP Solution Center, including: ● Button settings for the scanner front panel ● Settings for the HP Solution Center scan buttons ● Scan preferences, such as automatic exposure To view or change the scan settings, open the HP Solution Center and select the device tab. Click Settings, point to Scan Settings, and then select the type of settings you want to view or change. To get help with settings, click Help. 16 HP Scanjet G4000 series
-
 1
1 -
2
-
3
-
4
-
5
-
6
-
7
-
8
-
9
-
10
-
11
-
12
-
 13
13 -
 14
14 -
 15
15 -
 16
16 -
 17
17 -
 18
18 -
 19
19 -
 20
20 -
 21
21 -
 22
22 -
 23
23 -
24
-
25
-
26
-
27
-
28
 |
 |