HP J4550 User Guide - Page 112
Store printing supplies, CAUTION
 |
UPC - 883585774142
View all HP J4550 manuals
Add to My Manuals
Save this manual to your list of manuals |
Page 112 highlights
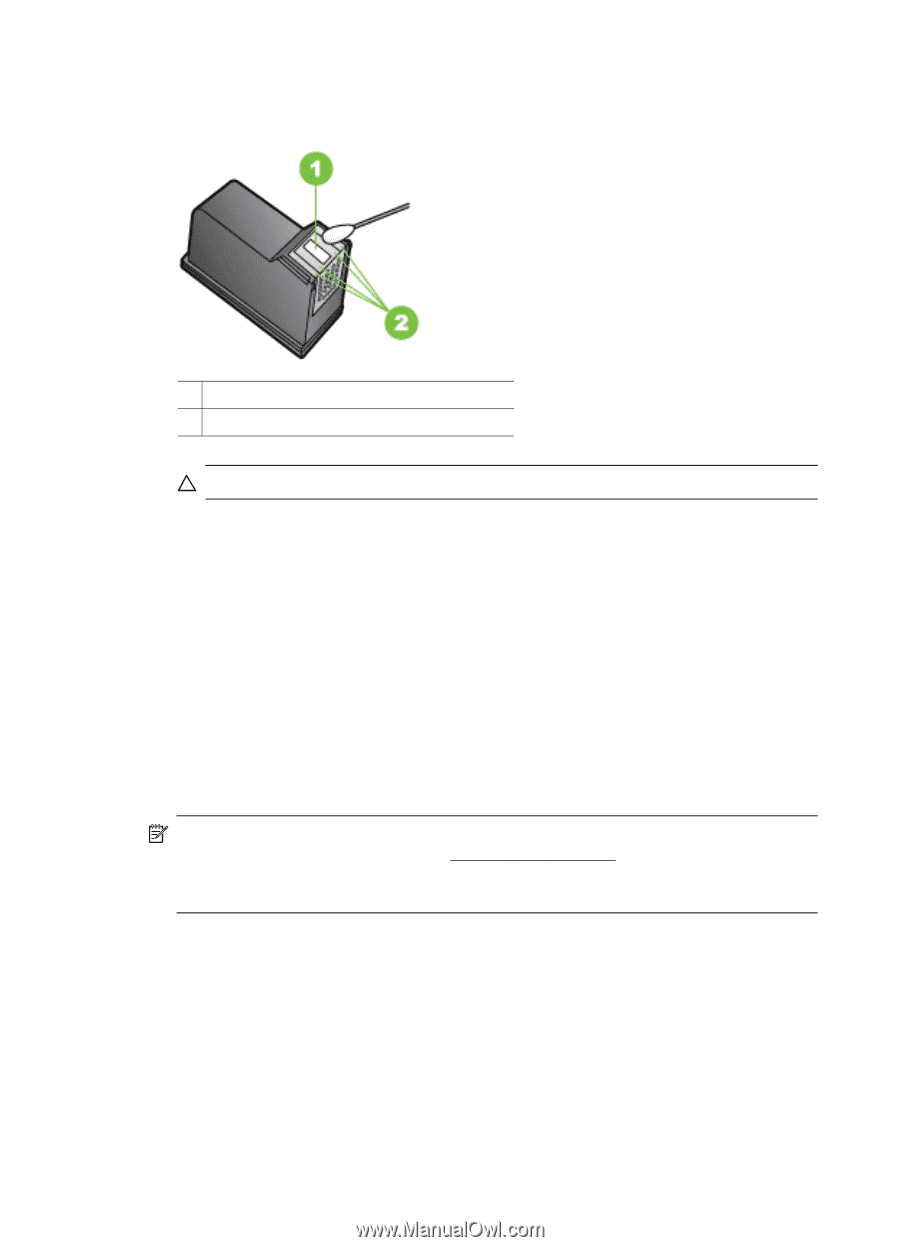
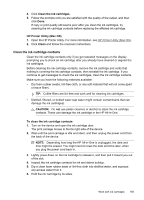
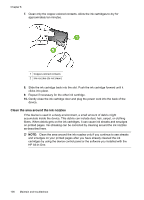
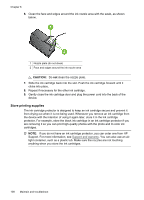
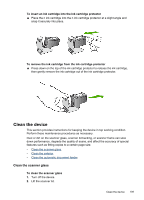
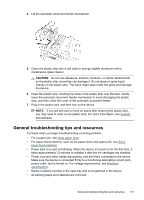
Chapter 8 6. Clean the face and edges around the ink nozzle area with the swab, as shown below. 1 Nozzle plate (do not clean) 2 Face and edges around the ink nozzle area CAUTION: Do not clean the nozzle plate. 7. Slide the ink cartridge back into the slot. Push the ink cartridge forward until it clicks into place. 8. Repeat if necessary for the other ink cartridge. 9. Gently close the ink cartridge door and plug the power cord into the back of the device. Store printing supplies The ink cartridge protector is designed to keep an ink cartridge secure and prevent it from drying out when it is not being used. Whenever you remove an ink cartridge from the device with the intention of using it again later, store it in the ink cartridge protector. For example, store the black ink cartridge in an ink cartridge protector if you are removing it so you can print high-quality photos with the photo and tri-color ink cartridges. NOTE: If you do not have an ink cartridge protector, you can order one from HP Support. For more information, see Support and warranty. You can also use an airtight container, such as a plastic tub. Make sure the nozzles are not touching anything when you store the ink cartridges. 108 Maintain and troubleshoot
-
 1
1 -
2
-
3
-
4
-
5
-
6
-
7
-
8
-
9
-
10
-
11
-
12
-
13
-
14
-
15
-
16
-
17
-
18
-
19
-
20
-
21
-
22
-
23
-
24
-
25
-
26
-
27
-
28
-
29
-
30
-
31
-
32
-
33
-
34
-
35
-
36
-
37
-
38
-
39
-
40
-
41
-
42
-
43
-
44
-
45
-
46
-
47
-
48
-
49
-
50
-
51
-
52
-
53
-
54
-
55
-
56
-
57
-
58
-
59
-
60
-
61
-
62
-
63
-
64
-
65
-
66
-
67
-
68
-
69
-
70
-
71
-
72
-
73
-
74
-
75
-
76
-
77
-
78
-
79
-
80
-
81
-
82
-
83
-
84
-
85
-
86
-
87
-
88
-
89
-
90
-
91
-
92
-
93
-
94
-
95
-
96
-
97
-
98
-
99
-
100
-
101
-
102
-
103
-
104
-
105
-
106
-
 107
107 -
 108
108 -
 109
109 -
 110
110 -
 111
111 -
 112
112 -
 113
113 -
 114
114 -
 115
115 -
 116
116 -
 117
117 -
118
-
119
-
120
-
121
-
122
-
123
-
124
-
125
-
126
-
127
-
128
-
129
-
130
-
131
-
132
-
133
-
134
-
135
-
136
-
137
-
138
-
139
-
140
-
141
-
142
-
143
-
144
-
145
-
146
-
147
-
148
-
149
-
150
-
151
-
152
-
153
-
154
-
155
-
156
-
157
-
158
-
159
-
160
-
161
-
162
-
163
-
164
-
165
-
166
-
167
-
168
-
169
-
170
-
171
-
172
-
173
-
174
-
175
-
176
-
177
-
178
-
179
-
180
-
181
-
182
 |
 |