HP LaserJet 9040/9050 Service Manual - Page 229
User- and service-level diagnostics, Paper-path test, Service test
 |
View all HP LaserJet 9040/9050 manuals
Add to My Manuals
Save this manual to your list of manuals |
Page 229 highlights
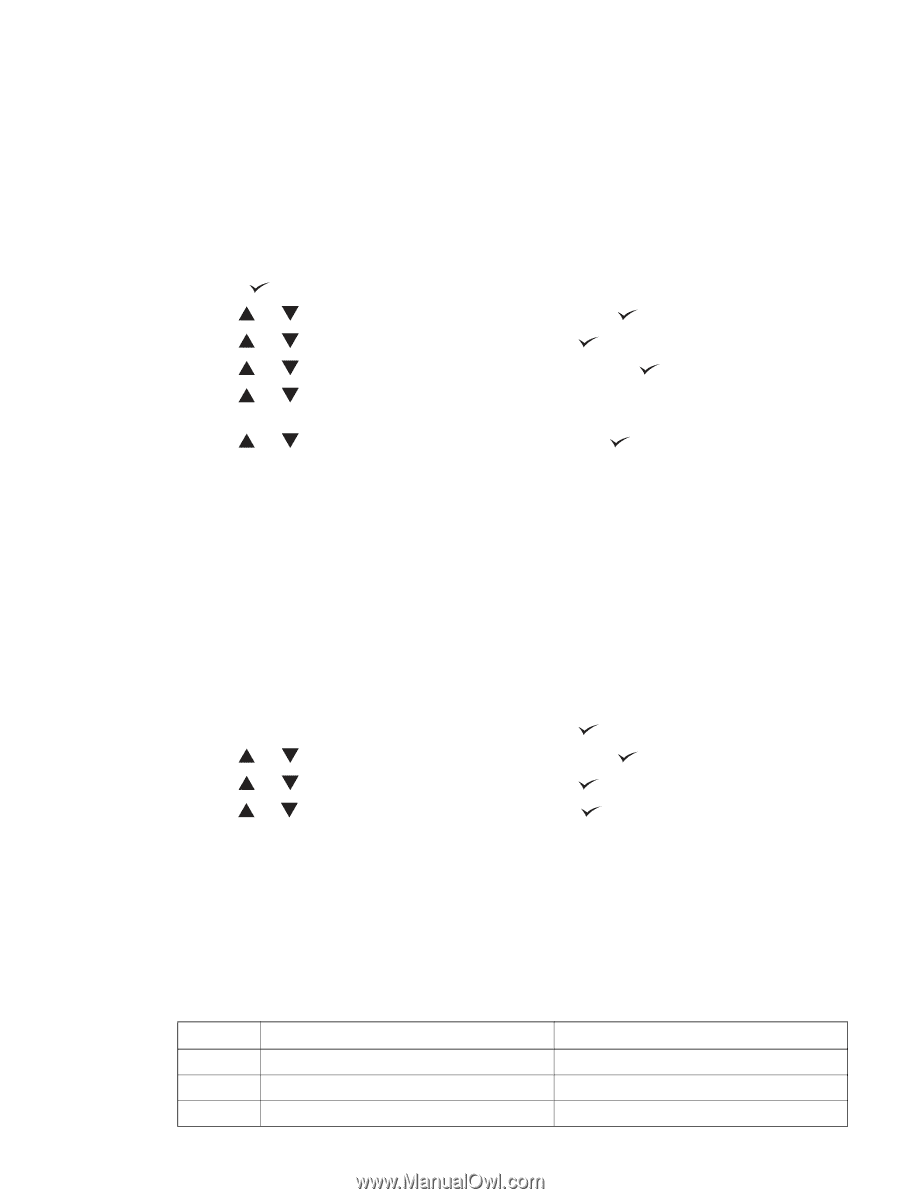
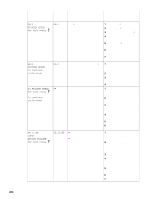
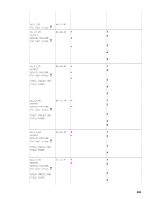
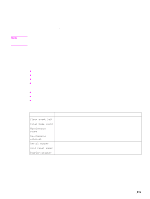
User- and service-level diagnostics The following sections describe diagnostics for the printer. Paper-path test The paper-path test can be used to verify that various paper paths are working correctly or to troubleshoot problems with tray configuration. To print a paper-path test 1 Press to open the menus. 2 Use or to scroll to CONFIGURE DEVICE, and then press . 3 Use or to scroll to DIAGNOSTICS, and then press . 4 Use or to scroll to SET PAPER PATH TEST, and then press . 5 Use or to select the input tray that you want to test, the output bin, the duplex printing accessory (if available), and the number of copies. 6 Use or to scroll to PRINT TEST PAGE, and then press to start the paper-path test. Service test The service test verifies that the print engine is functioning correctly. This test is very useful for isolating printer problems. The test can be performed with that paper-handling accessories attached, but it will not activate any of the accessory motors, switches, or sensors. To perform a service test 1 Turn off the printer. 2 Make sure that the paper path of the printer is clear of all media, and that the left, front, and right doors are closed. 3 Open tray 2 and tray 3. 4 Turn on the printer, and when the printer is ready press to open the menus. 5 Use or to scroll to CONFIGURE DEVICE, and then press . 6 Use or to scroll to DIAGNOSTICS, and then press . 7 Use or to scroll to SERVICE TEST, and then press . The service test can take up to two minutes to complete. The message PERFORMING SERVICE TEST appears on the control panel. 8 When the test is complete, the message SERVICE TEST PASSED appears on the control panel, or up to five sets of four-digit numbers appear on the control panel. If no abnormalities were noted, (0000 0000 0000 0000 0000) appears. If abnormalities were noted, the four-digit code or codes appear in parentheses (0101 0111 0132 0000 0000). Write down these codes and match them to the descriptions and FRUs that are listed in table 21. 9 Close tray 2 and tray 3. Table 22. Service test abnormality codes Code Description 0101 Cassette pickup-rod motor 0102 Cassette feed motor 0103 Cassette lifter motor FRU Paper-input unit Paper-input unit Paper-input unit User- and service-level diagnostics 213
-
 1
1 -
2
-
3
-
4
-
5
-
6
-
7
-
8
-
9
-
10
-
11
-
12
-
13
-
14
-
15
-
16
-
17
-
18
-
19
-
20
-
21
-
22
-
23
-
24
-
25
-
26
-
27
-
28
-
29
-
30
-
31
-
32
-
33
-
34
-
35
-
36
-
37
-
38
-
39
-
40
-
41
-
42
-
43
-
44
-
45
-
46
-
47
-
48
-
49
-
50
-
51
-
52
-
53
-
54
-
55
-
56
-
57
-
58
-
59
-
60
-
61
-
62
-
63
-
64
-
65
-
66
-
67
-
68
-
69
-
70
-
71
-
72
-
73
-
74
-
75
-
76
-
77
-
78
-
79
-
80
-
81
-
82
-
83
-
84
-
85
-
86
-
87
-
88
-
89
-
90
-
91
-
92
-
93
-
94
-
95
-
96
-
97
-
98
-
99
-
100
-
101
-
102
-
103
-
104
-
105
-
106
-
107
-
108
-
109
-
110
-
111
-
112
-
113
-
114
-
115
-
116
-
117
-
118
-
119
-
120
-
121
-
122
-
123
-
124
-
125
-
126
-
127
-
128
-
129
-
130
-
131
-
132
-
133
-
134
-
135
-
136
-
137
-
138
-
139
-
140
-
141
-
142
-
143
-
144
-
145
-
146
-
147
-
148
-
149
-
150
-
151
-
152
-
153
-
154
-
155
-
156
-
157
-
158
-
159
-
160
-
161
-
162
-
163
-
164
-
165
-
166
-
167
-
168
-
169
-
170
-
171
-
172
-
173
-
174
-
175
-
176
-
177
-
178
-
179
-
180
-
181
-
182
-
183
-
184
-
185
-
186
-
187
-
188
-
189
-
190
-
191
-
192
-
193
-
194
-
195
-
196
-
197
-
198
-
199
-
200
-
201
-
202
-
203
-
204
-
205
-
206
-
207
-
208
-
209
-
210
-
211
-
212
-
213
-
214
-
215
-
216
-
217
-
218
-
219
-
220
-
221
-
222
-
223
-
 224
224 -
 225
225 -
 226
226 -
 227
227 -
 228
228 -
 229
229 -
 230
230 -
 231
231 -
 232
232 -
 233
233 -
 234
234 -
235
-
236
-
237
-
238
-
239
-
240
-
241
-
242
-
243
-
244
-
245
-
246
-
247
-
248
-
249
-
250
-
251
-
252
-
253
-
254
-
255
-
256
-
257
-
258
-
259
-
260
-
261
-
262
-
263
-
264
-
265
-
266
-
267
-
268
-
269
-
270
-
271
-
272
-
273
-
274
-
275
-
276
-
277
-
278
-
279
-
280
-
281
-
282
-
283
-
284
-
285
-
286
-
287
-
288
-
289
-
290
-
291
-
292
-
293
-
294
-
295
-
296
-
297
-
298
-
299
-
300
-
301
-
302
-
303
-
304
-
305
-
306
-
307
-
308
-
309
-
310
-
311
-
312
-
313
-
314
-
315
-
316
-
317
-
318
-
319
-
320
-
321
-
322
-
323
-
324
-
325
-
326
-
327
-
328
-
329
-
330
-
331
-
332
 |
 |