HP LaserJet Enterprise 700 HP LaserJet Enterprise 700 M712 - User Guide - Page 98
Print multiple s per sheet (Mac OS X), Select the orientation (Mac OS X), Print
 |
View all HP LaserJet Enterprise 700 manuals
Add to My Manuals
Save this manual to your list of manuals |
Page 98 highlights
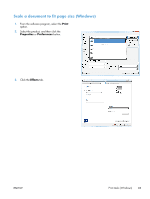
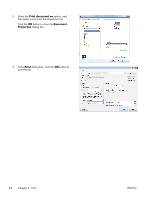
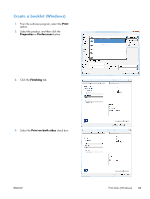
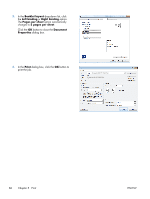
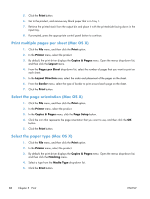
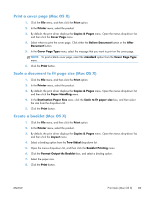
5. Click the Print button. 6. Go to the product, and remove any blank paper that is in Tray 1. 7. Retrieve the printed stack from the output bin and place it with the printed-side facing down in the input tray. 8. If prompted, press the appropriate control panel button to continue. Print multiple pages per sheet (Mac OS X) 1. Click the File menu, and then click the Print option. 2. In the Printer menu, select the product. 3. By default, the print driver displays the Copies & Pages menu. Open the menus drop-down list, and then click the Layout menu. 4. From the Pages per Sheet drop-down list, select the number of pages that you want to print on each sheet. 5. In the Layout Direction area, select the order and placement of the pages on the sheet. 6. From the Border menu, select the type of border to print around each page on the sheet. 7. Click the Print button. Select the page orientation (Mac OS X) 1. Click the File menu, and then click the Print option. 2. In the Printer menu, select the product. 3. In the Copies & Pages menu, click the Page Setup button. 4. Click the icon that represents the page orientation that you want to use, and then click the OK button. 5. Click the Print button. Select the paper type (Mac OS X) 1. Click the File menu, and then click the Print option. 2. In the Printer menu, select the product. 3. By default, the print driver displays the Copies & Pages menu. Open the menus drop-down list, and then click the Finishing menu. 4. Select a type from the Media Type drop-down list. 5. Click the Print button. 88 Chapter 5 Print ENWW
-
 1
1 -
2
-
3
-
4
-
5
-
6
-
7
-
8
-
9
-
10
-
11
-
12
-
13
-
14
-
15
-
16
-
17
-
18
-
19
-
20
-
21
-
22
-
23
-
24
-
25
-
26
-
27
-
28
-
29
-
30
-
31
-
32
-
33
-
34
-
35
-
36
-
37
-
38
-
39
-
40
-
41
-
42
-
43
-
44
-
45
-
46
-
47
-
48
-
49
-
50
-
51
-
52
-
53
-
54
-
55
-
56
-
57
-
58
-
59
-
60
-
61
-
62
-
63
-
64
-
65
-
66
-
67
-
68
-
69
-
70
-
71
-
72
-
73
-
74
-
75
-
76
-
77
-
78
-
79
-
80
-
81
-
82
-
83
-
84
-
85
-
86
-
87
-
88
-
89
-
90
-
91
-
92
-
 93
93 -
 94
94 -
 95
95 -
 96
96 -
 97
97 -
 98
98 -
 99
99 -
 100
100 -
 101
101 -
 102
102 -
 103
103 -
104
-
105
-
106
-
107
-
108
-
109
-
110
-
111
-
112
-
113
-
114
-
115
-
116
-
117
-
118
-
119
-
120
-
121
-
122
-
123
-
124
-
125
-
126
-
127
-
128
-
129
-
130
-
131
-
132
-
133
-
134
-
135
-
136
-
137
-
138
-
139
-
140
-
141
-
142
-
143
-
144
-
145
-
146
-
147
-
148
-
149
-
150
-
151
-
152
-
153
-
154
-
155
-
156
-
157
-
158
-
159
-
160
-
161
-
162
-
163
-
164
-
165
-
166
-
167
-
168
-
169
-
170
-
171
-
172
-
173
-
174
-
175
-
176
-
177
-
178
-
179
-
180
-
181
-
182
-
183
-
184
-
185
-
186
 |
 |
