HP P2000 HP P2000 G3 MSA System SMU Reference Guide - Page 47
Setting system information, Configuring advanced settings, Changing disk settings, Configuring SMART
 |
View all HP P2000 manuals
Add to My Manuals
Save this manual to your list of manuals |
Page 47 highlights
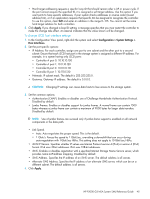
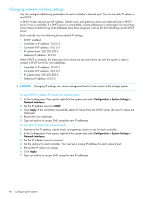
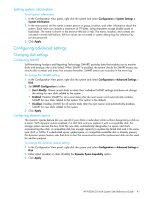
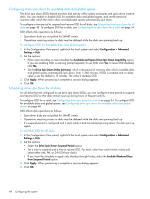
Setting system information To set system information 1. In the Configuration View panel, right-click the system and select Configuration > System Settings > System Information. 2. In the main panel, set the name, contact person or group, location, and other information about the system. Each value can include a maximum of 79 bytes, using characters except double quote or backslash. The name is shown in the browser title bar or tab. The name, location, and contact are included in event notifications. All four values are recorded in system debug logs for reference by service personnel. 3. Click Apply. Configuring advanced settings Changing disk settings Configuring SMART Self-Monitoring Analysis and Reporting Technology (SMART) provides data that enables you to monitor disks and analyze why a disk failed. When SMART is enabled, the system checks for SMART events one minute after a restart and every five minutes thereafter. SMART events are recorded in the event log. To change the SMART setting 1. In the Configuration View panel, right-click the system and select Configuration > Advanced Settings > Disk. 2. Set SMART Configuration to either: • Don't Modify. Allows current disks to retain their individual SMART settings and does not change the setting for new disks added to the system. • Enabled. Enables SMART for all current disks after the next rescan and automatically enables SMART for new disks added to the system. This option is the default. • Disabled. Disables SMART for all current disks after the next rescan and automatically disables SMART for new disks added to the system. 3. Click Apply. Configuring dynamic spares The dynamic spares feature lets you use all of your disks in redundant vdisks without designating a disk as a spare. With dynamic spares enabled, if a disk fails and you replace it with a compatible disk, the storage system rescans the bus, finds the new disk, automatically designates it a spare, and starts reconstructing the vdisk. A compatible disk has enough capacity to replace the failed disk and is the same type (SAS or SATA). If a dedicated spare, global spare, or compatible available disk is already present, the dynamic spares feature uses that disk to start the reconstruction and the replacement disk can be used for another purpose. To change the dynamic spares setting 1. In the Configuration View panel, right-click the system and select Configuration > Advanced Settings > Disk. 2. Either select (enable) or clear (disable) the Dynamic Spare Capability option. 3. Click Apply. HP P2000 G3 MSA System SMU Reference Guide 47
-
 1
1 -
2
-
3
-
4
-
5
-
6
-
7
-
8
-
9
-
10
-
11
-
12
-
13
-
14
-
15
-
16
-
17
-
18
-
19
-
20
-
21
-
22
-
23
-
24
-
25
-
26
-
27
-
28
-
29
-
30
-
31
-
32
-
33
-
34
-
35
-
36
-
37
-
38
-
39
-
40
-
41
-
 42
42 -
 43
43 -
 44
44 -
 45
45 -
 46
46 -
 47
47 -
 48
48 -
 49
49 -
 50
50 -
 51
51 -
 52
52 -
53
-
54
-
55
-
56
-
57
-
58
-
59
-
60
-
61
-
62
-
63
-
64
-
65
-
66
-
67
-
68
-
69
-
70
-
71
-
72
-
73
-
74
-
75
-
76
-
77
-
78
-
79
-
80
-
81
-
82
-
83
-
84
-
85
-
86
-
87
-
88
-
89
-
90
-
91
-
92
-
93
-
94
-
95
-
96
-
97
-
98
-
99
-
100
-
101
-
102
-
103
-
104
-
105
-
106
-
107
-
108
-
109
-
110
-
111
-
112
-
113
-
114
-
115
-
116
-
117
-
118
-
119
-
120
-
121
-
122
-
123
-
124
-
125
-
126
-
127
-
128
-
129
-
130
-
131
-
132
-
133
-
134
-
135
-
136
-
137
-
138
-
139
-
140
-
141
-
142
-
143
-
144
-
145
-
146
-
147
-
148
-
149
-
150
-
151
-
152
-
153
-
154
-
155
-
156
-
157
-
158
-
159
-
160
 |
 |