HP Photosmart All-in-One Printer - B109 User Guide - Page 46
Replace the cartridges
 |
View all HP Photosmart All-in-One Printer - B109 manuals
Add to My Manuals
Save this manual to your list of manuals |
Page 46 highlights
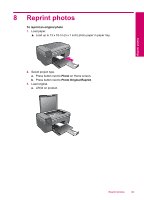
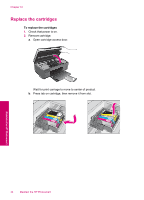
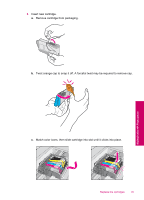
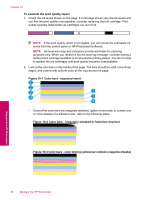
Chapter 10 Replace the cartridges To replace the cartridges 1. Check that power is on. 2. Remove cartridge. a. Open cartridge access door. Wait for print carriage to move to center of product. b. Press tab on cartridge, then remove it from slot. Maintain the HP Photosmart 44 Maintain the HP Photosmart
-
 1
1 -
2
-
3
-
4
-
5
-
6
-
7
-
8
-
9
-
10
-
11
-
12
-
13
-
14
-
15
-
16
-
17
-
18
-
19
-
20
-
21
-
22
-
23
-
24
-
25
-
26
-
27
-
28
-
29
-
30
-
31
-
32
-
33
-
34
-
35
-
36
-
37
-
38
-
39
-
40
-
 41
41 -
 42
42 -
 43
43 -
 44
44 -
 45
45 -
 46
46 -
 47
47 -
 48
48 -
 49
49 -
 50
50 -
 51
51 -
52
-
53
-
54
-
55
-
56
-
57
-
58
-
59
-
60
-
61
-
62
-
63
-
64
-
65
-
66
-
67
-
68
-
69
-
70
-
71
-
72
-
73
-
74
-
75
-
76
-
77
-
78
-
79
-
80
-
81
-
82
-
83
-
84
-
85
-
86
-
87
-
88
-
89
-
90
-
91
-
92
-
93
-
94
-
95
-
96
-
97
-
98
-
99
-
100
-
101
-
102
-
103
-
104
-
105
-
106
-
107
-
108
-
109
-
110
-
111
-
112
 |
 |
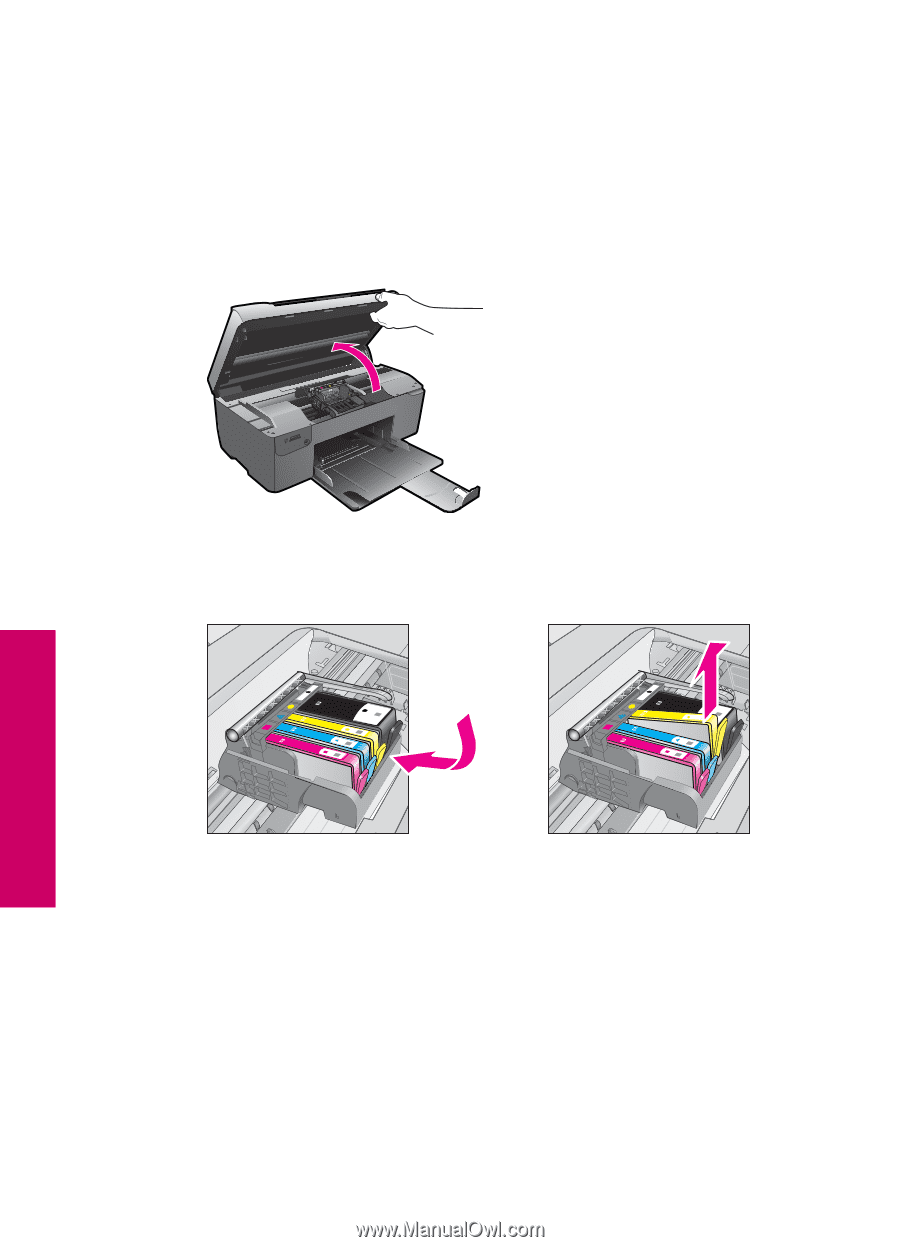
Replace the cartridges
To replace the cartridges
1.
Check that power is on.
2.
Remove cartridge.
a
.
Open cartridge access door.
Wait for print carriage to move to center of product.
b
.
Press tab on cartridge, then remove it from slot.
Chapter 10
44
Maintain the HP Photosmart
Maintain the HP Photosmart