HP Photosmart Plus e-All-in-One Printer - B210 Reference Guide
HP Photosmart Plus e-All-in-One Printer - B210 Manual
 |
View all HP Photosmart Plus e-All-in-One Printer - B210 manuals
Add to My Manuals
Save this manual to your list of manuals |
HP Photosmart Plus e-All-in-One Printer - B210 manual content summary:
- HP Photosmart Plus e-All-in-One Printer - B210 | Reference Guide - Page 1
to follow the instructions on the display as it guides you through setting up and connecting the HP Photosmart, including inserting cartridges and setting up a wireless network connection. For computers without a CD/DVD drive, go to www.hp.com/support to download and install the software. Printed in - HP Photosmart Plus e-All-in-One Printer - B210 | Reference Guide - Page 2
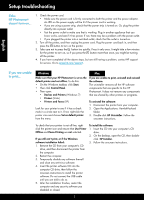
have completed all the above steps, but are still having a problem, contact HP support for service. Go to www.hp.com/support. English If you are unable to print... Windows Mac Make sure that your HP Photosmart is set as the default printer and not offline. To do this: •• On the Windows taskbar - HP Photosmart Plus e-All-in-One Printer - B210 | Reference Guide - Page 3
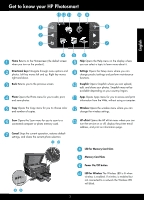
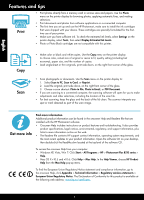
Get to know your HP Photosmart English Home Returns to the Homescreen (the default screen when . HP ePrint Opens the HP ePrint menu where you can turn the service on or off, display the printer email address, and print an information page. a LED for Memory Card Slots b Memory Card Slots c Power On - HP Photosmart Plus e-All-in-One Printer - B210 | Reference Guide - Page 4
papers. Use the Photo menu on the printer display for browsing photos, applying automatic fixes, and making selections. •• Print documents and photos from software applications on a connected computer. •• The first time you set up and use the HP Photosmart, make sure to install the ink cartridges - HP Photosmart Plus e-All-in-One Printer - B210 | Reference Guide - Page 5
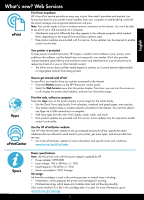
-60Hz (+/- 3Hz) •• Power consumption: 24W Average Ink usage Ink from the cartridges is used in the printing process in several ways, including: •• Initialization, which prepares the printer and cartridges for printing. •• Printhead servicing, which keeps print nozzles clear and ink flowing smoothly - HP Photosmart Plus e-All-in-One Printer - B210 | Reference Guide - Page 6
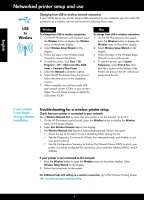
Wireless Setup Wizard to connect the printer. 4. To add the printer, click Start > All Programs > HP > Photosmart Plus B210 series > Connect a New Printer. 5. Select the Network connection option. 6. Select the HP Photosmart from the list and follow the instructions on the displayed screens. 7. When - HP Photosmart Plus e-All-in-One Printer - B210 | Reference Guide - Page 7
software trouble printing: •• Turn off the router, printer, and computer. Then, turn on router, printer, and computer -- in that order. •• If powering down and up doesn't solve the problem, run the Network Diagnostic Utility (Windows): •• Go to: www.hp.com/go/wirelessprinting to download - HP Photosmart Plus e-All-in-One Printer - B210 | Reference Guide - Page 8
HP printer limited warranty statement HP product Software Media Printer Print or Ink cartridges Printheads (only applies to products with customer replaceable printheads) Accessories Duration of limited warranty 90 days 1 year Until the HP ink is depleted or the "end of warranty" date printed
-
 1
1 -
 2
2 -
 3
3 -
 4
4 -
 5
5 -
 6
6 -
 7
7 -
8
 |
 |
© 2010 Hewlett-Packard Development Company, L.P.
Printed in [English]
*CN216-90038*
*CN216-90038*
CN216-90038
4
1
3
2
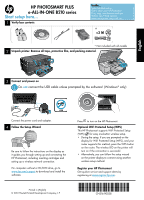
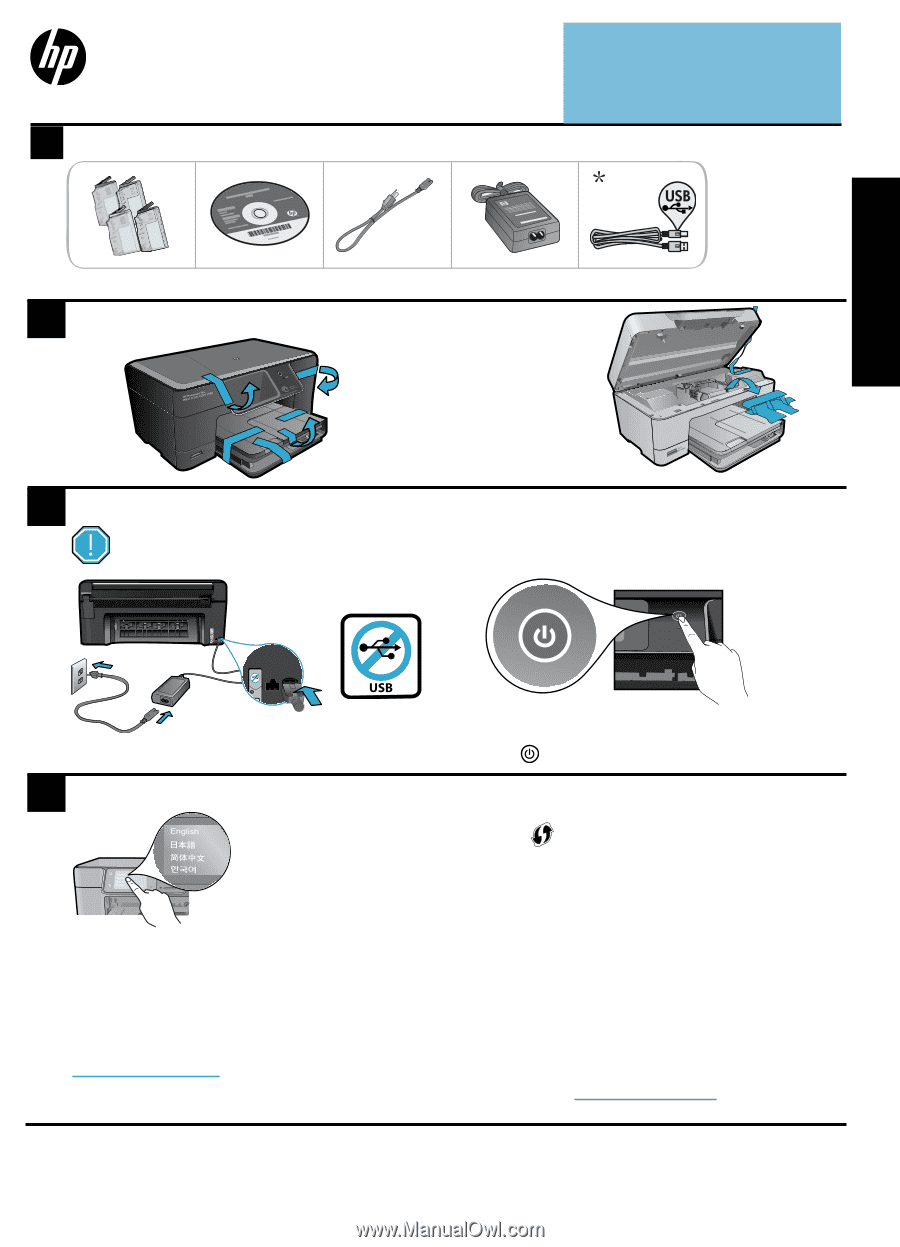
Unpack printer. Remove all tape, protective film, and packing material.
Follow the Setup Wizard
Connect and power on
Connect the power cord and adapter.
Press
to turn on the HP Photosmart.
Be sure to follow the instructions on the display as
it guides you through setting up and connecting the
HP Photosmart, including inserting cartridges and
setting up a wireless network connection.
For computers without a CD/DVD drive, go to
www.hp.com/support
to download and install the
software.
Verify box contents
Optional WiFi Protected Setup (WPS)
This HP Photosmart supports WiFi Protected Setup
(WPS)
for easy one-button wireless setup.
•
During the setup, if you are prompted on the
display for WiFi Protected Setup (WPS), and your
router supports this method, press the WPS button
on the router. The wireless LED on the printer will
turn on if the connection is successful.
•
Alternatively, you can follow the setup wizard
on the printer display to connect using another
wireless setup method.
* Not included with all models
Register your HP Photosmart
Get quicker service and support alerts by
registering at
www.register.hp.com
.
HP PHOTOSMART PLUS
e-ALL-IN-ONE B210 series
Start setup here...
Inside...
Setup troubleshooting
2
Get to know your HP Photosmart
3
Print, copy, scan features and tips
4
What’s new? Web Services
5
Networked printer setup and use
6
<3 M
Do
not
connect the USB cable unless prompted by the software! (Windows
®
only)
USB
English