Hitachi G10SR3 Instruction Manual
Hitachi G10SR3 - 4 Inch Angle Grinder Manual
 |
UPC - 717709011885
View all Hitachi G10SR3 manuals
Add to My Manuals
Save this manual to your list of manuals |
Hitachi G10SR3 manual content summary:
- Hitachi G10SR3 | Instruction Manual - Page 1
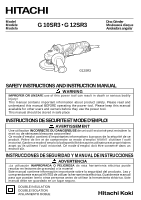
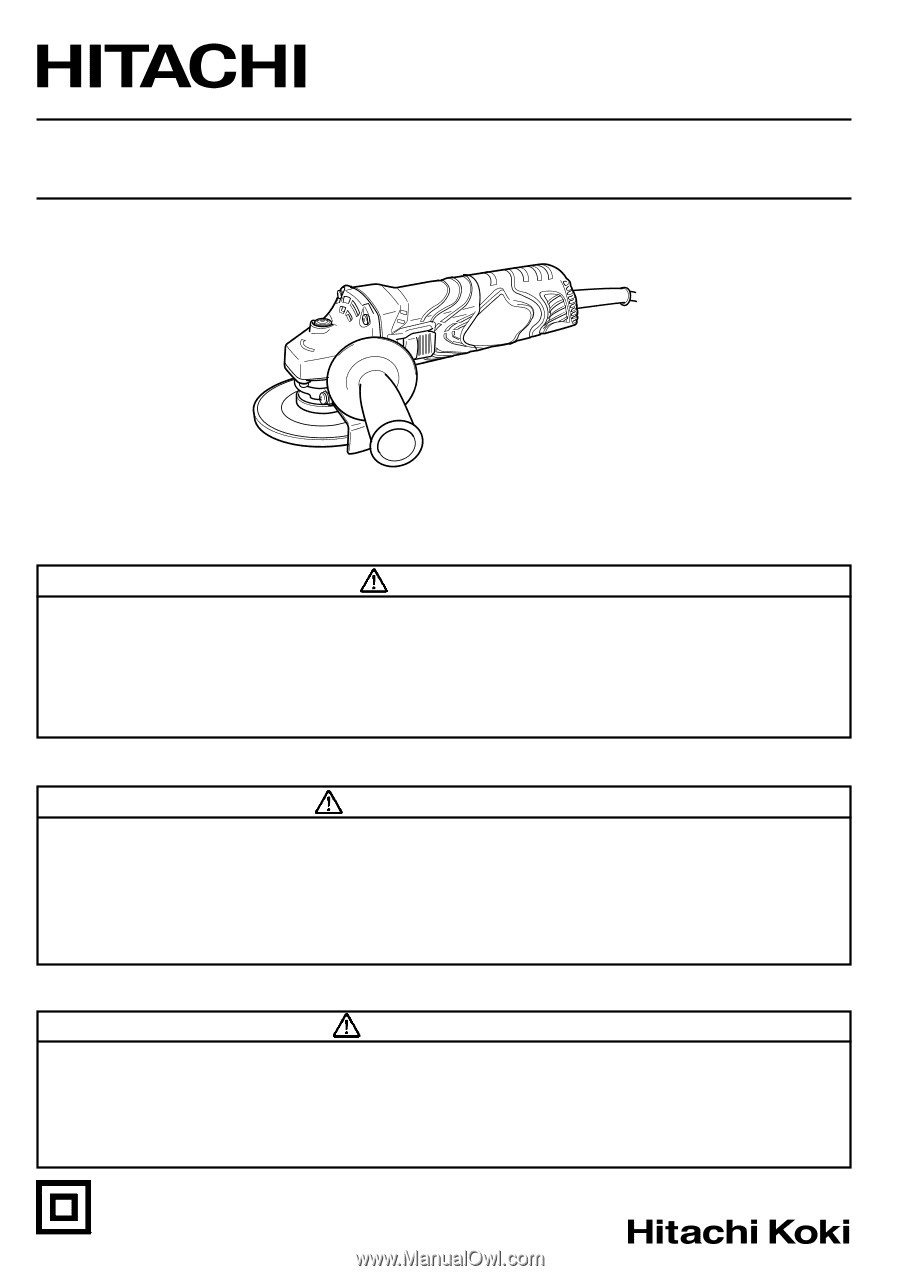
Model Modèle Modelo G 10SR3 • G 12SR3 Disc Grinder Meuleuse à disque Amoladora angular G12SR3 SAFETY INSTRUCTIONS AND INSTRUCTION MANUAL WARNING IMPROPER OR UNSAFE use of this power tool can result in death or serious bodily injury! This manual contains important information about product safety. - Hitachi G10SR3 | Instruction Manual - Page 2
AND OPERATION 8 APPLICATIONS 8 SAFETY 3 PRIOR TO OPERATION 8 GRINDER OPERATION 9 GENERAL SAFETY RULES 3 DEPRESSED CENTER WHEEL SPECIFIC SAFETY 7 ACCESSORIES 11 STANDARD ACCESSORIES 11 NAME OF PARTS 7 SPECIFICATIONS 7 PARTS LIST 32 Français TABLE DES MATIERES Page Page - Hitachi G10SR3 | Instruction Manual - Page 3
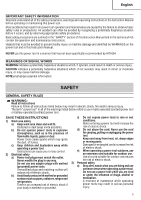
bodily injury or machine damage are identified by WARNINGS on the power tool and in this Instruction Manual. NEVER use this power tool in a manner that has not been specifically recommended by HITACHI. MEANINGS OF SIGNAL WORDS WARNING indicates a potentially hazardous situations which, if ignored - Hitachi G10SR3 | Instruction Manual - Page 4
Do not wear loose clothing tool is maintained. or jewellery. Keep your hair, clothing and gloves away from moving parts. -WARNING- Loose clothes, jewellery or long hair can be To reduce the risk of injury, user must read caught in moving parts. instruction manual. g) If devices are provided - Hitachi G10SR3 | Instruction Manual - Page 5
see Test the grinder before using on page 12). 27. ALWAYS follow the instructions contained in this manual when replacing the depressed center wheel. 28. ALWAYS be careful with buried objict such as an underground wiring. Touching these active wiring or electric cable with this tool, you may receive - Hitachi G10SR3 | Instruction Manual - Page 6
in this Instruction Manual, including not using the power tool in wet environments. To keep the double insulation system effective, follow these precautions: ⅜ Only HITACHI AUTHORIZED SERVICE CENTER should disassemble or assemble this power tool, and only genuine HITACHI replacement parts should be - Hitachi G10SR3 | Instruction Manual - Page 7
unless you have first read and understood all safey instructions contained in this manual. Some illustrations in this Instruction Manual may show details or attachments that differ from those on your own power tool. NAME OF PARTS Push button Gear cover Housing Depressed center wheel Packing gland - Hitachi G10SR3 | Instruction Manual - Page 8
the ON position, the power tool will start operating immediately and to mount the wheel guard at an angle that will protect the operator's body manual for Depressed Center Wheel Assembly and Disassembly 8. Test the grinder before using. Before actually beginning the grinding work, test the grinder - Hitachi G10SR3 | Instruction Manual - Page 9
motor. 1. Assembly (1) Turn the disc grinder upsidedown so that the spindle is facing upward. (2) Align the oval-shaped indentation of the wheel washer with the notched part of the spindle, then 4. Use proper grinding angle. attach them. Grind only with the wheel's edge by lifting the (3) Fit - Hitachi G10SR3 | Instruction Manual - Page 10
Center. Check that the on/off switch operates normally. This Parts List will be helpful if presented with the 4. Inspecting the carbon brushes tool to the Hitachi Authorized Service Center when For your continued safety and electrical shock requesting repair or other maintenance. protection - Hitachi G10SR3 | Instruction Manual - Page 11
Hitachi Power Tools are constantly being improved and modified to incorporate the latest technological advancements. Accordingly, some parts any obligation on the part of the HITACHI. STANDARD ACCESSORIES (1) For grinder supplied with Carrying Case ⅜ Wrench 1 (Code No. 936522 G10SR3) (Code No. - Hitachi G10SR3 | Instruction Manual - Page 12
de ce mode d'emploi et dans les sections qui contiennent les instructions de fonctionnement et d'entretien. Les dangers qui doivent être évités manière qui n'est pas spécifiquement recommandée par HITACHI. SIGNIFICATION DES MOTS D'AVERTISSEMENT AVERTISSEMENT indique des situations potentiellement - Hitachi G10SR3 | Instruction Manual - Page 13
etc. conformément à e) Ne pas trop se pencher. Toujours garder une ces instructions et de la manière destinée bonne assise et un bon équilibre pendant çu est dangereuse. Maintenir les cheveux, les vêtements et les 5) Service gants loin des pièces mobiles. a) Faire entretenir l'outil électrique - Hitachi G10SR3 | Instruction Manual - Page 14
régime nominal SUPERIEUR à 13,700 t/mn pour G10SR3, 13,300 t/mn pour G12SR3. L'utilisation d'une et le faire réparer par un centre de service Hitachi autorisé. 17. NE JAMAIS laisser fonctionner l'outil diluants, la benzine, le tétrachlorure de carbone et l'alcool peuvent endommager et fissurer les - Hitachi G10SR3 | Instruction Manual - Page 15
disque avant de l'utiliser, la page 27). 27. TOUJOURS suivre les instructions contenues dans ce mode d'emploi lors du remplacement de la meule à dé les CENTRES DE SERVICE AUTORISES HITACHI peuvent démonter et remonter cet outil motorisé et uniquement des pièces de rechange HITACHI garanties d'origine - Hitachi G10SR3 | Instruction Manual - Page 16
et un entretien de l'outil motorisé. NE JAMAIS utiliser ni entreprendre une révision de l'outil sans avoir d'abord lu et compris toutes les instructions de sécurité contenues dans ce manuel. Certaines illustrations dans ce mode d'emploi peuvent montrer des détails ou des accessoires différents de - Hitachi G10SR3 | Instruction Manual - Page 17
du capot couvre-meule S'assurer de monter le capot couvre-meule avec un angle qui protège le corps de l'opérateur de blessures causées par une le capot couvre-meule sur le plat du presse-étoupe, le tourner à un angle convenable pour le fonctionnement, et effectuer le réglage. ⅜ Une fois le réglage - Hitachi G10SR3 | Instruction Manual - Page 18
meuleuse à disque. Utiliser uniquement une meule à dépression 4. Utiliser un angle de meulage correct. centrale ayant un régime nominal SUPERIEUR à Meuler seulement avec le rebord de la meule en 13,700 t/mn pour G10SR3, 13,300 t/mn pour soulevant la meuleuse à disque de 15° à 30°, - Hitachi G10SR3 | Instruction Manual - Page 19
Français PRECAUTION: La meule à dépression centrale en rotation crée une turbulence d'air. Ne pas poser la meuleuse à disque dans des endroits poussiéreux ou sales avant qu'elle ne soit complètement arrêtée. ASSEMBLAGE ET DESASSEMBLAGE DE LA MEULE A DEPRESSION CENTRALE AVERTISSEMENT: Ne jamais - Hitachi G10SR3 | Instruction Manual - Page 20
service après-vente Hitachi agréé. desserrée, la resserrer immédiatement. Il sera utile de présenter cette liste de pièces au service après-vente Hitachi fonctionne normalement. Les outils électriques Hitachi sont constamment 4. Inspection des balais en carbone améliorés et modifiés afin d' - Hitachi G10SR3 | Instruction Manual - Page 21
ériel. REMARQUE: Les accessoires sont sujets à changement sans obligation de la part de HITACHI. ACCESSOIRES STANDARD (1) Pour meuleuse à disque livrée avec mallette de transport ⅜ Wrench 1 ⅜ Clef 1 (Code No. 936522 G10SR3) (Code No. 938332Z G12SR3) ⅜ Poignée latérale (Code No. 318312 1 ⅜ Meule - Hitachi G10SR3 | Instruction Manual - Page 22
, los riesgos están identificados con ADVERTENCIAS en dicha herramienta y en este Manual de instrucciones. No utilice NUNCA esta herramienta eléctrica de ninguna forma que no esté específicamente recomendada por HITACHI. SIGNIFICADO DE LAS PALABRAS DE SEÑALIZACIÓN ADVERTENCIA indica situaciones - Hitachi G10SR3 | Instruction Manual - Page 23
Español d) No utilice el cable incorrectamente. No utilice 4) Utilización y mantenimiento de las herramientas el cable para transportar, tirar de la eléctricas herramienta eléctrica o desenchufarla. a) No fuerce la herramienta eléctrica. Utilice la Mantenga el cable alejado del calor, del - Hitachi G10SR3 | Instruction Manual - Page 24
capacidad nominal INFERIOR a 13,700 RPM para G10SR3, 13,300 RPM para G12SR3 y/o una NO coloque NUNCA sus manos, dedos, ni demás partes del cuerpo cerca de las piezas móviles de la no especificadas en este Manual de instrucciones. 10. Maneje de reparaciones autorizado por Hitachi. 17. NO deje NUNCA - Hitachi G10SR3 | Instruction Manual - Page 25
las instrucciones indicadas en este manual cuando reemplace la rueda de disco HITACHI. ⅜ Limpie el exterior de la herramienta eléctrica solamente con un paño suave humedecido en agua jabonosa, y después séquela bien. No utilice disolventes, gasolina, ni diluidor de pintura para limpiar las partes - Hitachi G10SR3 | Instruction Manual - Page 26
instrucciones de seguridad contenidas en este manual. Algunas ilustraciones de este Manual de Instrucciones pueden mostrar detalles o sin carga Tamaño de la rueda: Diámetro externo Diámetro del orificio Peso G10SR3 G12SR3 Motor conmutador en serie monofásico Monofásica 120 V CA, 60 Hz 6 - Hitachi G10SR3 | Instruction Manual - Page 27
de trabajo. instalada. En cuanto a las instrucciones sobre el armado y desarmado de la rueda de disco abombado, consulte la página 29 de este manual. ⅜ La amoladura de una plancha de acero 8. Pruebe la amoladora antes de utilizarla. delgada puede producir ruidos retumbantes. Antes de comenzar el - Hitachi G10SR3 | Instruction Manual - Page 28
. 9. Utilice ruedas de disco abombado de la capacidad apropiada. Utilice únicamente ruedas de disco abombado con una capacidad nominal de 13700 RPM para G10SR3, 13,000 RPM para G12SR3 o más. La utilización de una rueda de disco abombado de 4. Utilice el ángulo de amoladura apropiado. Realice la - Hitachi G10SR3 | Instruction Manual - Page 29
el eje quede encarado hacia arriba. (2) Alinee la muesca ovalada de la arandela de la rueda con la musca del eje, y después fíjelas. (3) Fije la parte saliente de la rueda de disco abombado en la arandela de la rueda. (4) Atornille la rueda en el eje. (5) Presionando el botón pulsador con una - Hitachi G10SR3 | Instruction Manual - Page 30
realizarse SOLAMENTE en un CENTRO DE SERVICIO AUTORIZADO POR MODIFICACIONES: Hitachi Power Tools introduce constantemente mejoras y modificaciones para incorporar los últimos avances tecnológicos. Por consiguiente, algunas partes (por ejemplo, números de códigos y/o diseño) pueden ser modificadas - Hitachi G10SR3 | Instruction Manual - Page 31
materiales. NOTA: Los accesorios están sujetos a cambio sin ninguna obligación por parte de HITACHI. ACCESORIOS ESTÁNDAR (1) Para amoladora suministrada con estuche para transporte ⅜ Llave 1 (Núm. de código 936522 G10SR3) (Núm. de código 938332Z G12SR3) ⅜ Empuñadura lateral (Núm. de código 318312 - Hitachi G10SR3 | Instruction Manual - Page 32
32 G10SR3 A B C 1 307-028 4 2 301-944 1 3 327-891 1 4 309-191 1 5 327-889 1 6 628-VVC 1 7 327-887 1 8 360-799U 1 9 327-886 1 10 963-712 2 11 340-702D 1 12 - Hitachi G10SR3 | Instruction Manual - Page 33
G12SR3 A B C 1 307-028 4 2 301-944 1 3 327-891 1 4 309-191 1 5 327-889 1 6 628-VVC 1 7 327-887 1 8 360-799U 1 9 327-886 1 10 963-712 2 11 340-702D 1 12 321-722 1 13 626-VVM 1 14 309-929 1 15 301-943 1 16 316-487 1 17 316-486 1 18 327-890 1 19 987-201 2 20 327-892 1 21 620-1DD 1 22 301-946 1 23 - Hitachi G10SR3 | Instruction Manual - Page 34
34 - Hitachi G10SR3 | Instruction Manual - Page 35
35 - Hitachi G10SR3 | Instruction Manual - Page 36
y realice el trabajo utilizando el equipamiento apropiado, tal como las máscares para el polvo especialmente diseñados para eliminar las partículas minúsculas. Issued by Hitachi Koki Co., Ltd. Shinagawa Intercity Tower A, 15-1, Konan 2-chome, Minato-ku, Tokyo 108-6020, Japan Distributed by
-
 1
1 -
 2
2 -
 3
3 -
 4
4 -
 5
5 -
 6
6 -
 7
7 -
8
-
9
-
10
-
11
-
12
-
13
-
14
-
15
-
16
-
17
-
18
-
19
-
20
-
21
-
22
-
23
-
24
-
25
-
26
-
27
-
28
-
29
-
30
-
31
-
32
-
33
-
34
-
35
-
36
 |
 |
INSTRUCTIONS DE SECURITE ET MODE D’EMPLOI
AVERTISSEMENT
Une utilisation
INCORRECTE OU DANGEREUSE
de cet outil motorisé peut entraîner la
mort ou de sérieuses blessures corporelles!
Ce mode d’emploi contient d’importantes informations à propos de la sécurité de ce
produit. Prière de lire et de comprendre ce mode d’emploi AVANT d’utiliser l’outil
motorisé. Garder ce mode d’emploi à la disponibilité des autres utilisateurs et propriétaires
avant qu’ils utilisent l’outil motorisé. Ce mode d’emploi doit être conservé dans un
endroit sûr.
INSTRUCCIONES DE SEGURIDAD Y MANUAL DE INSTRUCCIONES
ADVERTENCIA
¡La utilización
INAPROPIADA O PELIGROSA
de esta herramienta eléctrica puede
resultar en lesiones de gravedad o la muerte!
Este manual contiene información importante sobre la seguridad del producto. Lea y
comprenda este manual ANTES de utilizar la herramienta eléctrica. Guarde este manual
para que puedan leerlo otras personas antes de utilizar la herramienta eléctrica. Este
manual debe ser guardado en un lugar seguro.
DOUBLE INSULATION
DOUBLE ISOLATION
AISLAMIENTO DOBLE
SAFETY INSTRUCTIONS AND INSTRUCTION MANUAL
WARNING
IMPROPER OR UNSAFE
use of this power tool can result in death or serious bodily
injury!
This manual contains important information about product safety. Please read and
understand this manual BEFORE operating the power tool. Please keep this manual
available for other users and owners before they use the power tool.
This manual should be stored in safe place
G12SR3
G 10SR3
•
G 12SR3
Model
Disc Grinder
Modèle
Meuleuse
à disque
Modelo
Amoladora angular