Honeywell 5800Micra Installation Guide
Honeywell 5800Micra - Single Door/window Transmitter Manual
 |
UPC - 781410724426
View all Honeywell 5800Micra manuals
Add to My Manuals
Save this manual to your list of manuals |
Honeywell 5800Micra manual content summary:
- Honeywell 5800Micra | Installation Guide - Page 1
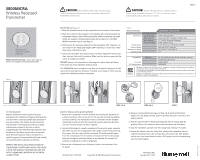
Installation Instructions GENERAL INFORMATION The 5800MICRA wireless recessed transmitter is a reed switch magnetic contact transmitter that allows the transmitter to be concealed from view when installed in a window. It is intended for use only with alarm systems that support 5800 series devices. - Honeywell 5800Micra | Installation Guide - Page 2
5800MICRA Wireless Recessed Transmitter Reed Switch on top side of PC board (inside cap) Reed Switch Positioning - insure that logos on switch and magnet STEP 3 & 4 STEP 5 & 6 STEP 7 BATTERY INSTALLATION & REPLACEMENT 1. Remove the transmitter from the window by inserting the flat blade of a
-
 1
1 -
 2
2
 |
 |
1
2
3
5800MICRA
Wireless Recessed
Transmitter
NOTE: It is essential to the systems operation
that the positioning of the iON icon on the
transmitter point in the same direction as its
corresponding sash magnet.
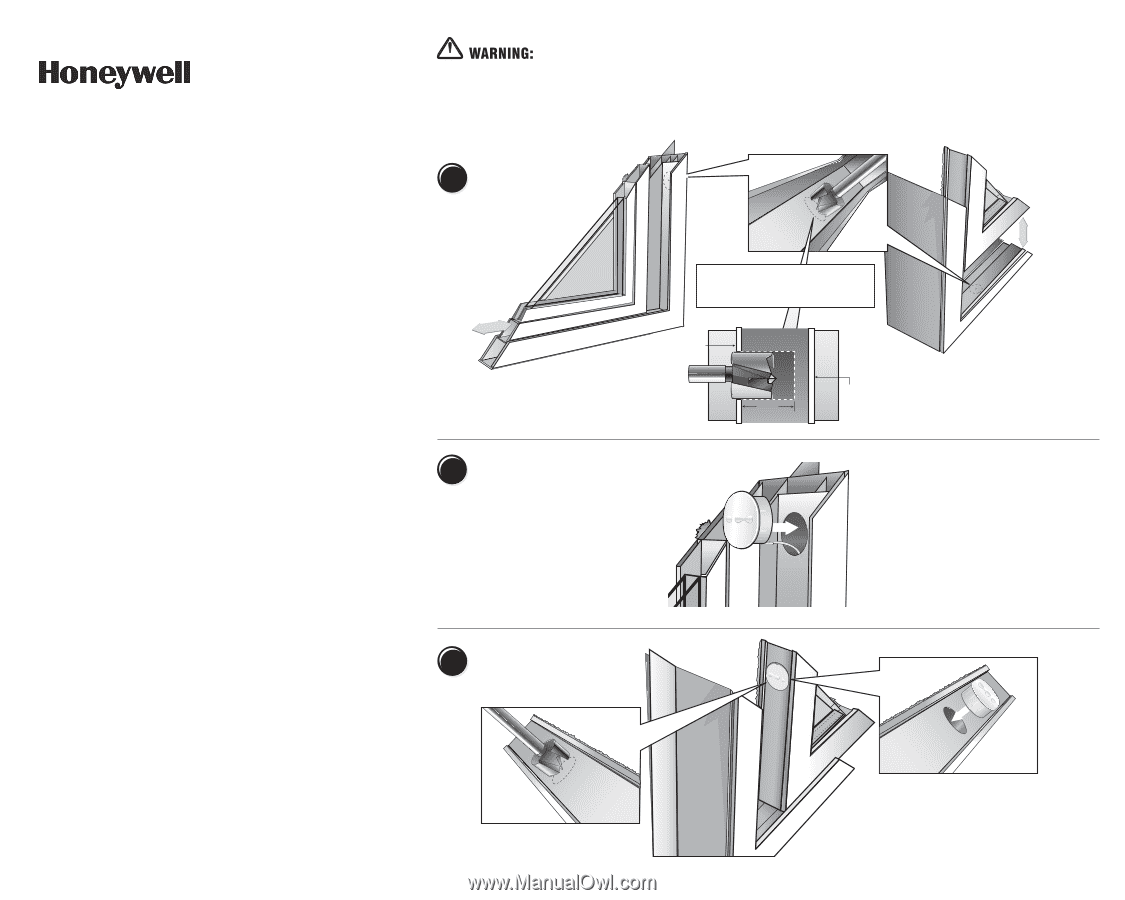
Insert the 5800MICRA's antenna into the
extrusion hollow then press the transmitter
body into the cored opening. Insure that the
antenna moves freely in the window channel
during installation.
Under no circumstances should the outer wall of the
window frame be penetrated by the Forstner bit.
Figure 1
Measure & Drill
Using a 3/4" Forstner Drill Bit
with a stop collar, drill into the
vinyl window mainframe.
WARNING:
under no circumstances
should the outer wall of the window
frame be penetrated by the Forstner bit.
Side mount
transmitter
on Vinyl
Sliders
outer
wall of
window
frame
inner wall
of window
frame
3/4" Forstner
drill bit
Measure 3" down from the inside top corner of the
mainframe and mark the center point for the hole the
5800MICRA transmitter will be inserted into.
Place a corresponding mark also on the sash insert that
will be used in this position.
Sill mount transmitter
on Hung Windows
Horizontal
Sliding Sash
Vertical Sliding
Sash
0.5"
< extrusion hollow >
11/32"
core depth
Place and Set
Sash Magnet
Press the 5800MICRA transmitter's corresponding
magnet into the cavity now drilled into the sash,
making sure to position the iON icons to point in the
same direction.
NOTE: This point is essential to
the systems proper operation.
Using a 3/4" Forstner Drill Bit, drill into the
window sash to a depth of 11/32" only.
GENERAL INFORMATION
The 5800MICRA wireless recessed transmitter is a reed switch magnetic contact
transmitter that allows the transmitter to be concealed from view when installed
in a window. It is intended for use only with alarm systems that support 5800 series
devices. The transmitter is powered by a long-life lithium battery that is easily
replaceable when a low battery is indicated by the control panel.
Programming the ID Number
Each 5800MICRA has its own unique identification code (serial number)
permanently assigned during manufacturing.
The control panel is required to "enroll" the transmitter's ID during installation of
the alarm system. The zones input type should be enrolled as "RF" (i.e. Supervised
RF) Type (
mandatory for all UL installations
).
Refer to the control panel's installation instructions for further details.
PRELIMINARY CONSlDERATlONS
Read all of this and the next section before installing the unit.
1. Select a location for the transmitter on the frame of the window.
Do not use on metal frame doors or windows.
5800MICRA TRANSMITTER
The 5800MICRA transmitter will require a 3/4" diameter hole (using
a 3/4" Forstner bit) drilled into the edge of the window frame no more
than 11/32" deep. Its accompanying magnet will need a 3/4" diameter
hole drilled in the side of the window sash, no more than 11/32" deep.
BEFORE DRlLLlNG ANY HOLES, SEE ITEM 2 BELOW AND MOUNTlNG
SECTION ON PAGE 2.
FOR VINYL SLIDING WINDOWS
the preferred direction of mounting is vertical.
FOR HUNG WINDOWS
the 5800MICRA must be mounted horizontally in the
window sill with the accompanying magnet mounted in the lower window sash.
(see Step 1 - Measure & Drill in Figure 1)
2. Before drilling any holes, tape the transmitter and magnet in their
approximate locations (with battery installed and unit together as
described under BATTERY INSTALLATION / REPLACEMENT (
see Page 2
)
and conduct Go/No Go tests (
see control's instructions
) to verify
adequate signal strength. Reorient or relocate the transmitter if necessary.
Make sure that no more than a 1/2" gap will be present between the faces
of the transmitter and magnet cases when they are installed and set.
Also make
sure the 'iON' graphic on the transmitter and magnet are aligned with each
other as per Step 3 - Sash Magnet Placement in Figure 1.
When installed, an alarm signal must be obtained before a clear space of 2"
is reached as the window is opened.
Installation Instructions
Page 1
Sash Magnet
Placement