Hunter 44360 Owner's Manual
Hunter 44360 Manual
 |
View all Hunter 44360 manuals
Add to My Manuals
Save this manual to your list of manuals |
Hunter 44360 manual content summary:
- Hunter 44360 | Owner's Manual - Page 1
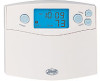
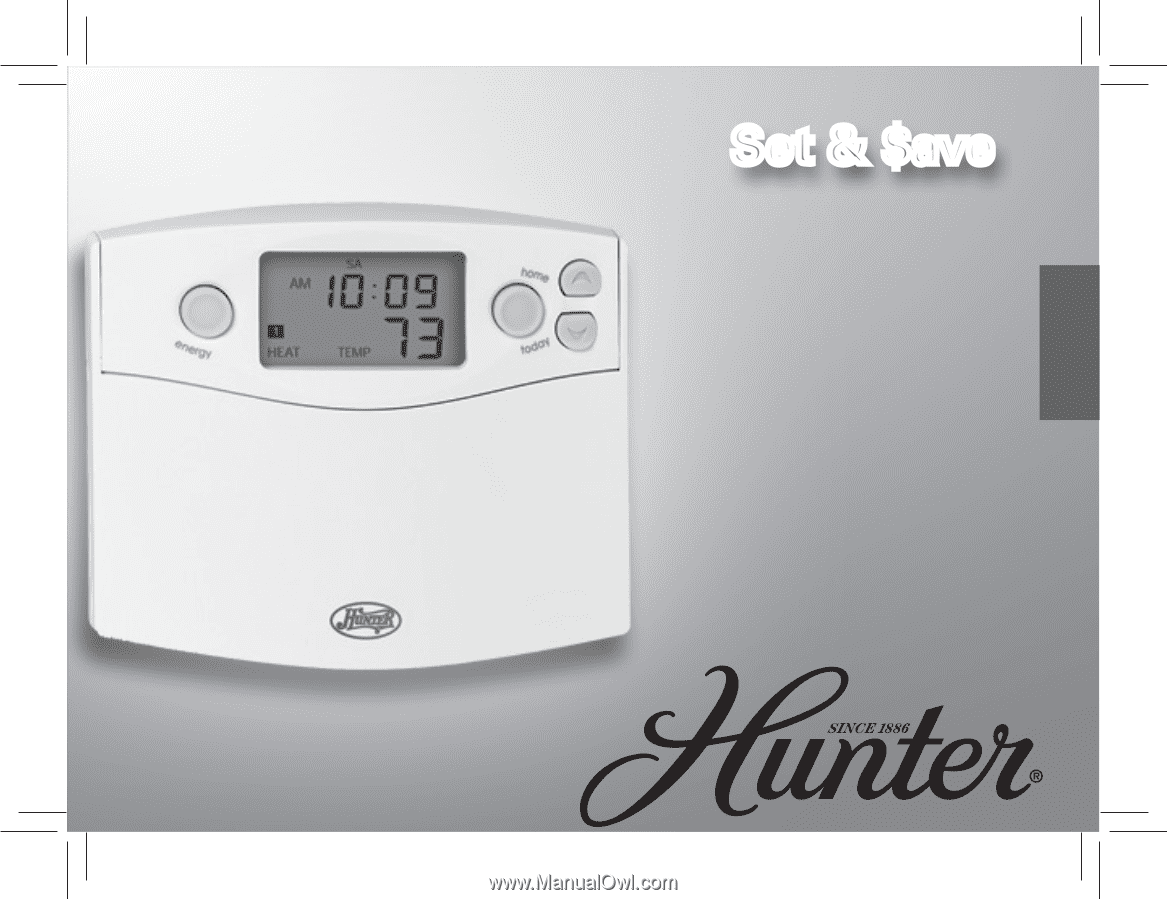
Form# 42710-01 20091204 ©2009 Hunter Fan Co. Set & $ave Programmable Thermostat Installation and Operation Manual Model 44360 English - Hunter 44360 | Owner's Manual - Page 2
2 - Hunter 44360 | Owner's Manual - Page 3
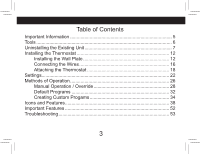
7 Installing the Thermostat 12 Installing the Wall Plate 12 Connecting the Wires 16 Attaching the Thermostat 18 Settings 22 Methods of Operation 26 Manual Operation / Override 28 Default Programs 32 Creating Custom Progams 34 Icons and Features 38 Important Features 52 Troubleshooting 53 - Hunter 44360 | Owner's Manual - Page 4
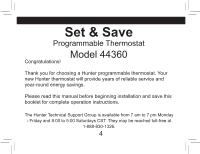
Model 44360 Congratulations! Thank you for choosing a Hunter programmable thermostat. Your new Hunter thermostat will provide years of reliable service and year-round energy savings. Please read this manual before beginning installation and save this booklet for complete operation instructions - Hunter 44360 | Owner's Manual - Page 5
Gas - Fired Boilers Gas - Millivolt Systems Oil - Fired Boilers Oil - Fired Furnace Electric Furnace Electric Air Conditioning Single-Stage Heat Pumps This thermostat is not designed for multi-stage heat pump systems or 110/220 V baseboard heating systems. If you are unsure what kind of heating and - Hunter 44360 | Owner's Manual - Page 6
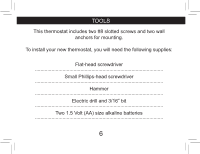
Tools This thermostat includes two #8 slotted screws and two wall anchors for mounting. To install your new thermostat, you will need the following supplies: Flat-head screwdriver Small Phillips-head screwdriver Hammer Electric drill and 3/16" bit Two 1.5 Volt (AA) size alkaline batteries - Hunter 44360 | Owner's Manual - Page 7
RC Y G W RC Y G W w NOTICE! Do not disconnect the wires from the existing thermostat before reading these instructions. The wires must be labeled prior to removal to ensure proper reconnection. 7 - Hunter 44360 | Owner's Manual - Page 8
RC Y G W RC Y G W 8 - Hunter 44360 | Owner's Manual - Page 9
the wall. (Some thermostats may have multiple covers, screws or other locking devices that must be removed or disengaged. See page 8 for common examples.) 3. Locate, but do not disconnect the wires. (If wires are not visible, they may be connected to the back of the wall plate. Some models may have - Hunter 44360 | Owner's Manual - Page 10
Y1 G W/B Y/0 RC RH wire labels if your existing thermostat is marked... label the wire with this sticker: RH / R / VR / 4 24 Volt RH RC / VC 24 Volt cool RC Y / C* / M / O air conditioning compressor W / H / B G / F Y1 heating Y/0 W/B fan G heat pump compressor Y1 10 - Hunter 44360 | Owner's Manual - Page 11
and should not be used. If you have a wire marked C, do not connect it to any terminal. This wire is used only for non-battery powered thermostats. 5. Do not let the wires slip back into the wall during disconnection. You may want to secure the wires to the wall as you disconnect them. After all - Hunter 44360 | Owner's Manual - Page 12
RC W/B 12 Y1 Y/0 G - Hunter 44360 | Owner's Manual - Page 13
the thermostat INSTALLING THE WALL PLATE 1. Remove the wall plate from the new thermostat by pressing the release tab on the bottom of the thermostat. 2. Position the new wall plate on the wall and pull the labeled wires through the opening. 3. If the existing holes do not match those on the Hunter - Hunter 44360 | Owner's Manual - Page 14
G Y RC W 14 - Hunter 44360 | Owner's Manual - Page 15
installing the thermostat, cont. 4. Remove the wall plate and drill two 3/16" holes where marked. 5. Tap the plastic anchors into the holes until they are flush with the - Hunter 44360 | Owner's Manual - Page 16
G RC W/B Y1 G RC RH Y/0W/B Y1 16 Y/0 Terminal Shield - Hunter 44360 | Owner's Manual - Page 17
installing the thermostat, cont. CONNECTING THE WIRES Jumper G RC RH Y W 1. Loosen, but do not remove, the terminal screws. Note: A jumper wire has been provided, connecting the RC and RH terminals for systems that do not provide both an RH and RC wire. If you have both an RH and RC wire, remove - Hunter 44360 | Owner's Manual - Page 18
Thermostat Cover T AM 4 HEAT System Switch Fan Switch ENABLE RECOVERY DISABLE STD HP SYSTEM TYPE HG Y1 W/B Y/O RH RC G HE FAN OPTION 18 - Hunter 44360 | Owner's Manual - Page 19
installing the thermostat, cont. ATTACHING THE THERMOSTAT Lift the thermostat cover and set the SYSTEM switch to OFF and the FAN switch to AUTO. 1. Fan option - Locate the HE/HG switch on the back of the thermostat. Set the switch to HG (default) for gas furnace and oil burners. Set the switch to HE - Hunter 44360 | Owner's Manual - Page 20
1 front cover Tab 2 20 - Hunter 44360 | Owner's Manual - Page 21
installing the thermostat, cont. 4. Place the top of the thermostat over the two tabs on the wall plate. Press the thermostat onto the wall plate and press to snap the bottom tab into place. Note: Do not force the thermostat onto the wall plate, as the terminal pins may be damaged. If the thermostat - Hunter 44360 | Owner's Manual - Page 22
reset 22 - Hunter 44360 | Owner's Manual - Page 23
is Fahrenheit (Fo). (NOTICE: CHANGING THIS SETTING WILL RESET THE THERMOSTAT TO FACTORY DEFAULT PROGRAMS.) To change to Celsius (Co): 1. Press and hold the Up button. 2. Use a paperclip to press the Reset button. 3. Continue to press the Up button, but release the Reset button when - Hunter 44360 | Owner's Manual - Page 24
AM PM day/time program 24 - Hunter 44360 | Owner's Manual - Page 25
format to 24 hour format by pressing Day/Time and then Program. The AM/PM indicator will be off when the thermostat is in 24 hour mode. Setting day and time: 1. Press Day/Time. (AM/PM and current hour will flash) Press Up or Down to adjust the setting. 2. Press Day/Time again to adjust the minute - Hunter 44360 | Owner's Manual - Page 26
T AM 4 HEAT 26 - Hunter 44360 | Owner's Manual - Page 27
of operation This thermostat gives you the ability to program up to 4 custom temperature settings per day or utilize pre-programmed settings. For manual operation / override instructions, see pages 28-35. To utilize the pre-programmed settings, see pages 36-37. To create custom programs, see pages - Hunter 44360 | Owner's Manual - Page 28
TH AM 2 HEAT 28 - Hunter 44360 | Owner's Manual - Page 29
people prefer to operate their thermostats manually, adjusting settings as needed. You can either temporarily override the settings for the current program, or permanently override all settings and adjust temperatures manually. If you want to only override the current program: 1. Press and hold Up - Hunter 44360 | Owner's Manual - Page 30
HOLD system off heat cool 30 hold /return - Hunter 44360 | Owner's Manual - Page 31
If you want to permanently override all settings and adjust the thermostat manually: 1. Press Hold/Return until the Hold icon appears. 2. Press and hold Up or Down for one second to enter Manual Override mode. (Release the button when the display flashes.) 3. Press the Up or Down buttons to adjust - Hunter 44360 | Owner's Manual - Page 32
HOME TODAY home today 32 - Hunter 44360 | Owner's Manual - Page 33
the fourth program begins. The thermostat will then go back into Normal mode. Pressing Home Today during the third program of the day will override the programs until the first program of the next day. Press Home Today to enter or exit the program override. The "Home Today" message will flash on the - Hunter 44360 | Owner's Manual - Page 34
Set Temp 34 - Hunter 44360 | Owner's Manual - Page 35
the temperate you want to be held during those days.The first day you set the Vacation Override feature will be counted as day one in your number of days. The thermostat will resume your normal programs during program four, the last day of the override. Press and hold the hold button until your time - Hunter 44360 | Owner's Manual - Page 36
Default Programs Chart 10 pm Program 4 Heat : 60o F (16o C) Cool : 82o F (28oC) Program 3 Heat : 68o F (20o C) Cool : 78o F (26o C) 4 pm 6 am Program 1 Heat : 68o F (20o C) Cool : 78o F (26o C) 8 am Program 2 Heat : 60o F (16o C) Cool : 85o F (29o C) 36 - Hunter 44360 | Owner's Manual - Page 37
5. DEFAULT PROGRAMS By using the pre-programmed settings, this thermostat can save you money by optimizing energy usage in heating and cooling. Refer to the Default Programs Chart for detailed information about the pre-programmed settings. 37 - Hunter 44360 | Owner's Manual - Page 38
AM PM system heat off cool 38 program hold /return - Hunter 44360 | Owner's Manual - Page 39
(1o C). • After 15 seconds of inactivity during programming, the thermostat will return to Normal Display mode. • When setting each program time, note the AM/PM indicator. • Press Hold/Return at any time to exit Program mode and save your settings. • During normal operation, if no button is - Hunter 44360 | Owner's Manual - Page 40
system heat off cool M T W TH F SA SU AM PM 1234 HEAT COOL 40 program hold /return - Hunter 44360 | Owner's Manual - Page 41
must equal 24 hours.) 6. Repeat steps 2-5 for the remaining days. 7. To review your program settings, press Program repeatedly to review the customized programs. (You can make changes at any time when the thermostat is in Program mode.) 8. Slide the system selector switch to the opposite position - Hunter 44360 | Owner's Manual - Page 42
FILTER filter 42 - Hunter 44360 | Owner's Manual - Page 43
Note: If the thermostat shows a Low Battery Warning, the backlight will not operate. Follow the instructions on pages 42-43 to change batteries. 2. Filter change indicator - will flash after 400 hours the Filter counter will also clear the Energy counter. See pages 50-51 for more information. 43 - Hunter 44360 | Owner's Manual - Page 44
Hr energy Usage Today Min 44 - Hunter 44360 | Owner's Manual - Page 45
the display blinks to reset the counter. Note: Clearing the Energy monitor counter will also clear the Filter counter. 4. Daylight savings time - allows for an easy transition during daylight savings time. Press Day/Time, then Up or Down to enter daylight savings time mode and adjust as needed. 45 - Hunter 44360 | Owner's Manual - Page 46
system heat off cool HEAT COOL reset 46 - Hunter 44360 | Owner's Manual - Page 47
word SPAN appears. Use the Up or Down button to adjust the span setting. (Up will increase your cycle time by allowing the system to run longer for a shorter length of time.) Span settings remain the same for HEAT and COOL system settings. When batteries are installed, or the unit is RESET, the span cycle - Hunter 44360 | Owner's Manual - Page 48
M PM 4 COOL STAGE 1 STAGE 2 48 - Hunter 44360 | Owner's Manual - Page 49
will flash alone on the display and your system will turn off. The display will be blank when no battery power is left. The system will remain off until new batteries are installed. (Your programs and time settings will be lost if the batteries are not replaced within one minute.) The thermostat - Hunter 44360 | Owner's Manual - Page 50
hold /return 50 - Hunter 44360 | Owner's Manual - Page 51
recover from an energy-saving setpoint temperature to a comfort setpoint temperature. Auto recovery calculates the time needed to adjust the temperature to the next program setting. When the thermostat is in Auto Recovery mode, the display will flash alternating messages of RECO and the time - Hunter 44360 | Owner's Manual - Page 52
52 - Hunter 44360 | Owner's Manual - Page 53
mode - indicates an unexpected battery problem. The screen will flash an ERR message and shut your system off until the batteries are replaced with new AA alkaline batteries. You must Reset and reprogram the thermostat after replacing the batteries if the thermostat has entered Error mode. 9. Auto - Hunter 44360 | Owner's Manual - Page 54
, there will be a 3.5 minute delay before it can be restarted to prevent compressor damage due to rapid cycling. 3. Resetting the unit reset To restore the thermostat to the original factory settings, press the reset button with a paperclip. (This will erase any user-programmed settings.) 54 - Hunter 44360 | Owner's Manual - Page 55
3. My display is erratic. 3 a. Reset the thermostat and reprogram your settings 4. The program will not change at my desired setting. 4 a. Check that the time is set properly to AM or PM. 4 b. Make sure the thermostat is not in permanent override mode. 4 c. Check that the day setting is correct. 55 - Hunter 44360 | Owner's Manual - Page 56
troubleshooting 5. My heating or cooling will not turn on or off. 5 a. Check the Heat/Cool function switch to ensure it is set to the desired your system has 4 wires, ensure the jumper wire is installed between the RC and RH terminals. 5 g. Check your system for proper wiring 6. The display will - Hunter 44360 | Owner's Manual - Page 57
troubleshooting 7. My system continues to operate when the thermostat is in the off position. 7 a. Replace unit. 7 b. Check your system for proper wiring. 8. The LCD screen permanently reads HI, LO, or ERR. 8 a. Replace unit 9. How do I just operate my thermostat manually? 9 a. Manual operation - Hunter 44360 | Owner's Manual - Page 58
Is there help on the web? Yes. Visit http://www.hunterfan.com for more information. Can't I just call someone? Sure. The Hunter Technical Support Group is available from 7 am to 7 pm CST M-F and 8 am to 5 pm Saturday. They may be reached toll-free at 1-888-830-1326. 58
-
 1
1 -
 2
2 -
 3
3 -
 4
4 -
 5
5 -
 6
6 -
 7
7 -
8
-
9
-
10
-
11
-
12
-
13
-
14
-
15
-
16
-
17
-
18
-
19
-
20
-
21
-
22
-
23
-
24
-
25
-
26
-
27
-
28
-
29
-
30
-
31
-
32
-
33
-
34
-
35
-
36
-
37
-
38
-
39
-
40
-
41
-
42
-
43
-
44
-
45
-
46
-
47
-
48
-
49
-
50
-
51
-
52
-
53
-
54
-
55
-
56
-
57
-
58
 |
 |
Form# 42710-01
20091204
©2009 Hunter Fan Co.
Set & $ave
Set & $ave
Set & $ave
Installation and
Operation Manual
Model
44360
Programmable
Thermostat
English