Kenmore 2806 Use and Care Guide - Page 4
Installation Requirements - sears
 |
View all Kenmore 2806 manuals
Add to My Manuals
Save this manual to your list of manuals |
Page 4 highlights
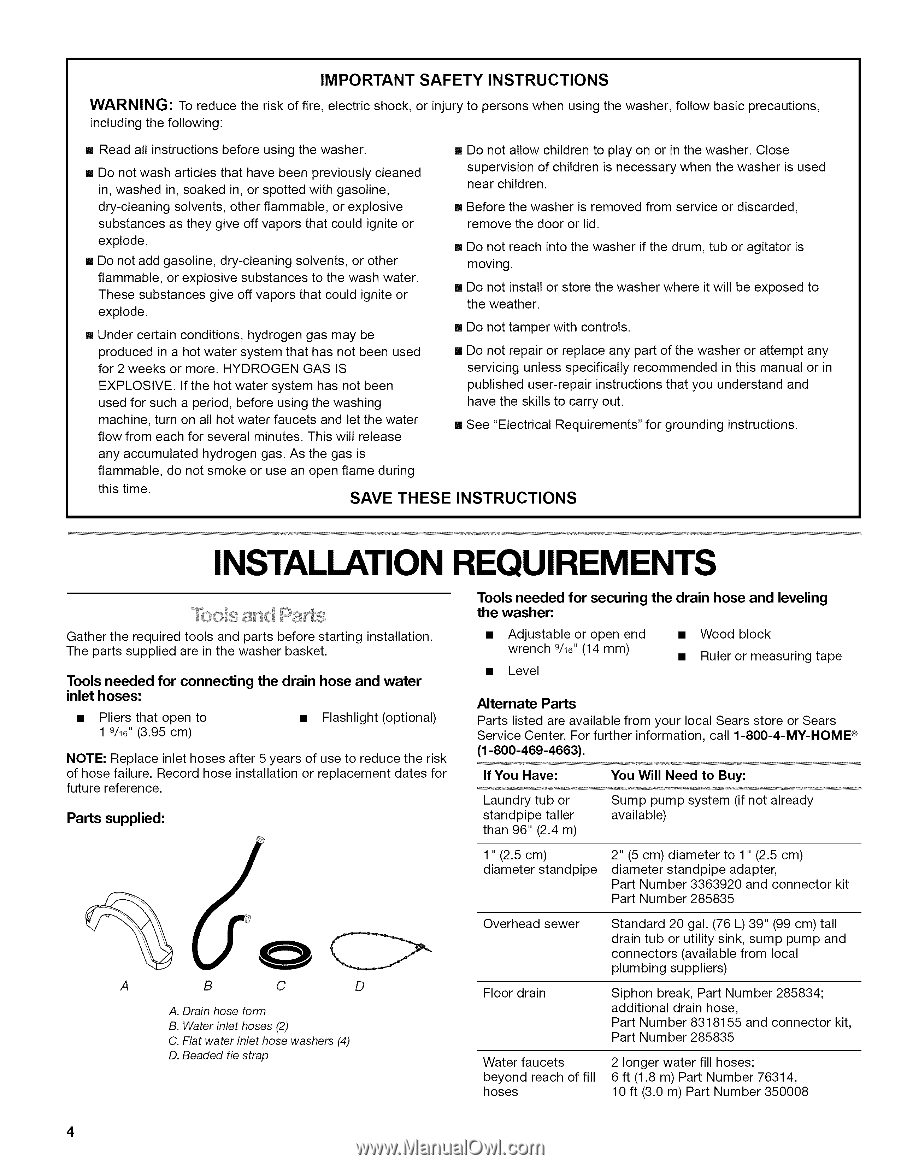
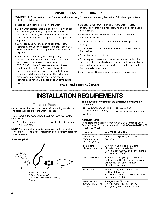
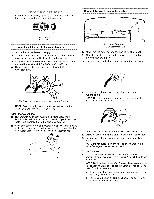
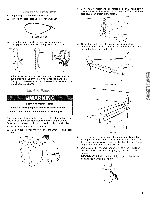
IMPORTANT SAFETY INSTRUCTIONS WARNING: To reduce the risk of fire, electric shock, or injury to persons when using the washer, follow basic precautions, including the following: • Read all instructions before using the washer. • Do not wash articles that have been previously cleaned in, washed in, soaked in, or spotted with gasoline, dry-cleaning solvents, other flammable, or explosive substances as they give off vapors that could ignite or explode. m Do not add gasoline, dry-cleaning solvents, or other flammable, or explosive substances to the wash water. These substances give off vapors that could ignite or explode. m Under certain conditions, hydrogen gas may be produced in a hot water system that has not been used for 2 weeks or more. HYDROGEN GAS IS EXPLOSIVE. If the hot water system has not been used for such a period, before using the washing machine, turn on all hot water faucets and let the water flow from each for several minutes. This wilt release any accumulated hydrogen gas. As the gas is flammable, do not smoke or use an open flame during this time. SAVE THESE • Do not allow children to play on or in the washer. Close supervision of children is necessary when the washer is used near children. • Before the washer is removed from service or discarded, remove the door or lid. • Do not reach into the washer if the drum, tub or agitator is moving. Do not install or store the washer where it will be exposed to the weather. Do not tamper with controls. Do not repair or replace any part of the washer or attempt any servicing unless specifically recommended in this manual or in published user-repair instructions that you understand and have the skills to carry out. • See "Electrical Requirements" for grounding instructions. INSTRUCTIONS INSTALLATION REQUIREMENTS Gather the required tools and parts before starting installation. The parts supplied are in the washer basket. Tools needed for connecting the drain hose and water inlet hoses: • Pliers that open to 1 9/16"(3.95 cm) • Flashlight (optional) NOTE: Replace inlet hoses after 5 years of use to reduce the risk of hose failure. Record hose installation or replacement dates for future reference. Parts supplied: A B C D A. Drain hose form B. Water inlet hoses (2) C. Flat water inlet hose washers (4) D. Beaded tie strap Tools needed for securing the drain hose and leveling the washer: • Adjustable or open end wrench 9/_6"(14 mm) • Level • Wood block • Ruler or measuring tape Alternate Parts Parts listed are available from your local Sears store or Sears Service Center. For further information, call 1-800-4-MY-HOME ® (1-800-469-4663). If You Have: You Will Need to Buy: Laundry tub or standpipe taller than 96" (2.4 m) Sump pump system (if not already available) 1" (2.5 cm) diameter standpipe 2" (5 cm) diameter to 1" (2.5 cm) diameter standpipe adapter, Part Number 3363920 and connector kit Part Number 285835 Overhead sewer Standard 20 gal. (76 L) 39" (99 cm) tall drain tub or utility sink, sump pump and connectors (available from local plumbing suppliers) Floor drain Siphon break, Part Number 285834; additional drain hose, Part Number 8318155 and connector kit, Part Number 285835 Water faucets beyond reach of fill hoses 2 longer water fill hoses: 6 ft (1.8 m) Part Number 76314, 10 ft (3.0 m) Part Number 350008 4
-
 1
1 -
 2
2 -
 3
3 -
 4
4 -
 5
5 -
 6
6 -
 7
7 -
 8
8 -
 9
9 -
 10
10 -
11
-
12
-
13
-
14
-
15
-
16
-
17
-
18
-
19
-
20
-
21
-
22
-
23
-
24
-
25
-
26
-
27
-
28
-
29
-
30
-
31
-
32
-
33
-
34
-
35
-
36
-
37
-
38
-
39
-
40
-
41
-
42
-
43
-
44
-
45
-
46
-
47
-
48
-
49
-
50
-
51
-
52
-
53
-
54
-
55
-
56
-
57
-
58
-
59
-
60
-
61
-
62
-
63
-
64
-
65
-
66
-
67
-
68
-
69
-
70
-
71
-
72
-
73
-
74
-
75
-
76
 |
 |