KitchenAid KCM222CU Use & Care Guide - Page 14
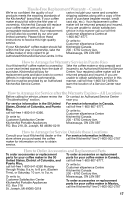
Troubleshooting - replacement carafe
 |
View all KitchenAid KCM222CU manuals
Add to My Manuals
Save this manual to your list of manuals |
Page 14 highlights
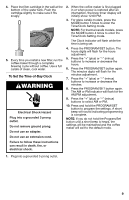
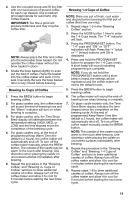
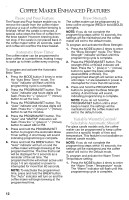
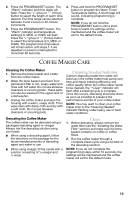
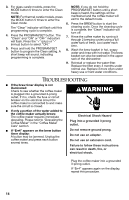
3. For glass carafe models, press the MODE button 6 times to enter the Clean mode. NOTE: For thermal carafe models, press the MODE button 5 times to enter the Clean mode. The "Clean" indicator will flash until this programming cycle is complete. 4. Press the PROGRAM/SET button. The "Clean" and "ON" or "OFF" indicators will flash. Press the "+" (plus) or "-" (minus) button to select "ON." 5. Press and hold the PROGRAM/SET button to program the Clean setting. A short beep will sound, indicating programming is complete. NOTE: If you do not hold the PROGRAM/SET button until a short beep is heard, the settings will be maintained and the coffee maker will exit to the default mode. 6. Press the BREW button to start the cleaning cycle. Once the cleaning cycle is complete, the "Clean" indicator will turn off. 7. Rinse the coffee maker by running it through 2 brewing cycles using a full water tank of fresh, cool water each time. 8. Wash the brew basket in hot, soapy water and rinse with hot water. The brew basket can also be washed in the upper rack of the dishwasher. 9. Reinstall or replace the water filter. Replace the filter every 3 months under normal use. Replace it more often under heavy use or hard water conditions. TROUBLESHOOTING ■ If the brew timer display is not illuminated: Check to see whether the coffee maker is plugged into a grounded 3-prong outlet. If it is, check the fuse or circuit breaker on the electrical circuit the coffee maker is connected to and make sure the circuit is closed. WARNING ■ If only a portion of the water added to the coffee maker actually brews: The coffee maker requires immediate descaling. Please refer to "Descaling the Coffee Maker" in the "Coffee Maker Care" section. ■ If "Err4" appears on the brew button timer display: A button may be jammed. Unplug the coffee maker and press each button several times. Electrical Shock Hazard Plug into a grounded 3 prong outlet. Do not remove ground prong. Do not use an adapter. Do not use an extension cord. Failure to follow these instructions can result in death, fire, or electrical shock. Plug the coffee maker into a grounded 3-prong outlet. If "Err4" appears again on the display, repeat this procedure. 14
-
 1
1 -
2
-
3
-
4
-
5
-
6
-
7
-
8
-
 9
9 -
 10
10 -
 11
11 -
 12
12 -
 13
13 -
 14
14 -
 15
15 -
 16
16 -
 17
17 -
 18
18 -
 19
19 -
20
-
21
-
22
-
23
-
24
-
25
-
26
-
27
-
28
-
29
-
30
-
31
-
32
-
33
-
34
-
35
-
36
-
37
-
38
-
39
-
40
-
41
-
42
-
43
-
44
-
45
-
46
-
47
-
48
-
49
-
50
-
51
-
52
-
53
-
54
-
55
-
56
 |
 |
