KitchenAid KEBS277SBL Installation Instructions
KitchenAid KEBS277SBL - 27 Inch Double Electric Wall Oven Manual
 |
UPC - 883049034782
View all KitchenAid KEBS277SBL manuals
Add to My Manuals
Save this manual to your list of manuals |
KitchenAid KEBS277SBL manual content summary:
- KitchenAid KEBS277SBL | Installation Instructions - Page 1
Doors properly adjusted, open and close smoothly _' 6. Selector switch functions in all modes , 7 Unless Instructed to leave for owner. remove all tags, iabels and Internal packing materials. 8 Oven has been wiped clean to remove flnqermarks and other smudges THANK YOU INSTALLER: 1 Complete lr - KitchenAid KEBS277SBL | Installation Instructions - Page 2
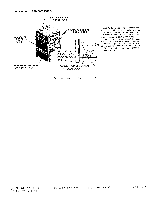
Save Time, Work, assure proper performance, and owner's warranty protection. INSTALLATION INSTRUCTIONS CABINET CONSTRUCTION The oven must be enclosed by an appropriate cabinet or properly framed opening in the wall. See illustrations and tables for dimensions. b The cabinet must have a solid - KitchenAid KEBS277SBL | Installation Instructions - Page 3
only this appliance be provided. It is the personal responsibility of the customer to have a properly grounded, 3-prong wall receptacle Standards, Title 24 CFR, Part 3280 (formerly the Federal Standard for Mobile Home Construction and Safety, Title 24. HUD, Part 280) Model No KEBS177 KEBI140 - KitchenAid KEBS277SBL | Installation Instructions - Page 4
oven because of its weight and size. Failure to follow these instructions may result in Lpersonal injury. Floor Damage Keep shipping base under oven. to hold various parts in POSItion during shipment. Remove oven racks from the inside of the oven and put to one side while oven IS being installed - KitchenAid KEBS277SBL | Installation Instructions - Page 5
Where the exterior trim is to be installed on the oven, omit step C and proceed with the instructions supplied with the trim. C The bottom trim strip fasten wall oven to cabinets using the screws provided (4 screws for a double oven or 2 screws for a single oven). Failure to do so could cause oven - KitchenAid KEBS277SBL | Installation Instructions - Page 6
In locatlons Indicated by lllustratlon Allow one end of the paper to extend 1130 the oven cavity. Pull gently at each piece of paper. If door IS properly adjusted, each C?ange WIthout Notlce Part No 3177123 Rev B @I969 tiltchenAid. Inc. Prepared by KItchenAId. St. Joseph, Mchigan 49085 Printed
-
 1
1 -
 2
2 -
 3
3 -
 4
4 -
 5
5 -
 6
6
 |
 |
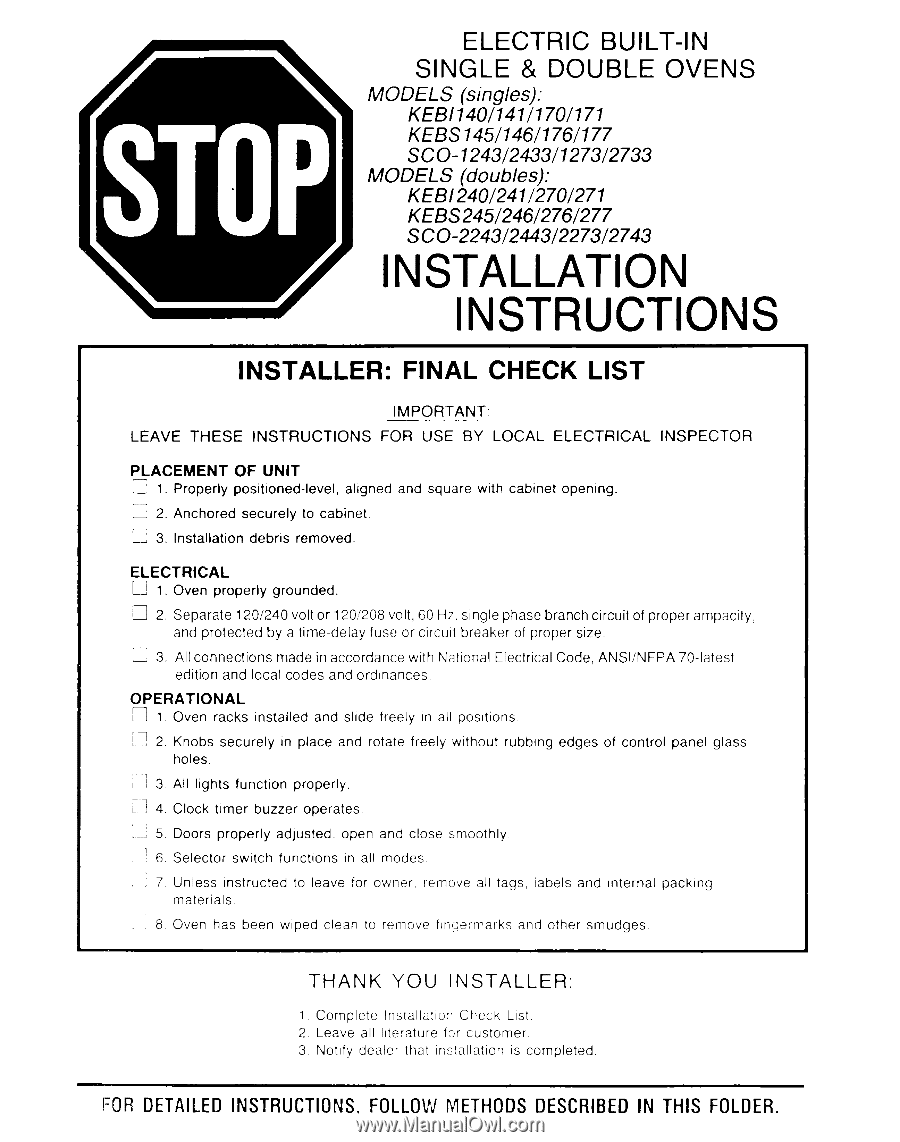
ELECTRIC
BUILT-IN
SINGLE
& DOUBLE
OVENS
MODELS
(singles):
KEt31140/141/170/171
KEBS145/146/176/177
SCO-1243/2433/1273/2733
MODELS
(doubles):
KEB1240/241/270/271
KEBS245/246/276/277
SCO-2243124431227312743
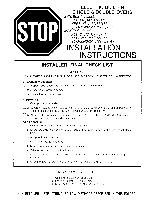
INSTALLATION
INSTRUCTIONS
INSTALLER:
FINAL CHECK LIST
IMPORTANT:
LEAVE
THESE
INSTRUCTIONS
FOR
USE
BY
LOCAL
ELECTRICAL
INSPECTOR
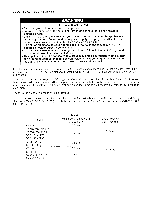
PLACEMENT
OF UNIT
@
1. Properly
positioned-level,
aligned
and
square
with
cabinet
opening.
u
2. Anchored
securely
to cabinet.
n
3. Installation
debns
removed.
ELECTRICAL
n
1. Oven
properly
grounded.
0
2. Separate
1201240
volt or 12Oi208
volt, 60 Hr. single
phase
branch
circuit
of proper
ampacity,
and protected
by a time-delay
fuse or circuit
breaker
of proper
size.
c
3. All connections
made
in accordance
with National
Electrical
Code,
ANSliNFPA
70.latest
edition
and local
codes
and ordinances.
OPERATIONAL
3
1.0
ven
racks
installed
and slide
freely
In all posrtlons.
il
2. Knobs
securely
in place
and
rotate
freely
wlthout
rubbing
edges
of control
panel
glass
holes.
J
3. All lights
function
properly.
-~
1
L
J 4. Clock
timer
buzzer
operates.
r-7
.-J 5. Doors
properly
adjusted,
open
and close
smoothly
’ 6. Selector
switch
functions
in all modes
_
, 7 Unless
Instructed
to leave
for owner.
remove
all tags,
iabels
and
Internal
packing
materials.
8 Oven
has been
wiped
clean
to remove
flnqermarks
and other
smudges
THANK
YOU
INSTALLER:
1 Complete
lr~stallatlo:l
Check
LISA
2. Leave
all literature
for customer
3
Notify
dealer
that
ihstallatlon
IS
completed.
FDR DETAILED INSTRUCTIONS, FOLLOW METHODS DESCRIBED IN THIS FOLDER.