Konica Minolta PS7000 Twain Driver and Overlay Manager Software Installation a - Page 39
Step 5: Add a bitmap image, Step 6: Save it, Enable/Disable Overlay Monitor
 |
View all Konica Minolta PS7000 manuals
Add to My Manuals
Save this manual to your list of manuals |
Page 39 highlights
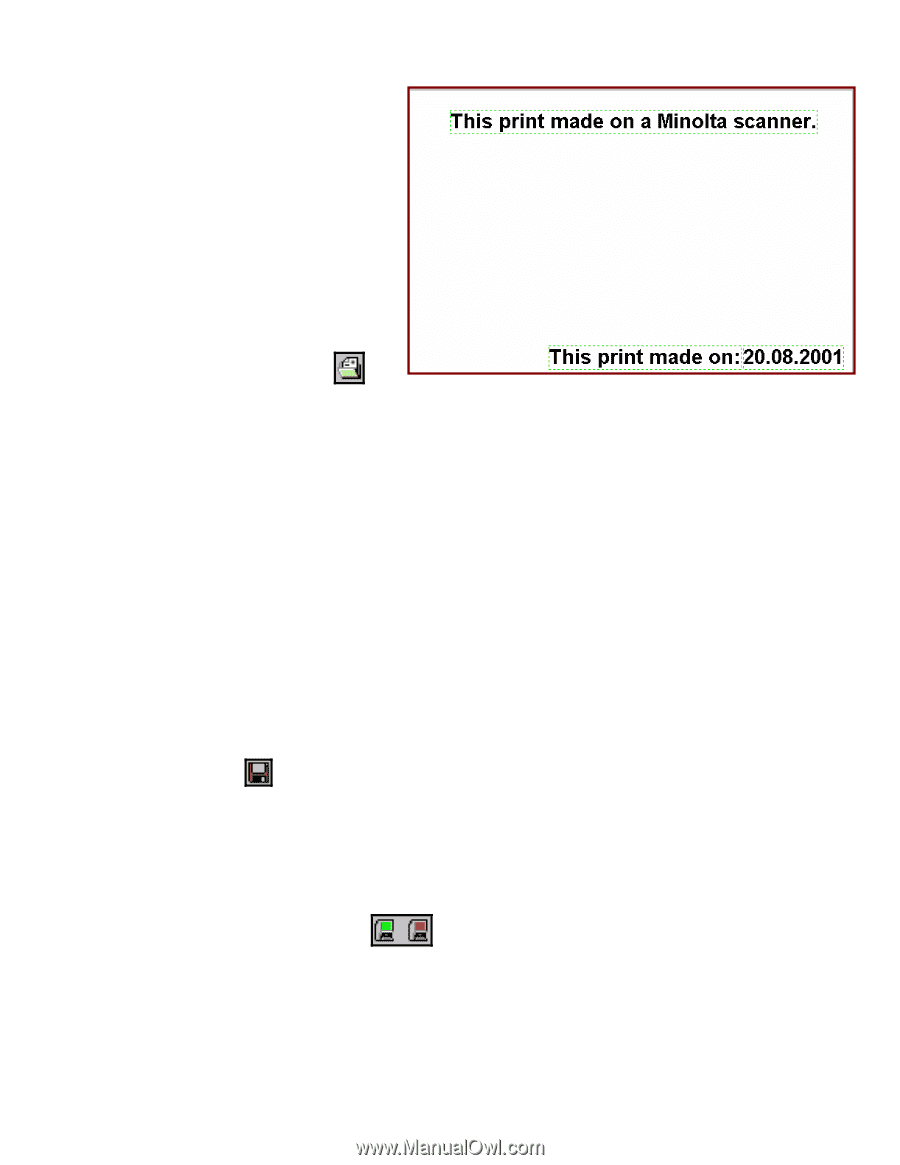
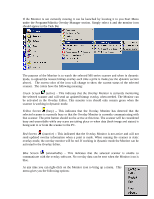
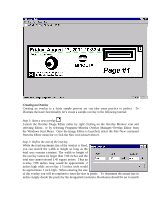
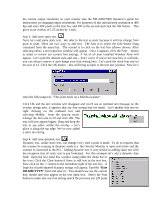
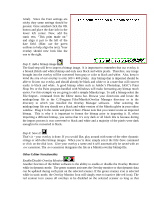
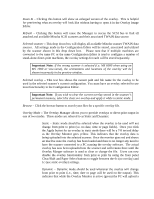
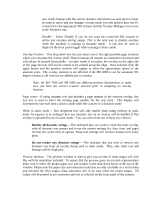
Arial). Since the Font settings are sticky they same settings should be present. Once satisfied click the OK button and place the date info in the lower left corner. Now, add the static text, "This print made on:" and align it just to the left of the date field. (Hint: use the green outlines to help align the text). Your overlay should now look like the one to the right. Step 5: Add a bitmap image The final step will be to import a bitmap image. It is important to remember that our overlay is a bitonal (black and white) bitmap and only uses black and white pixels. Therefore, any image brought into the overlay will be converted from gray or color to black and white. Also, keep in mind the size of our overlay is only 500 x 400 pixels. Any bitmap that is imported should be able to fit into our overlay and should already be black and white or in a state that will convert easily to black and white. A good bitmap editor such as Adobe's Photoshop, JASC's Paint Shop Pro or the Paint program bundled with Windows will make formatting any bitmap much easier. For this example we are going to add a sample Minolta logo. To add a bitmap select the File>Import.. command from the Editor menu bar. Browse your directories and locate the minlogo.bmp file in the C:\Program Files\Minolta\Overlay Manager directory or in the directory to which you installed the Overlay Manager software. After selecting the minlogo.bmp file you should see a black and white version of the Minolta globe in your editor window. Drag it to the center and place it there. Please note that you cannot resize an imported bitmap. This is why it is important to format the bitmap prior to importing it. If, when importing a different bitmap, you notice that it's very dark or all black this is because during the import process it was converted to black and white and a majority of the pixels were dark enough to be converted to black. Step 6: Save it! That's it - your overlay is done. If you would like, play around with some of the other dynamic strings or add other bitmap images. When you're done simply select the File>Save command or click on the disk icon. Give your overlay a name and it will automatically be saved with an .ovr extension. The .ovr extension designates the file as a Minolta overlay bitmap file. Other Editor Functionality Enable/Disable Overlay Monitor Another function of the Editor software is the ability to enable or disable the Overlay Monitor while in dynamic mode. The green scanner activates the Overlay monitor so that dynamic data can be updated during each print on the selected scanner. If the green scanner icon is selected while in static mode, the Overlay Monitor Icon will simply reset to inactive (the red icon). The red scanner icon causes all overlays to be disabled on the selected scanner so long as that
-
 1
1 -
2
-
3
-
4
-
5
-
6
-
7
-
8
-
9
-
10
-
11
-
12
-
13
-
14
-
15
-
16
-
17
-
18
-
19
-
20
-
21
-
22
-
23
-
24
-
25
-
26
-
27
-
28
-
29
-
30
-
31
-
32
-
33
-
 34
34 -
 35
35 -
 36
36 -
 37
37 -
 38
38 -
 39
39 -
 40
40 -
 41
41 -
 42
42 -
 43
43 -
 44
44 -
45
-
46
-
47
-
48
-
49
-
50
-
51
-
52
-
53
-
54
-
55
-
56
-
57
-
58
-
59
 |
 |