Konica Minolta bizhub C650 bizhub C650 Print Operations User Guide - Page 137
Specifying the Basic tab settings, Printing to suit the paper size, Specifying a custom size
 |
View all Konica Minolta bizhub C650 manuals
Add to My Manuals
Save this manual to your list of manuals |
Page 137 highlights
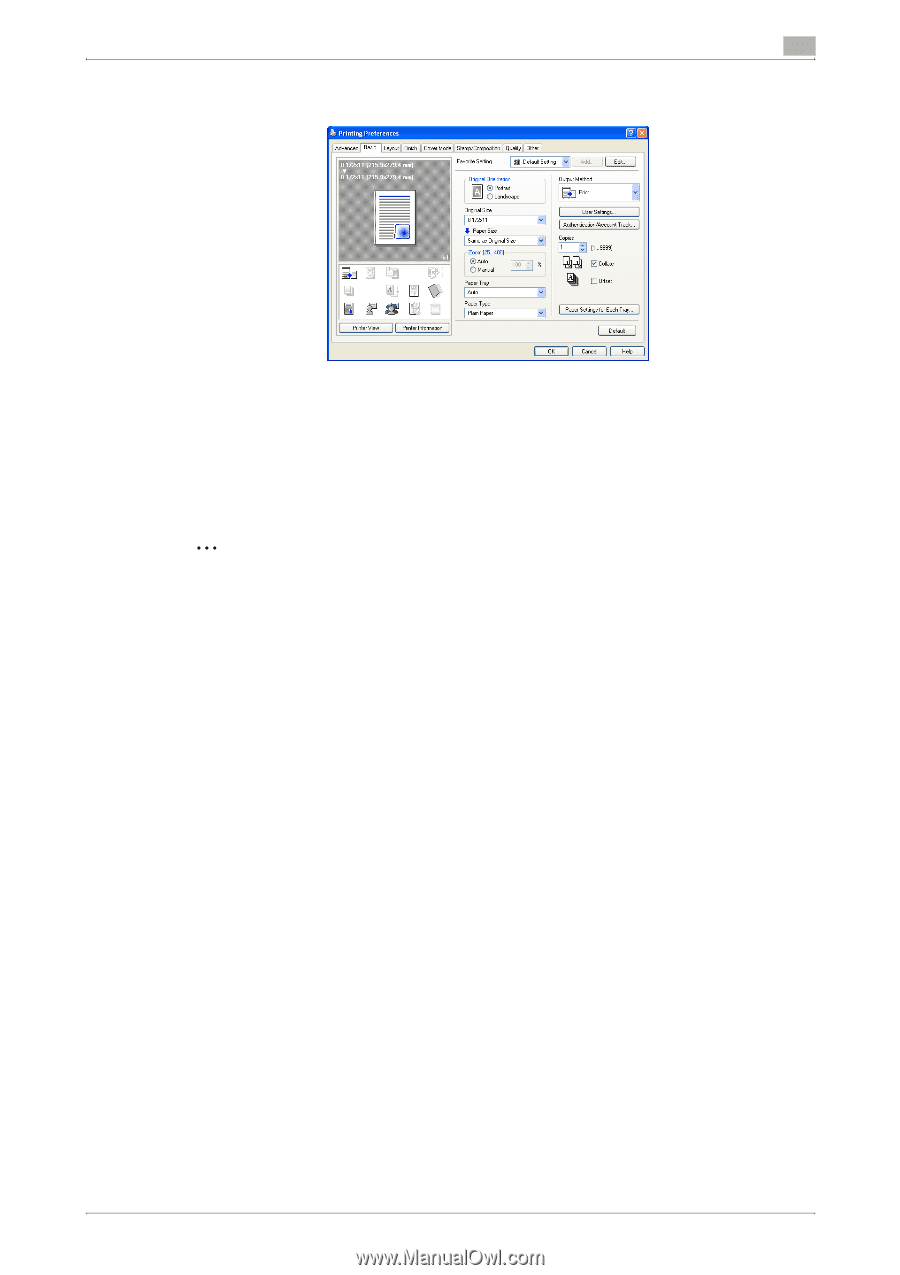
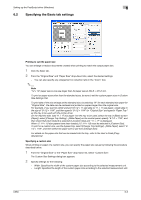
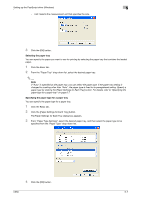
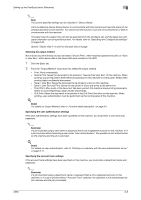
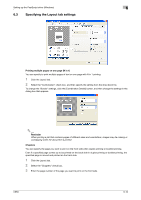
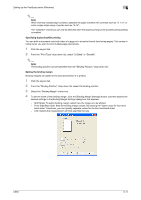
Setting up the PostScript driver (Windows) 6 6.2 Specifying the Basic tab settings Printing to suit the paper size You can enlarge or reduce documents created when printing to match the output paper size. 1 Click the Basic tab. 2 From the "Original Size" and "Paper Size" drop-down lists, select the desired settings. - You can also specify any enlargement or reduction ratio in the "Zoom" box. 2 Note "12 × 18" paper size is one size larger than A3 paper size at 304.8 × 457.2 mm. To print on paper sizes other than the standard sizes, be sure to set the custom paper sizes in Custom Size Settings first. To print data of the size as large as the standard size, by selecting "W" for each standard size paper for "Original Size", the data can be centered and printed on papers larger than the original size. For example, if you want to center and print 8-1/2 × 11 size data on 11 × 17 size paper, create data in the size of "8-1/2 × 11W", and then specify "8-1/2 × 11W" for "Original Size" and specify "Paper Tray" as the tray to be used with the printer driver. On the machine side, load 11 × 17 size paper into the tray to be used, select the tray in [Basic screen (Paper)], select [Change Tray Setting] - [Wide Paper] on the control panel, specify "8-1/2 × 11W", and then check that [Auto Detect] is selected in [Custom Size] and "11 × 17" is displayed. When 12-1/4 × 18 size papers have been loaded, [12-1/4 × 18] must be selected in [Custom Size]. To print on a custom size, use the bypass tray, select [Change Tray Settings] - [Wide Paper], select "81/2 × 11W", and then select the paper size to use from [Change Size]. For details on the paper size that can be loaded into the tray, refer to the User's Guide [Copy Operations]. Specifying a custom size When printing on paper of a custom size, you can specify the paper size values by following the procedure described below. 1 From the "Original Size" or the "Paper Size" drop-down list, select "Custom Size". The Custom Size Settings dialog box appears. 2 Specify settings for the following: - Width: Specifies the width of the custom paper size according to the selected measurement unit. - Length: Specifies the length of the custom paper size according to the selected measurement unit. C650 6-6
-
 1
1 -
2
-
3
-
4
-
5
-
6
-
7
-
8
-
9
-
10
-
11
-
12
-
13
-
14
-
15
-
16
-
17
-
18
-
19
-
20
-
21
-
22
-
23
-
24
-
25
-
26
-
27
-
28
-
29
-
30
-
31
-
32
-
33
-
34
-
35
-
36
-
37
-
38
-
39
-
40
-
41
-
42
-
43
-
44
-
45
-
46
-
47
-
48
-
49
-
50
-
51
-
52
-
53
-
54
-
55
-
56
-
57
-
58
-
59
-
60
-
61
-
62
-
63
-
64
-
65
-
66
-
67
-
68
-
69
-
70
-
71
-
72
-
73
-
74
-
75
-
76
-
77
-
78
-
79
-
80
-
81
-
82
-
83
-
84
-
85
-
86
-
87
-
88
-
89
-
90
-
91
-
92
-
93
-
94
-
95
-
96
-
97
-
98
-
99
-
100
-
101
-
102
-
103
-
104
-
105
-
106
-
107
-
108
-
109
-
110
-
111
-
112
-
113
-
114
-
115
-
116
-
117
-
118
-
119
-
120
-
121
-
122
-
123
-
124
-
125
-
126
-
127
-
128
-
129
-
130
-
131
-
 132
132 -
 133
133 -
 134
134 -
 135
135 -
 136
136 -
 137
137 -
 138
138 -
 139
139 -
 140
140 -
 141
141 -
 142
142 -
143
-
144
-
145
-
146
-
147
-
148
-
149
-
150
-
151
-
152
-
153
-
154
-
155
-
156
-
157
-
158
-
159
-
160
-
161
-
162
-
163
-
164
-
165
-
166
-
167
-
168
-
169
-
170
-
171
-
172
-
173
-
174
-
175
-
176
-
177
-
178
-
179
-
180
-
181
-
182
-
183
-
184
-
185
-
186
-
187
-
188
-
189
-
190
-
191
-
192
-
193
-
194
-
195
-
196
-
197
-
198
-
199
-
200
-
201
-
202
-
203
-
204
-
205
-
206
-
207
-
208
-
209
-
210
-
211
-
212
-
213
-
214
-
215
-
216
-
217
-
218
-
219
-
220
-
221
-
222
-
223
-
224
-
225
-
226
-
227
-
228
-
229
-
230
-
231
-
232
-
233
-
234
-
235
-
236
-
237
-
238
-
239
-
240
-
241
-
242
-
243
-
244
-
245
-
246
-
247
-
248
-
249
-
250
-
251
-
252
-
253
-
254
-
255
-
256
-
257
-
258
-
259
-
260
-
261
-
262
-
263
-
264
-
265
-
266
-
267
-
268
-
269
-
270
-
271
-
272
-
273
-
274
-
275
-
276
-
277
-
278
-
279
-
280
-
281
-
282
-
283
-
284
-
285
-
286
-
287
-
288
-
289
-
290
-
291
-
292
-
293
-
294
-
295
-
296
-
297
-
298
-
299
-
300
-
301
-
302
-
303
 |
 |