Kyocera KM-1820 1820 Operation Guide (Advanced Edition) - Page 31
Selecting the Image File Format, Entering the Name of send job, Select, Function, Enter, Start
 |
View all Kyocera KM-1820 manuals
Add to My Manuals
Save this manual to your list of manuals |
Page 31 highlights
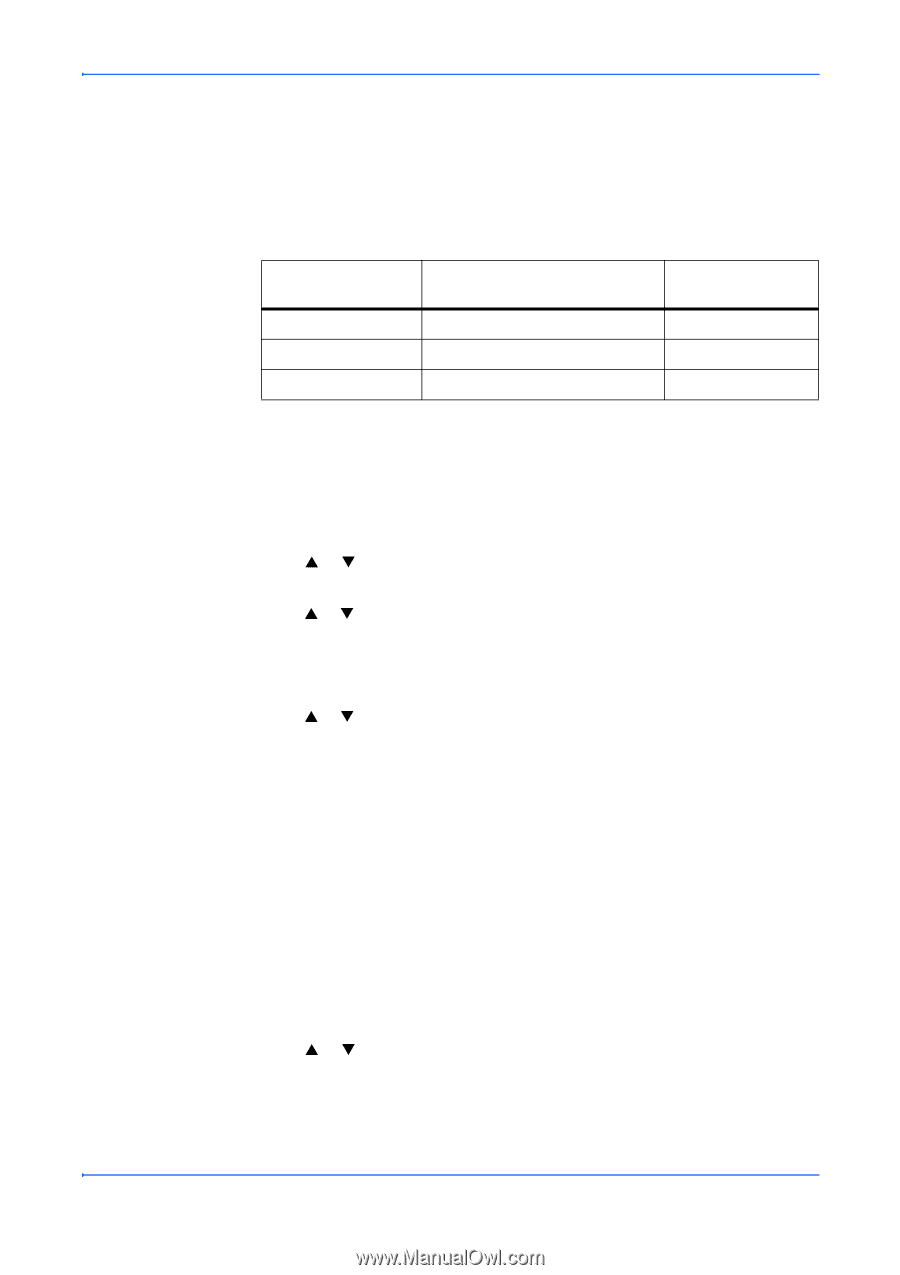
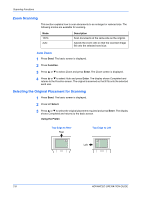
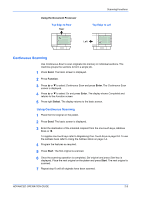
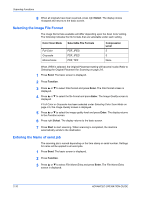
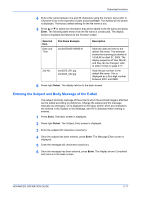
Scanning Functions 8 When all originals have been scanned, press right Select. The display shows Accepted and returns to the basic screen. Selecting the Image File Format The image file formats available will differ depending upon the Scan Color setting. The following indicates the file formats that are selectable under each setting. Color Scan Mode Selectable File Formats Full Color Grayscale Monochrome PDF, JPEG PDF, JPEG PDF, TIFF Compression Level 5 5 None When JPEG is selected, the Original Placement setting will become invalid. Refer to Selecting the Original Placement for Scanning on page 2-8. 1 Press Send. The basic screen is displayed. 2 Press Function. 3 Press S or T to select File Format and press Enter. The File Format screen is displayed. 4 Press S or T to select the file format and press Enter. The Image Quality screen is displayed. If Full Color or Grayscale has been selected under Selecting Color Scan Mode on page 2-5, the Image Quality screen is displayed. 5 Press S or T to select the image quality level and press Enter. The display returns to the Function screen. 6 Press right Select. The display returns to the basic screen. 7 Press Start to start scanning. When scanning is completed, the machine automatically sends to the destination. Entering the Name of send job The scanning job is named depending on the time stamp or serial number. Settings for name will be applied to all send jobs. 1 Press Send. The basic screen is displayed. 2 Press Function. 3 Press S or T to select File Name Entry and press Enter. The File Name Entry screen is displayed. 2-10 ADVANCED OPERATION GUIDE
-
 1
1 -
2
-
3
-
4
-
5
-
6
-
7
-
8
-
9
-
10
-
11
-
12
-
13
-
14
-
15
-
16
-
17
-
18
-
19
-
20
-
21
-
22
-
23
-
24
-
25
-
 26
26 -
 27
27 -
 28
28 -
 29
29 -
 30
30 -
 31
31 -
 32
32 -
 33
33 -
 34
34 -
 35
35 -
 36
36 -
37
-
38
-
39
-
40
-
41
-
42
-
43
-
44
-
45
-
46
-
47
-
48
-
49
-
50
-
51
-
52
-
53
-
54
-
55
-
56
-
57
-
58
-
59
-
60
-
61
-
62
-
63
-
64
-
65
-
66
-
67
-
68
-
69
-
70
-
71
-
72
-
73
-
74
-
75
-
76
-
77
-
78
-
79
-
80
-
81
-
82
-
83
-
84
-
85
-
86
-
87
-
88
-
89
-
90
-
91
-
92
-
93
-
94
-
95
-
96
-
97
-
98
-
99
-
100
-
101
-
102
-
103
-
104
-
105
-
106
-
107
-
108
-
109
-
110
-
111
-
112
-
113
-
114
-
115
-
116
-
117
-
118
-
119
-
120
-
121
-
122
-
123
-
124
-
125
-
126
-
127
-
128
-
129
-
130
-
131
-
132
-
133
-
134
-
135
-
136
-
137
-
138
-
139
-
140
-
141
-
142
-
143
-
144
-
145
-
146
-
147
 |
 |