Kyocera KM-8030 KX Driver User Guide Version 5.90 - Page 28
Media Types, Printer and Faxes
 |
View all Kyocera KM-8030 manuals
Add to My Manuals
Save this manual to your list of manuals |
Page 28 highlights
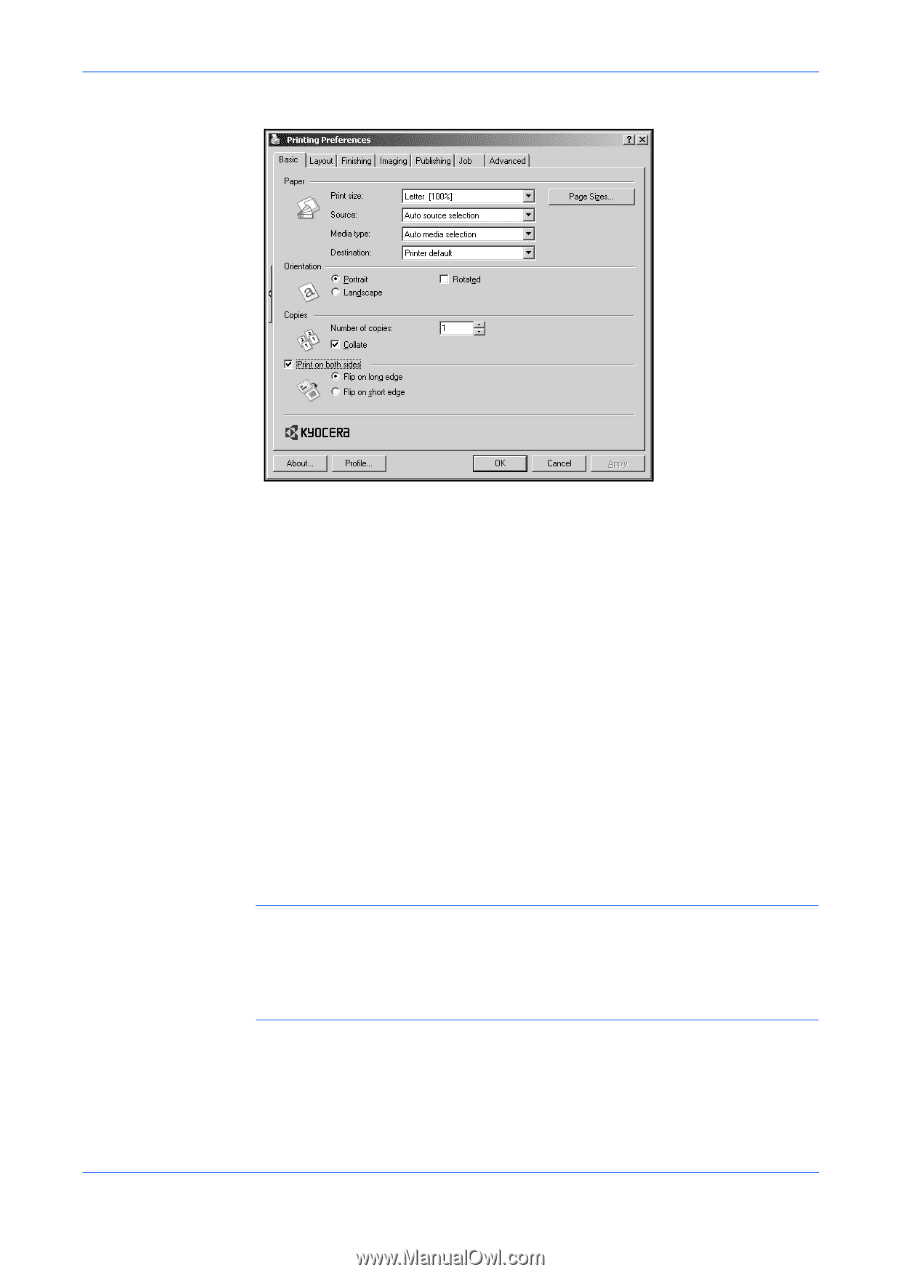
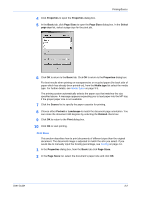
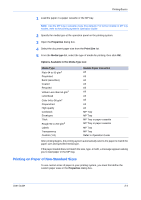
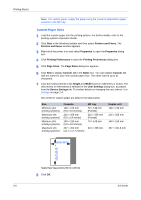
Printing Basics 3 In the Basic tab, click the Print Size list and select the preferred output paper size.3 4 Confirm the proper paper size is loaded. Click OK to return to the Print dialog box. 4 5 Click OK to start printing. 5 The source document is automatically scaled to fit the output paper size. Media Types The printing system automatically selects the paper size specified in the Page Sizes setting in the Basic tab by default when you are printing on regular paper. However, the printing system supports a wide variety of printing media depending on your printing system model. You can specify the media type in the Media type setting for auto media selection when using non-standard types of printing media, such as recycled paper, labels, or transparencies. You can also specify the finishing settings for best results. Automatic selection of media types can be disabled in the PCL XL settings dialog box. For further details, refer to Page Description Language (PDL) on page 2-5. Labels, transparencies, and envelopes must be printed using the MP tray. Ensure the paper is properly loaded by following the instructions outlined in the printing system's Operation Guide. Note: The default setting is for Source and Media type to be separate items in the dialog box, but it is possible to combine them using a setting in Compatibility Settings. If they are combined, the Media type list is not available. To change this setting, open Printer Properties from the Microsoft Windows Printer and Faxes window, go to Device settings and then Compatibility Settings, and then clear the Combine source and media type lists selection. When paper is properly loaded in the paper cassette, the printing system can automatically detect the paper size. However, it is necessary to use the operation panel on the printing system to assign the media type of the paper cassette so that the printing system can recognize it. The steps to specify the media settings are listed below. 3-3 KX Driver
-
 1
1 -
2
-
3
-
4
-
5
-
6
-
7
-
8
-
9
-
10
-
11
-
12
-
13
-
14
-
15
-
16
-
17
-
18
-
19
-
20
-
21
-
22
-
 23
23 -
 24
24 -
 25
25 -
 26
26 -
 27
27 -
 28
28 -
 29
29 -
 30
30 -
 31
31 -
 32
32 -
 33
33 -
34
-
35
-
36
-
37
-
38
-
39
-
40
-
41
-
42
-
43
-
44
-
45
-
46
-
47
-
48
-
49
-
50
-
51
-
52
-
53
-
54
-
55
-
56
-
57
-
58
-
59
-
60
-
61
-
62
-
63
-
64
-
65
-
66
-
67
-
68
-
69
-
70
-
71
-
72
-
73
-
74
-
75
-
76
-
77
-
78
-
79
-
80
-
81
-
82
-
83
-
84
-
85
-
86
-
87
-
88
-
89
-
90
-
91
-
92
-
93
-
94
-
95
-
96
-
97
-
98
-
99
-
100
-
101
-
102
-
103
-
104
-
105
 |
 |