Kyocera KM-8030 KX Driver User Guide Version 5.90 - Page 85
Additional Options, Fonts, Print as Footer Also, Outline Text, Watermark Color, Background Pattern - mac driver
 |
View all Kyocera KM-8030 manuals
Add to My Manuals
Save this manual to your list of manuals |
Page 85 highlights
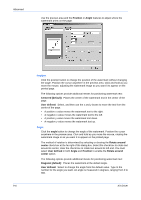
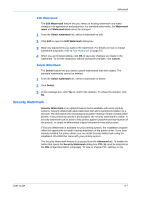
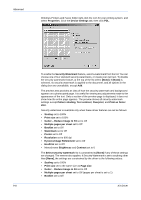
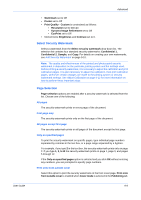
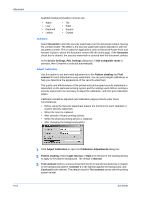
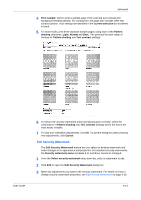
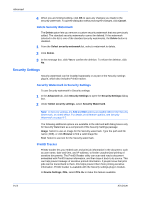
User Guide Advanced To leave a text line blank, select [None] from that line's drop-down list. With User Defined selected from the Line text drop-down list, type the text you want in the text box next to the drop-down list. The maximum length of each line of text is 39 characters. As you type, your text appears in the preview pane at the left. As an alternative to creating your own security watermark text, you can choose one of the following selections from the list. These options direct the printing system to retrieve information from the computer or printer driver to print the security watermark: • Computer name • Date and time • Job name • Mac address • User name • Date • Time • IP address • Job ID For date, time, and job selections, only a label for the selection appears in the preview panel. When the job is printed, the actual date, time or job information prints as the security watermark text. 4 To add the new custom security watermark, click OK. To quit the dialog box without saving the watermark, click Cancel. 4 Additional Options Fonts Select a font for the new watermark from the Font list. The Security Watermark feature uses only TrueType fonts. Select a font Size and Style. To adjust the Angle of the text on the page, select from the list. An angle is measured in degrees, ranging from 0 to 180. The default is 45 degrees. Print as Footer Also Select this option to print the first available line of text (in the Line 1, Line 2, or Line 3 text boxes) as a footer on the document page. Select Left, Center, or Right to position the text in the footer. Since the actual security watermark text may not be visible on the document original, the footer can be useful for reproducing the text visibly in an inconspicuous place at the bottom of the page, Outline Text This option produces an effect on the photocopied page that is the reverse of the standard result. If the check box for Outline text is cleared (the standard printing option), the text is the darkest, most visible part of the photocopy. If selected, the background is the most visible part, creating an outline around the text which makes the text appear white. The default setting for Outline text is On. Watermark Color Select a Watermark color from the drop-down list for printing the security watermark text and background. The default is Black. Background Pattern Select a Background Pattern from the drop-down list for printing the security watermark background. 9-11
-
 1
1 -
2
-
3
-
4
-
5
-
6
-
7
-
8
-
9
-
10
-
11
-
12
-
13
-
14
-
15
-
16
-
17
-
18
-
19
-
20
-
21
-
22
-
23
-
24
-
25
-
26
-
27
-
28
-
29
-
30
-
31
-
32
-
33
-
34
-
35
-
36
-
37
-
38
-
39
-
40
-
41
-
42
-
43
-
44
-
45
-
46
-
47
-
48
-
49
-
50
-
51
-
52
-
53
-
54
-
55
-
56
-
57
-
58
-
59
-
60
-
61
-
62
-
63
-
64
-
65
-
66
-
67
-
68
-
69
-
70
-
71
-
72
-
73
-
74
-
75
-
76
-
77
-
78
-
79
-
 80
80 -
 81
81 -
 82
82 -
 83
83 -
 84
84 -
 85
85 -
 86
86 -
 87
87 -
 88
88 -
 89
89 -
 90
90 -
91
-
92
-
93
-
94
-
95
-
96
-
97
-
98
-
99
-
100
-
101
-
102
-
103
-
104
-
105
 |
 |
