Kyocera KM-8030 KX Driver User Guide Version 5.90 - Page 89
Selection, Add Edit ID
 |
View all Kyocera KM-8030 manuals
Add to My Manuals
Save this manual to your list of manuals |
Page 89 highlights
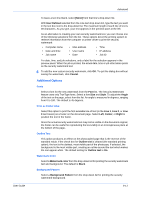
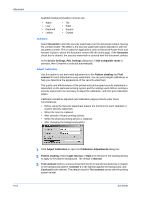
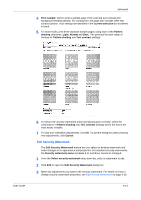
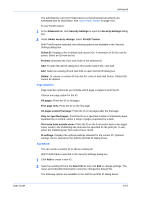
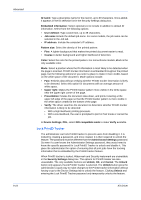
User Guide Advanced The administrator can lock PrintID tracker so that all printed documents are embedded with ID information. See Lock PrintID Tracker on page 9-16. To use PrintID tracker: 1 In the Advanced tab, click Security Settings to open the Security Settings dialog box. 6 2 Under Select security settings, select PrintID Tracker. 7 With PrintID tracker selected, the following options are available in the Security Settings dialog box: Select ID: Displays a list of default and custom IDs. A maximum of 30 IDs can be saved. Select an ID from the list. Preview: Illustrates the color and mode of the selected ID. Add: To open the Add ID dialog box and create custom IDs, click Add. Edit: Select an existing ID and click Edit to open the Edit ID dialog box. Delete: To remove a custom ID from the list, select it and click Delete. Default IDs cannot be deleted. Page Selection Page selection options let you indicate which page or pages to print the ID. Choose one page option for the ID: All pages: Prints the ID on all pages. First page only: Prints the ID on the first page. All pages except first page: Prints the ID on all pages after the first page. Only on specified pages: Prints the ID on a specified number of individual pages separated by a comma, and/or a range of pages separated by a dash. Print onto front outside cover: Prints the ID on the front and/or back cover pages. Cover mode in the Publishing tab must also be specified for the print job. To use, select the Publishing tab, then select Cover mode. ID settings: Displays the optional settings selected for the current ID. Optional settings can be selected in the Add ID and Edit ID dialog boxes. Add Edit ID You can create a custom ID or edit an existing ID. With PrintID tracker selected in the Security Settings dialog box. 1 Click Add to create a new ID. 1 2 Select an existing ID from the Select ID list and click Edit to change settings. The name and embedded information cannot be changed for default IDs. 2 The following options are available in the Add ID and Edit ID dialog boxes: 9-15
-
 1
1 -
2
-
3
-
4
-
5
-
6
-
7
-
8
-
9
-
10
-
11
-
12
-
13
-
14
-
15
-
16
-
17
-
18
-
19
-
20
-
21
-
22
-
23
-
24
-
25
-
26
-
27
-
28
-
29
-
30
-
31
-
32
-
33
-
34
-
35
-
36
-
37
-
38
-
39
-
40
-
41
-
42
-
43
-
44
-
45
-
46
-
47
-
48
-
49
-
50
-
51
-
52
-
53
-
54
-
55
-
56
-
57
-
58
-
59
-
60
-
61
-
62
-
63
-
64
-
65
-
66
-
67
-
68
-
69
-
70
-
71
-
72
-
73
-
74
-
75
-
76
-
77
-
78
-
79
-
80
-
81
-
82
-
83
-
 84
84 -
 85
85 -
 86
86 -
 87
87 -
 88
88 -
 89
89 -
 90
90 -
 91
91 -
 92
92 -
 93
93 -
 94
94 -
95
-
96
-
97
-
98
-
99
-
100
-
101
-
102
-
103
-
104
-
105
 |
 |
