Kyocera KM-C3232 MT-710 Installation Guide
Kyocera KM-C3232 Manual
 |
View all Kyocera KM-C3232 manuals
Add to My Manuals
Save this manual to your list of manuals |
Kyocera KM-C3232 manual content summary:
- Kyocera KM-C3232 | MT-710 Installation Guide - Page 1
INSTALLATION GUIDE FOR MAILBOX GUIDE D'INSTALLATION DE LA BOÎTE À LETTRES GUÍA DE INSTALACIÓN PARA EL BUZÓN DE CORREO INSTALLATIONSANLEITUNG FÜR MAILBOX GUIDA ALL'INSTALLAZIONE DELLA CASELLA POSTALE MT-710 - Kyocera KM-C3232 | MT-710 Installation Guide - Page 2
- Kyocera KM-C3232 | MT-710 Installation Guide - Page 3
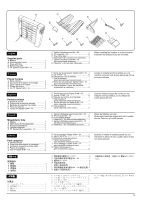
F (para máquinas monocromáticas 1 J Tornillo de sujeción Taptite S M4 × 10 (para máquinas monocromáticas 1 K Pata de placa V (para máquinas a todo color 2 Cuando instale el buzón de correo en una máquina monocromática, no se utilizan las cuatro piezas de (G). F Taptite S-Befestigungsschraube M4 - Kyocera KM-C3232 | MT-710 Installation Guide - Page 4
cuando instale el buzón de correo en una máquina a todo color.] Antes de instalar el finalizador, realice el siguiente procedimiento. 1. Remueva × 10 (G) pour chaque pied. 3. Installer le retoucheur en se reportant au guide d'installation du retoucheur. (Passer à l'étape 4.) 2. Coloque las dos patas - Kyocera KM-C3232 | MT-710 Installation Guide - Page 5
4 6 J 3 I 5 [Carry out steps 1 to 3 when installing the mailbox to a monochrome machine.] 1. Open the front cover of the finisher, remove the screw (3), and remove the lower front cover (4). 2. Engage the hook portion (5) of the plate foot F (I) in the notch (6) in the finisher frame and - Kyocera KM-C3232 | MT-710 Installation Guide - Page 6
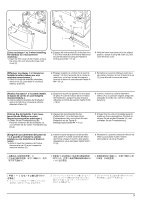
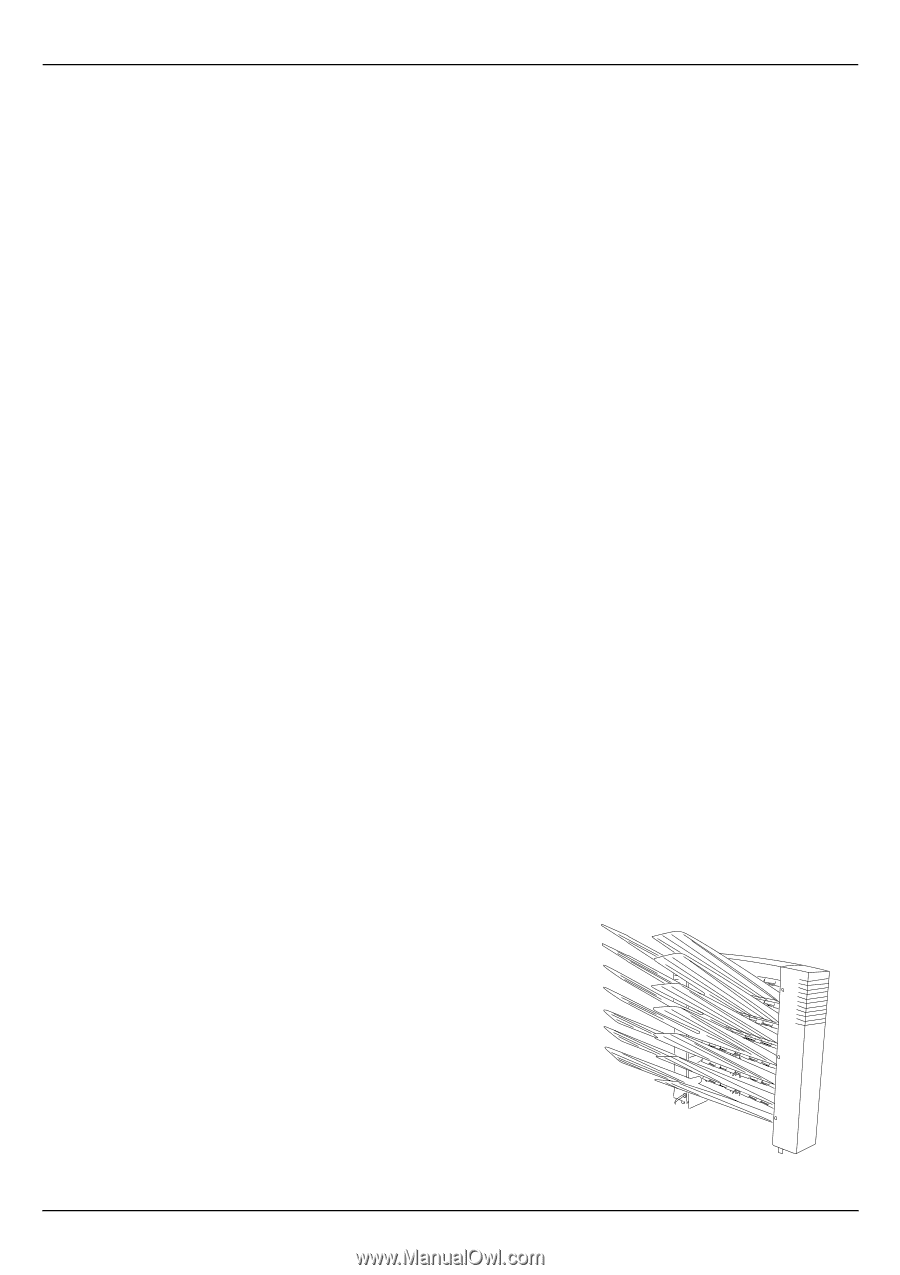
10 4. Remove the front top cover (8) and rear top cover (9) at the top of the finisher (7) using a flat-blade screwdriver or the like. 5. Fit the pins (10) located at the front and rear of the bottom of the mailbox (A) into the notches (11) located at the front and rear of the - Kyocera KM-C3232 | MT-710 Installation Guide - Page 7
copy eject bin (C) to bend it a little, fit the bin at a nearly upright angle as shown in the illustration by inserting the front and rear pins (12) into the round holes (13) at the front and rear of the mailbox (A). 6. Fixer la partie de connexion avant de la boîte à lettres - Kyocera KM-C3232 | MT-710 Installation Guide - Page 8
A 14 15 16 7 A D F 17 G 18 7 8. Remove the two screws (15) located as shown in the illustration that secure the side cover (14) of the mailbox (A), and remove the blanking seal (16) from the finisher (7). 9. Attach the reinforcing plate (D) to the mailbox (A) and the finisher (7) using the - Kyocera KM-C3232 | MT-710 Installation Guide - Page 9
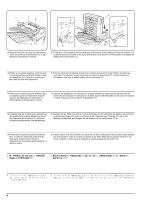
11. Insert the MFP power plug to the outlet and turn the MFP main switch on to check the operation. 11. Insérer la fiche d'alimentation du MFP dans la prise et mettre l'interrupteur principal du MFP sur la position de marche pour vé - Kyocera KM-C3232 | MT-710 Installation Guide - Page 10
Mode:l DF-710 Français AVIS Cet accessoire est utilisable uniquement avec le copieur figurant dans la liste du demandeur suivant. Se reporter au guide fourni pour installer l'accessoire dans le champ. Modèle: DF-710 Español AVISO Este accesorio es sólo para usar en las siguientes fotocopiadoras - Kyocera KM-C3232 | MT-710 Installation Guide - Page 11
- Kyocera KM-C3232 | MT-710 Installation Guide - Page 12
2005. 12 303J256710 Rev.1.0
-
 1
1 -
 2
2 -
 3
3 -
 4
4 -
 5
5 -
 6
6 -
 7
7 -
8
-
9
-
10
-
11
-
12
 |
 |
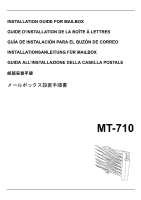
INSTALLATION GUIDE FOR MAILBOX
GUIDE D’INSTALLATION DE LA BOÎTE À LETTRES
GUÍA DE INSTALACIÓN PARA EL BUZÓN DE CORREO
INSTALLATIONSANLEITUNG FÜR MAILBOX
GUIDA ALL’INSTALLAZIONE DELLA CASELLA POSTALE
邮箱安装手册
メールボックス設置手順書
MT-710