Kyocera KM-C830D KX Driver User Guide Version 5.90 - Page 27
Print Sizes
 |
View all Kyocera KM-C830D manuals
Add to My Manuals
Save this manual to your list of manuals |
Page 27 highlights
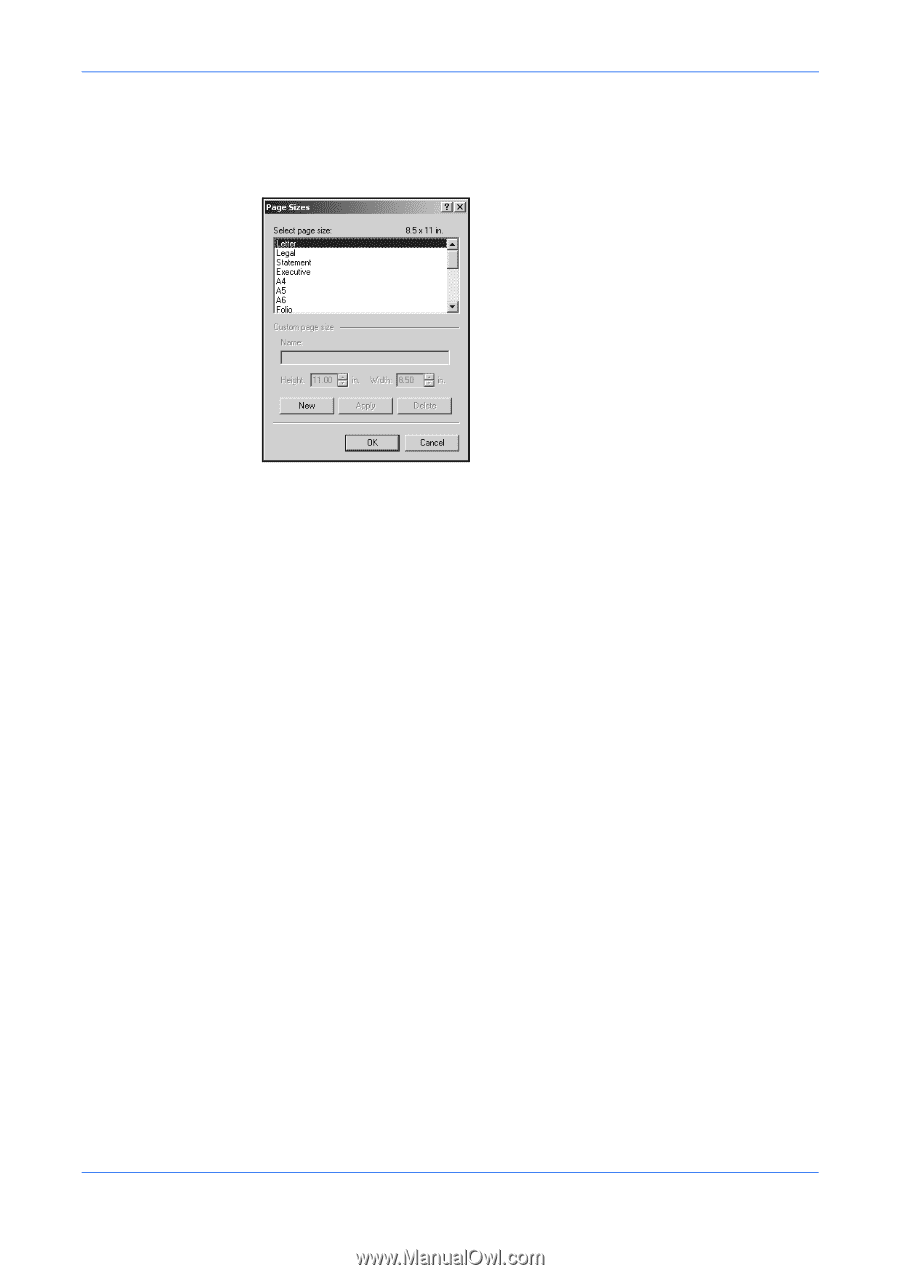
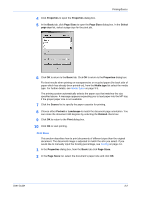
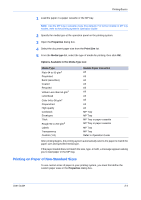
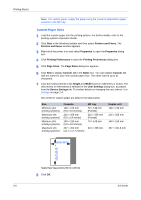
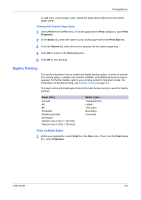
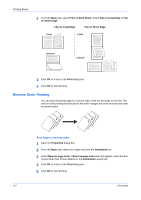
Printing Basics 4 Click Properties to open the Properties dialog box. 5 5 In the Basic tab, click Page Sizes to open the Page Sizes dialog box. In the Select page size list, select a page size for the print job. 6 6 Click OK to return to the Basic tab. Click OK to return to the Properties dialog box.7 For best results when printing on transparencies or recycled paper (the back side of paper which has already been printed on), from the Media type list select the media type. For further details, see Media Types on page 3-3. The printing system automatically selects the paper size that matches the size specified above. A message appears requesting you to load paper into the MP tray if the proper paper size is not available. 7 Click the Source list to specify the paper cassette for printing. 8 Choose either Portrait or Landscape to match the document page orientation. You can rotate the document 180 degrees by selecting the Rotated check box. 8 9 Click OK to return to the Print dialog box. 9 10 Click OK to start printing. 10 Print Sizes This section describes how to print documents of different sizes than the original document. The document image is adjusted to match the size you select. If you would like to manually input the Scaling percentage, see Scaling on page 4-6. 1 In the Properties dialog box, from the Basic tab click Page Sizes. 1 2 In the Page Sizes list, select the document's paper size and click OK. 2 User Guide 3-2
-
 1
1 -
2
-
3
-
4
-
5
-
6
-
7
-
8
-
9
-
10
-
11
-
12
-
13
-
14
-
15
-
16
-
17
-
18
-
19
-
20
-
21
-
 22
22 -
 23
23 -
 24
24 -
 25
25 -
 26
26 -
 27
27 -
 28
28 -
 29
29 -
 30
30 -
 31
31 -
 32
32 -
33
-
34
-
35
-
36
-
37
-
38
-
39
-
40
-
41
-
42
-
43
-
44
-
45
-
46
-
47
-
48
-
49
-
50
-
51
-
52
-
53
-
54
-
55
-
56
-
57
-
58
-
59
-
60
-
61
-
62
-
63
-
64
-
65
-
66
-
67
-
68
-
69
-
70
-
71
-
72
-
73
-
74
-
75
-
76
-
77
-
78
-
79
-
80
-
81
-
82
-
83
-
84
-
85
-
86
-
87
-
88
-
89
-
90
-
91
-
92
-
93
-
94
-
95
-
96
-
97
-
98
-
99
-
100
-
101
-
102
-
103
-
104
-
105
 |
 |