Kyocera KR1 User Guide
Kyocera KR1 - Mobile Router Wireless Manual
 |
UPC - 674847017172
View all Kyocera KR1 manuals
Add to My Manuals
Save this manual to your list of manuals |
Kyocera KR1 manual content summary:
- Kyocera KR1 | User Guide - Page 1
Kyocera KR1 Mobile Router User Guide Kyocera Wireless Corp. 10300 Campus Point Drive San Diego, CA 92121 U.S.A. 82-N8362-2EN, Rev.004 - Kyocera KR1 | User Guide - Page 2
Kyocera Wireless Corp Proprietary The Kyocera Wireless Corp. ("KWC") products described in this manual sale of a product. Kyocera is a registered trademark of Kyocera Corporation. D-link is a trademark of D-link protection against instructions other antenna or Kyocera KR1 Mobile Router User Guide - Kyocera KR1 | User Guide - Page 3
Instructions 6 Connect the Kyocera KR1 Wireless Router to Your Network 6 32-bit PCMCIA (EVDO) Card or 1xEV-DO Mobile Phone Connection 6 Establish WiFi Performance ...22 Advanced > WAN (EVDO) ...24 Tools > Admin ...25 Tools > Time ...26 Tools > System ...27 Tools > Firmware ...28 Tools > DDNS ...29 - Kyocera KR1 | User Guide - Page 4
41 7.How do I reset my Kyocera KR1 Mobile Router to its factory default settings 41 8.What is VPN? ...42 9.What can I do if my Ethernet cable does not work properly 42 7 Technical Support ...43 Phone Support...43 Internet Support ...43 Firmware Upgrades...44 Kyocera Accessories...44 8 Technical - Kyocera KR1 | User Guide - Page 5
PCMCIA (EVDO) wireless card, or a 1xEV-DO mobile phone, and supports wireless data transfers up to 54 Mbps, and wired data transfers up to 100 Mbps. The Kyocera KR1 Mobile Router is compatible with industry security features. Connections-Kyocera KR1 Mobile Router (Back View) Antenna Reset Button - Kyocera KR1 | User Guide - Page 6
-enabled computer (ports 1-4). This LED blinks during data transmission. ANTENNA STATUS LED A green light indicates the KR1 is ready. PHONE LED A green light indicates connection to the USB port (used when a 1xEV-DO mobile phone is your WAN connection). 2 Kyocera KR1 Mobile Router User Guide - Kyocera KR1 | User Guide - Page 7
(EVDO) 32-bit PCMCIA Card Slot. • Connects multiple computers to a Broadband (EVDO) modem to share the Internet connection. Note: The Kyocera KR1 Mobile Router is designed to work with EVDO-capable handsets that can be used as a modem (support tethered data). Please refer to your service provider - Kyocera KR1 | User Guide - Page 8
your reseller. • Kyocera KR1 Mobile Router • Kyocera KR1 Mobile Router User Guide (CD-ROM) • Kyocera KR1 Mobile Router Quick Installation Guide • Ethernet patch cable (CAT5 UTP) • Mounting Kit • Antenna • DC 5V, 3.0A Power Adapter • AC Power Cord Caution: Using a power supply with a different - Kyocera KR1 | User Guide - Page 9
. Each wall or ceiling can reduce the Kyocera KR1 Mobile Router's range from 3-90 feet (1-30 meters). Note: The same considerations apply to your broadband EVDO connection. 2. Keep your product aware from electrical devices (such as microwaves, air conditioners, and televisions) that emit large - Kyocera KR1 | User Guide - Page 10
the antenna upward at its connecting joint. This will ensure optimal reception. 2. Connect a compatible 32-bit PCMCIA (EVDO) card with service, or 1xEV-DO mobile phone with service, to the Kyocera KR1 Mobile Router in one of the following ways: a. Insert your wireless 32-bit PCMCIA (EVDO) card into - Kyocera KR1 | User Guide - Page 11
in the IP Address of the Kyocera KR1 Mobile Router (http://192.168.0.1) Note: If you have changed the default IP Address assigned to the Kyocera KR1 Mobile Router, ensure you enter the correct IP Address now. 3. Type admin in the User Name field. 4. Leave the Password blank. 5. Click OK. Using the - Kyocera KR1 | User Guide - Page 12
Wizard Type screen will appear. Refer to the Kyocera KR1 Mobile Router Quick Installation Guide for more information regarding the Setup Wizard. These buttons appear on many of the the page. Clicking Restart restarts the router. (Necessary for some changes.) 8 Kyocera KR1 Mobile Router User Guide - Kyocera KR1 | User Guide - Page 13
radio buttons (please see "Security" below). SSID- Service Set Identifier (SSID) is the name designated for a specific wireless local area network (WLAN). The SSID's factory default setting is KR1. The SSID can be easily changed to establish a new wireless network. (Note: SSID names may contain up - Kyocera KR1 | User Guide - Page 14
KR1 Mobile Router Configuration Menu, and the Internet, your encryption and WiFi settings must match. Please refer to your WiFi adapter documentation for additional information. Select HEX or ASCII. Input up to 4 WEP keys; select the one you want to use. 10 Kyocera KR1 Mobile Router User Guide - Kyocera KR1 | User Guide - Page 15
to secure your wireless network. Note: To ensure access to your Kyocera KR1 Mobile Router Configuration Menu, and the Internet, your encryption and WiFi settings must match. Please refer to your WiFi adapter documentation for additional information. Some older WiFi adapters may not support WPA-PSK - Kyocera KR1 | User Guide - Page 16
here. Retype Password- Enter your Password again for confirmation. Server-name- Enter the name of your network server (optional). Dial-Number- The default is #777. This field should not be altered except when required by your service provider. 12 Kyocera KR1 Mobile Router User Guide - Kyocera KR1 | User Guide - Page 17
254 addresses available on the Kyocera KR1 Mobile Router when using a 255.255.255.0 (Class C) subnet. Example: The router's IP address is 192.168.0.1. The available client IP range is 192.168.0.2 through 192.168.0.254. IP Address- The IP address of the LAN interface. The default IP address is: 192 - Kyocera KR1 | User Guide - Page 18
- The ending IP address for the DHCP server's IP assignment. Lease Time- The length of time for the IP lease. Enter the Lease time. The default setting is one day. 14 Kyocera KR1 Mobile Router User Guide - Kyocera KR1 | User Guide - Page 19
> Virtual Server The Kyocera KR1 Mobile Router can be configured as a virtual server so that remote users accessing Web or FTP services via the public IP address can be automatically redirected to local servers in the LAN (Local Area Network). The Kyocera KR1 Mobile Router firewall feature filters - Kyocera KR1 | User Guide - Page 20
that you wanted Internet users to access by WAN port users who want to access this FTP Server must connect to it from port 2100. This is an example of port redirection and can be useful in cases where there are many of the same servers on the LAN network. 16 Kyocera KR1 Mobile Router User Guide - Kyocera KR1 | User Guide - Page 21
the trigger port to open them for inbound traffic. The Kyocera KR1 Mobile Router provides some predefined applications in the table on the bottom of Type- This is the protocol used to trigger the special application. By default the Trigger Type is TCP. Public Port- This is the port number on - Kyocera KR1 | User Guide - Page 22
Kyocera KR1 Mobile Router can be setup to deny internal computers by their IP or MAC addresses. The Kyocera KR1 Mobile Router can also block users from accessing restricted web sites.By default the IP Filter gets enabled. By default the Schedule is Always. 18 Kyocera KR1 Mobile Router User Guide - Kyocera KR1 | User Guide - Page 23
Area Network) computers by their MAC addresses from accessing the Network. You can either manually add a MAC address or select the MAC address from the list of clients that are currently connected to the Broadband Router. Filters- Select the filter you wish to use; in this case, MAC filters was - Kyocera KR1 | User Guide - Page 24
Action- Allow or Deny Source- Enter the IP Address range Destination- Enter the IP Address range; the Protocol; and the Port Range. By default the Protocol is TCP. Schedule- Select Always or enter the Time Range. By default the Schedule is Always. 20 Kyocera KR1 Mobile Router User Guide - Kyocera KR1 | User Guide - Page 25
PC that cannot run Internet applications properly from behind the Kyocera KR1 Mobile Router, then you can set the client up for unrestricted Demilitarized Zone) allows a single computer to be exposed to the Internet. By default the DMZ is Disabled. IP Address - Enter the IP Address of the computer to - Kyocera KR1 | User Guide - Page 26
the SSID across the network. All devices on a network must share the same SSID (Service Set Identifier) to establish communication. Choose Disabled if you do not wish to broadcast the SSID over the network. By default the SSID Broadcast is Disabled. 22 Kyocera KR1 Mobile Router User Guide - Kyocera KR1 | User Guide - Page 27
Antenna transmit power- Antenna transmit power is the level at which your Wireless Access Point (WAP) transmits the wireless signal. You may select from the following four options: 100% 17dBm, 50% 15dBm, 25% 12 dBm, and 12.5% 10dBm. 100% 17dBm is the default. Select this option if you desire a - Kyocera KR1 | User Guide - Page 28
here. Retype Password- Enter your Password again for confirmation. Server-name- Enter the name of your network server (optional). Dial-Number- The default is #777. This field should not be altered except when required by your service provider. 24 Kyocera KR1 Mobile Router User Guide - Kyocera KR1 | User Guide - Page 29
Administrator login name Password- Enter the password. and then re-enter the password for confirmation. User- user is the User login name Password- Enter the password, and then re-enter the password for confirmation. Remote Management- Remote management allows the Kyocera KR1 Mobile Router to - Kyocera KR1 | User Guide - Page 30
you. By default the Synchronize the modem's clock with is Automatic. Time- To manually input the time, enter the values in these fields for the Year, Month, Day, Hour, and Minute. Click Set Time. Time Zone- Select the Time Zone from the pull-down menu. 26 Kyocera KR1 Mobile Router User Guide - Kyocera KR1 | User Guide - Page 31
hard drive and locate the system file to be used. You may also reset the Broadband Router back to factory settings by clicking Restore. Save Settings to Local Hard Drive- Click Restore to Factory Default Settings- Click Restore to restore the factory default settings Using the Configuration Menu 27 - Kyocera KR1 | User Guide - Page 32
the Kyocera KR1 Mobile Router from this menu. Ensure the firmware you want to use is on the local hard drive of your computer. Click on Browse to browse and locate the firmware to be used for your update. Please check the Kyocera support site at http://www.kyocera-wireless.com for firmware updates - Kyocera KR1 | User Guide - Page 33
Name Server update the client built into the router, click Enabled. By default the DDNS is Disabled. Choose your DDNS provider from the drop down menu. Enter the Host Name that you registered with your DDNS service provider. Enter the User Name for your DDNS account. Enter the Password for your - Kyocera KR1 | User Guide - Page 34
Play feature click on Enabled. UPNP provides compatibility with networking equipment, software and peripherals of the over 400 vendors that cooperate in the Plug and Play forum. By default the UPNP Ping is Enabled. The Kyocera KR1 Mobile Router supports VPN (Virtual Private Network) pass-through for - Kyocera KR1 | User Guide - Page 35
Tools > Cable Test This page displays the current information for the Kyocera KR1 Mobile Router, which will assist you in troubleshooting your network. It will display which port on the Kyocera KR1 Mobile Router is currently connected. Using the Configuration Menu 31 - Kyocera KR1 | User Guide - Page 36
: WAN/Public DNS IP Address WIRELESS SSID: Displays the current SSID. By default the SSID is KR1. Channel: Displays the current channel. By default the Channel is 2. Security: Indicates whether WEP is enabled or disabled. By default, Security is Disabled. 32 Kyocera KR1 Mobile Router User Guide - Kyocera KR1 | User Guide - Page 37
Status > Log > Log Settings #1 The Kyocera KR1 Mobile Router keeps a running log of events and activities. Select the Log Settings button. The following screen appears. View Log- First Page- The first page of the - Kyocera KR1 | User Guide - Page 38
Status > Log > Log Settings #2 Check the box next to System Log. Click Apply. 34 Kyocera KR1 Mobile Router User Guide - Kyocera KR1 | User Guide - Page 39
Status > Log > Log Settings #3 A screen will display the Kyocera KR1 Mobile Router log settings. Note: If the device is rebooted, the logs are automatically cleared. Using the Configuration Menu 35 - Kyocera KR1 | User Guide - Page 40
the WAN and the LAN Ports. The traffic counter resets if the device is rebooted. The wireless client table displays a current list of connected wireless clients. This table also displays the connection time and MAC address of the connected wireless client. 36 Kyocera KR1 Mobile Router User Guide - Kyocera KR1 | User Guide - Page 41
Help > Help Menu Click on Help at any time, for more information. Using the Configuration Menu 37 - Kyocera KR1 | User Guide - Page 42
. Note: The network adapter name displayed below is provided as an example. Network adapter names will vary depending on your specific adapter. The installation steps listed below are applicable for all network adapters. 38 Kyocera KR1 Mobile Router User Guide - Kyocera KR1 | User Guide - Page 43
> My Computer > Properties. 2. Select the Hardware Tab. 3. Click Device Manager. 4. Double-click on Network Adapters. 5. Right-click on D-Link AirPlus DWL-G650 Wireless Cardbus Adapter, or your specific network adapter. 6. Select Properties to ensure that all drivers are installed properly. 7. Look - Kyocera KR1 | User Guide - Page 44
mode. • Ensure that the LED indicators are indicating normal activity. If not, ensure that the AC power and Ethernet cables are firmly connected. • Ensure that the IP Address, subnet mask, gateway and DNS settings are correctly entered for the network. 40 Kyocera KR1 Mobile Router User Guide - Kyocera KR1 | User Guide - Page 45
key(s), login to the Kyocera KR1 Mobile Router using a wired connection. (Please refer to "Basic > Wireless (Security-No Encryption)" on page 9, for additional information). 7. How do I reset my Kyocera KR1 Mobile Router to its factory default settings? If other troubleshooting methods have - Kyocera KR1 | User Guide - Page 46
the DHCP. • If settings appear to be correct, ensure that you are not using a crossover Ethernet cable. Although the Kyocera KR1 Mobile Router is MDI/MDIX compatible, not all NICs are. Therefore, it is recommended that you use a patch cable when possible. 42 Kyocera KR1 Mobile Router User Guide - Kyocera KR1 | User Guide - Page 47
support, please provide the following information: Note: All numbers referenced below can be found on the bottom of the Kyocera KR1 Mobile Router. • Model number or product name. This is the ten-digit "TX" number. • Serial number of the unit. • Date code • Firmware version Technical Support - Kyocera KR1 | User Guide - Page 48
Upgrades The firmware version can be found by logging into the router and viewing the Tools > Firmware status page. For more information. Kyocera Accessories To shop for Kyocera KR1 Mobile Router accessories, visit http://www.kyocera-wireless.com/store. 44 Kyocera KR1 Mobile Router User Guide - Kyocera KR1 | User Guide - Page 49
• Scheduling • NAT (Network Address Translation) with VPN Passthrough • MAC Filtering Wireless Operating Range • Indoors - up to 328 feet Wireless Transmit Power: • 15dBm ± 2dB Security: • 802.11b/ 802.11g • WPA- WiFi Protected Access (64-,128-WEP with Shared Key Authentication) External Antenna - Kyocera KR1 | User Guide - Page 50
Power Input: • Ext. Power Supply DC 5V, 3.0A Weight: • 10.8 oz. (0.3kg) Warranty: • 1 year Wireless Data Rates with Automatic Fallback: • 54 Mbps • 48 Mbps • 36 Mbps • 24 Mbps • 18 Mbps • 12 Mbps • 11 Mbps • 9 Mbps • 6 Mbps • 5.5 Mbps • 2 Mbps • 1 Mbps 46 Kyocera KR1 Mobile Router User Guide - Kyocera KR1 | User Guide - Page 51
refund the purchase price for such Product, provided that the subject Product (i) is returned, with transportation prepaid, to a KYOCERA authorized service center within the one year warranty period, and (ii) is accompanied by a proof of purchase in the form of a bill of sale or receipted invoice - Kyocera KR1 | User Guide - Page 52
, 92121-1582, USA, Attention: Technical Support. DO NOT RETURN YOUR PRODUCTS TO THE ABOVE ADDRESS. Please call or write for the location of the Kyocera Wireless Corp. authorized service center nearest you and for procedures for obtaining warranty service. 48 Kyocera KR1 Mobile Router User Guide
-
 1
1 -
 2
2 -
 3
3 -
 4
4 -
 5
5 -
 6
6 -
 7
7 -
8
-
9
-
10
-
11
-
12
-
13
-
14
-
15
-
16
-
17
-
18
-
19
-
20
-
21
-
22
-
23
-
24
-
25
-
26
-
27
-
28
-
29
-
30
-
31
-
32
-
33
-
34
-
35
-
36
-
37
-
38
-
39
-
40
-
41
-
42
-
43
-
44
-
45
-
46
-
47
-
48
-
49
-
50
-
51
-
52
 |
 |
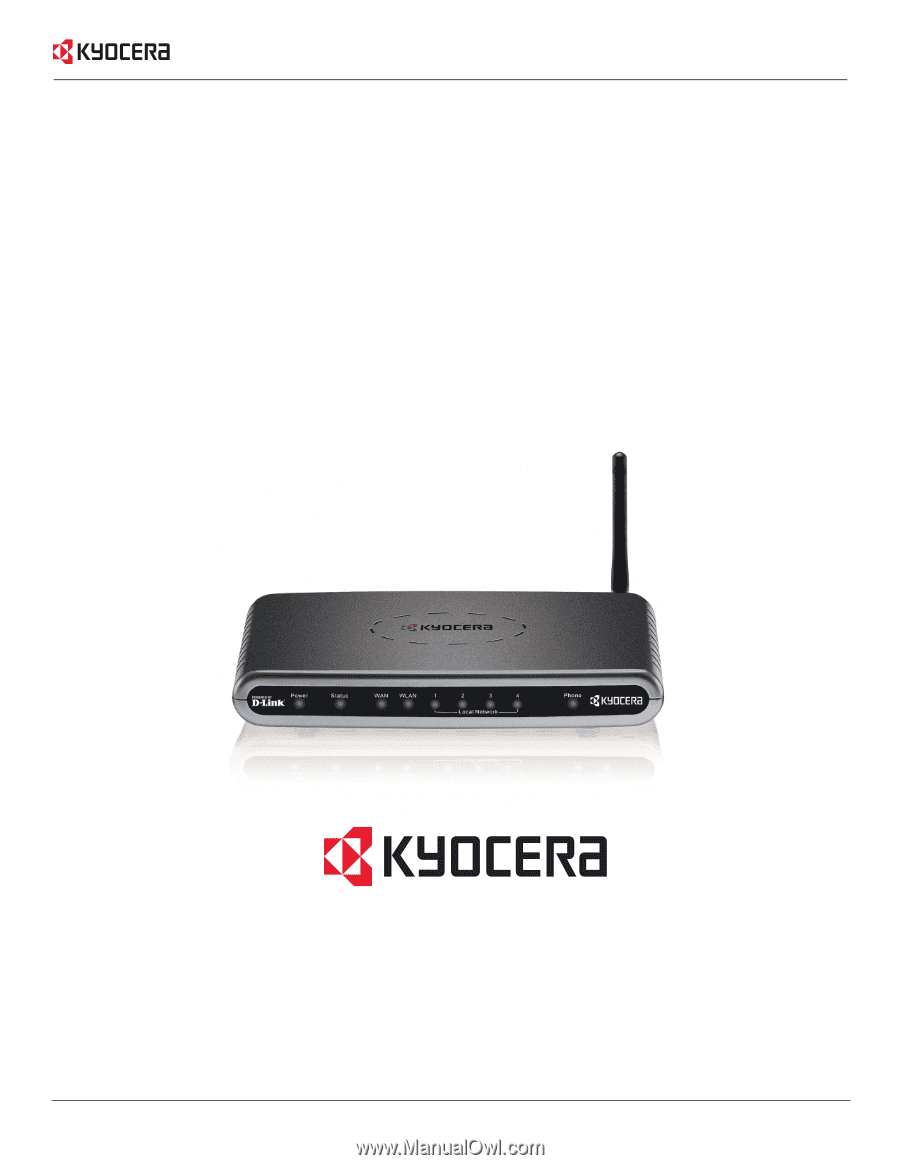
Kyocera KR1 Mobile Router
User Guide
Kyocera Wireless Corp.
10300 Campus Point Drive
San Diego, CA 92121 U.S.A.
82-N8362-2EN, Rev.004