Kyocera TASKalfa 2550ci 2550ci Printer Driver User Guide - Page 92
Adding or Editing a Security Watermark, Color Optimizer
 |
View all Kyocera TASKalfa 2550ci manuals
Add to My Manuals
Save this manual to your list of manuals |
Page 92 highlights
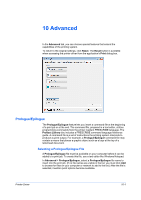
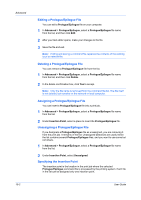
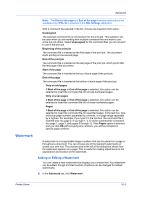
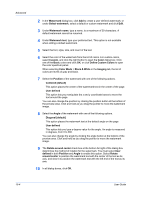
Advanced 10-6 Adjustment setting (color or black & white) in the Imaging tab is set to None. Color Optimizer in the Advanced tab is set to None. The reverse is also true. If these features are changed, then the Security Watermark selection is set to None, and cannot be used. Adding or Editing a Security Watermark You can create a new security watermark that displays text but not an image. Any security watermark can be edited, though a limited number of options can be changed for default security watermarks. 1 In the Advanced tab, click Security Watermark. 2 In the Security Watermark dialog box, click Add, to create a new security watermark; or under Select security watermark, select a default or custom security watermark and click Edit. 3 For Security watermark name, type a name to a maximum of 39 characters. A default security watermark cannot be renamed. 4 For Security watermark text, type text or leave blank. This option is not available when editing a default security watermark. Select from the following options: None This option leaves the line blank. User defined This option lets you insert text to a maximum of 39 characters. All other options display date, time, or other job information that is obtained from the computer or printer driver when the job is printed. 5 Select the font, size, style, and angle of the text. 6 Select Print as footer also if you want the first available line of security watermark text to be printed at the bottom of the page. Select the page position from the list. This option is useful because the security watermark itself is not normally visible on the printed page. 7 Under Background pattern, select a design for the security watermark background. Standard pattern Select a design for the security watermark background. This option prints the selected pattern with the security watermark text or image. Document guard pattern The document guard design appears as the security watermark background. This option prevents the printed page from being photocopied, scanned, faxed, or printed from memory. If a photocopy is attempted, then gray copy is produced. If a scan, fax or print from memory is attempted, the process is stopped and an error message appears on the printing system's operation panel. User Guide
-
 1
1 -
2
-
3
-
4
-
5
-
6
-
7
-
8
-
9
-
10
-
11
-
12
-
13
-
14
-
15
-
16
-
17
-
18
-
19
-
20
-
21
-
22
-
23
-
24
-
25
-
26
-
27
-
28
-
29
-
30
-
31
-
32
-
33
-
34
-
35
-
36
-
37
-
38
-
39
-
40
-
41
-
42
-
43
-
44
-
45
-
46
-
47
-
48
-
49
-
50
-
51
-
52
-
53
-
54
-
55
-
56
-
57
-
58
-
59
-
60
-
61
-
62
-
63
-
64
-
65
-
66
-
67
-
68
-
69
-
70
-
71
-
72
-
73
-
74
-
75
-
76
-
77
-
78
-
79
-
80
-
81
-
82
-
83
-
84
-
85
-
86
-
 87
87 -
 88
88 -
 89
89 -
 90
90 -
 91
91 -
 92
92 -
 93
93 -
 94
94 -
 95
95 -
 96
96 -
 97
97 -
98
-
99
-
100
-
101
-
102
-
103
-
104
-
105
-
106
 |
 |