Kyocera TASKalfa 500ci KM-NET ADMIN Operation Guide for Ver 2.0 - Page 32
Map Background, Adding or Replacing a Map Background, Clearing a Map Background
 |
View all Kyocera TASKalfa 500ci manuals
Add to My Manuals
Save this manual to your list of manuals |
Page 32 highlights
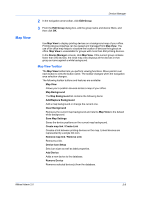
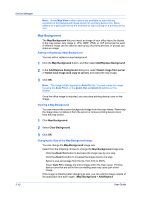
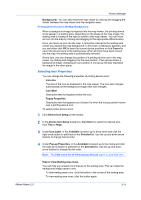
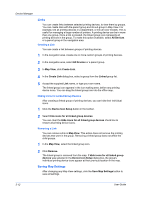
Device Manager Note: Some Map View toolbar options are available by right-clicking anywhere in the background image except on a printing device icon. Menu options for a particular device are available by right-clicking on a printing device icon. Map Background The Map Background lets you import an image of your office layout to display in the map viewer. Any image in .JPG, .BMP, .PNG, or .GIF format can be used. A different image can be used for each group of printing devices, or groups can share an image. Adding or Replacing a Map Background You can add or replace a map background. 1 Click the Map Background button, and then select Add/Replace Background. 2 In the Add/Replace Background dialog box, select Select image from server or Select local image (and copy to server), and select the new image. 3 Click OK. Note: The image initially appears in Auto Fit size. You can resize the image by using the Auto Fit list, or the Zoom Out and Zoom In buttons on the toolbar. Once the office image is imported, you can place printing device icons on the image. Clearing a Map Background You can remove the current background image from the map viewer. Removing the image does not delete it from the server or remove printing device icons from the map viewer. 1 Click Map Background. 2 Select Clear Background. 3 Click OK. Changing the Size of the Map Background Image You can change the Map Background image size. Select from the following choices to change the Map Background image size: Click the Zoom Out button to decrease the image size by one step. Click the Zoom In button to increase the image size by one step. Select a size percentage from the list, from 33% to 250%. Select Auto Fit to display the entire image within the map viewer. Printing device icons that are still in the icon waiting area may cover part of the image. If the image is distorted after changing its size, you can edit the image outside of the application and add it again. (Map Background > Add/Replace 3-10 User Guide
-
 1
1 -
2
-
3
-
4
-
5
-
6
-
7
-
8
-
9
-
10
-
11
-
12
-
13
-
14
-
15
-
16
-
17
-
18
-
19
-
20
-
21
-
22
-
23
-
24
-
25
-
26
-
 27
27 -
 28
28 -
 29
29 -
 30
30 -
 31
31 -
 32
32 -
 33
33 -
 34
34 -
 35
35 -
 36
36 -
 37
37 -
38
-
39
-
40
-
41
-
42
-
43
-
44
-
45
-
46
-
47
-
48
-
49
-
50
-
51
-
52
-
53
-
54
-
55
-
56
-
57
-
58
-
59
-
60
-
61
-
62
-
63
-
64
-
65
-
66
-
67
-
68
-
69
-
70
-
71
-
72
-
73
-
74
-
75
-
76
-
77
-
78
-
79
-
80
-
81
-
82
-
83
-
84
-
85
-
86
-
87
-
88
-
89
-
90
-
91
-
92
-
93
-
94
-
95
-
96
-
97
-
98
-
99
-
100
-
101
-
102
-
103
-
104
-
105
-
106
-
107
 |
 |