LG LFC25765ST Owner's Manual - Page 25
Connecting The Water Line - best buy
 |
View all LG LFC25765ST manuals
Add to My Manuals
Save this manual to your list of manuals |
Page 25 highlights
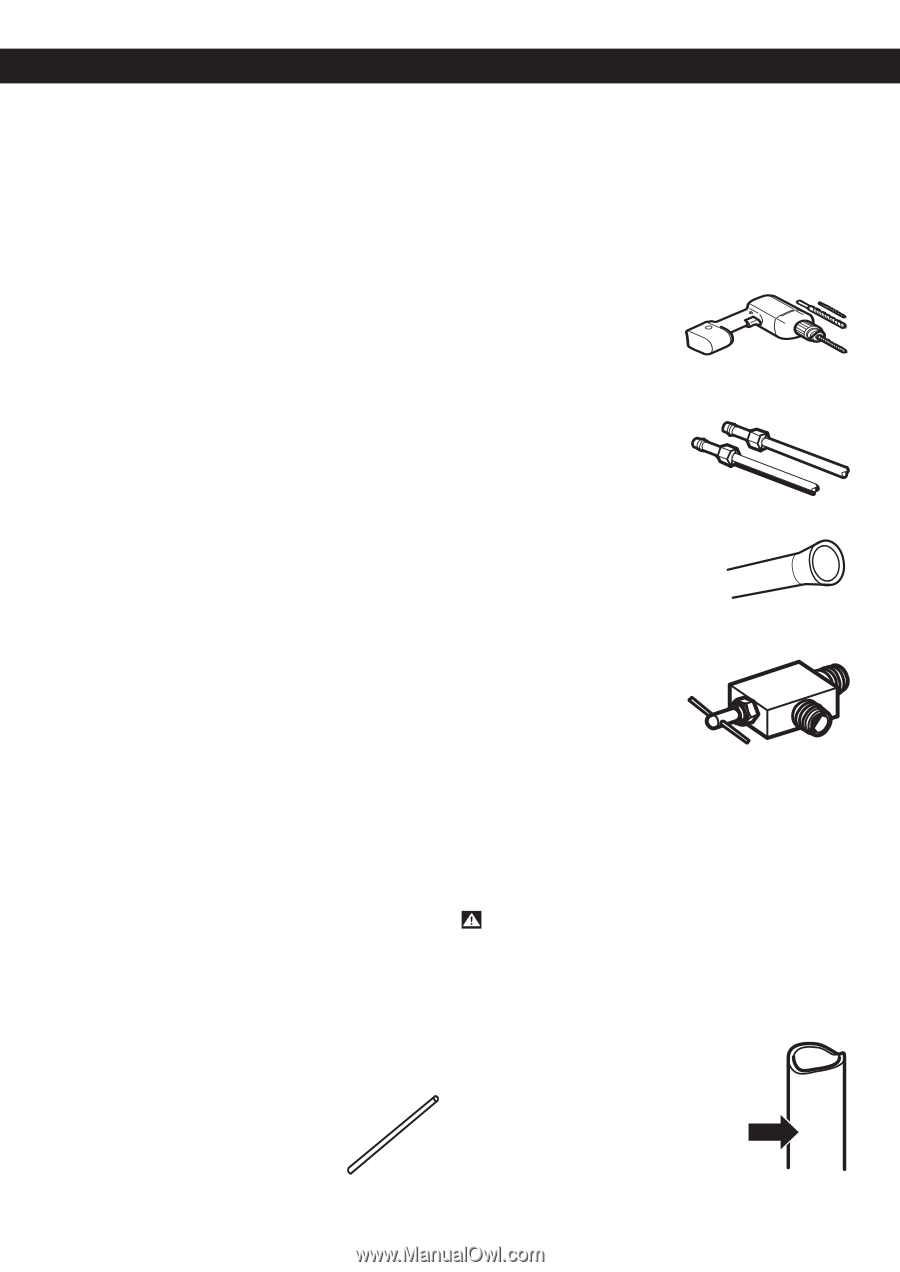
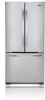
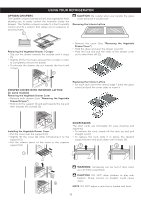
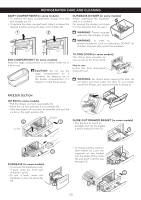
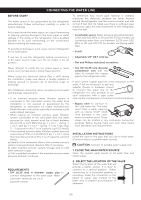
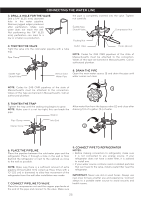
CONNECTING THE WATER LINE BEFORE START The water source is not guaranteed by the refrigerator manufacturer. Follow instructions carefully in order to reduce damage. Air located inside the water pipes can cause hammering or tapping causing damage to the inner pipes or water spillage in the inside of the refrigerator. Call a qualified plumber to fix such hammering on the connections before installing the water pipe. To avoid burn damage or such, never connect refrigerator to hot water pipes. To determine how much pipe material is needed, measures the distances between the valves located behind the refrigerator and the source of water and add to that 8 feet (2,4 m). Make sure there is sufficient pipe material to allow the free movement of the refrigerator from the wall • A cold water source. Water pressure should be between 0,138 and 0,82 MPa or 20 and 120 PSI for models not containing water filter and between 0,276 and 0,82 MPa or 40 and 120 PSI for models containing water filter. • A drill. If you are to use the refrigerator before connecting it to the water source, make sure the ice maker is the off position. • Adjustable 1/2" (12,7 mm) key. • Flat and Phillips style (star) screwdriver. Never attempt to install the ice maker pipes in areas where room temperature is below freezing point. When using any electrical device (like a drill) during the installation, make sure device is doubly isolated or making ground to prevent risk of electrical surge or discharge. All installations should be done considering local water and drainage requirements. • If an inverted osmosis water filtration system is connected to the cold water source, the water hose installation is not assured or guaranteed by the refrigerator or automated ice maker manufacturer. Follow the next instructions carefully to minimize costly water related damages. • When having an inverted osmosis water filtration system connected to the cold-water flow, the water pressure for such system must be at least between 40-60 PSI or 0,27 MPa (2,8 kg · f / cm ² ~ 4,2 kg · f / cm ², (2,8 kg · f / cm ² ~ 4,2 kg · f / cm ², less than 2 ~ 3 seconds to fill a 7 oz of capacity cup [0,2 liters]). • If the inverted osmosis water filtration system pressure is less than 21 PSI or 0,14 MPa (1,5 kg · f / cm ², more than four (4) seconds to fill a 7 oz of capacity cup [0,2 liters]): a) Identify if the sediments filter in the inverted osmosis system is being blocked. Replace filter if necessary. b) Allow inverted osmosis system storage tank to refill after extensive usage. c) Call a qualified plumber if the inverted osmosis water pressure problem continues. • Two 1/4" (6,35 mm) diameter compression nuts with two sides to connect the copper pipe to the refrigerator valve. If your current copper pipe has some reduction on the ends, it will be necessary to get and adaptor (found in hardware stores) to connect the water line to the refrigerator. It is also possible to cut such reductions with a pipe cutter and use the compression connections mentioned above. • Bypass valve to connect to the cold water line. The valve must have a water opening with an interior 5/32" (3,46 mm) diameter in the coldwater connection point. These valves can be located in any cold-water connection package. Before buying make sure such valve meets local standards and requirements. INSTALLATION INSTRUCTIONS Install the valve to the pipe that you use to drink water. (Connect only to a potable water source). CAUTION: Connect to potable water supply only. 1. CLOSE THE MAIN WATER SOURCE Open the nearest water faucet to let water flow and empty pipes. REQUIREMENTS • 1/4" (6,35 mm) in diameter copper pipe to connect refrigerator to the water pipe. Make sure both terminals are cut in squared manner. 2. SELECT THE LOCATION OF THE VALVE Select the location of the valve that will provide a better access. It is best to connect to a vertical pipeline. When connecting to a horizontal pipeline is necessary, make the connection in the lateral or upper area instead of the lower area to prevent accumulation of sediment. 24
-
 1
1 -
2
-
3
-
4
-
5
-
6
-
7
-
8
-
9
-
10
-
11
-
12
-
13
-
14
-
15
-
16
-
17
-
18
-
19
-
 20
20 -
 21
21 -
 22
22 -
 23
23 -
 24
24 -
 25
25 -
 26
26 -
 27
27 -
 28
28 -
 29
29 -
 30
30 -
31
 |
 |