LG LP155HED1 Owner's Manual - Page 20
Disassembly Instructions
 |
View all LG LP155HED1 manuals
Add to My Manuals
Save this manual to your list of manuals |
Page 20 highlights
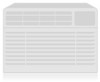
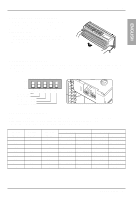
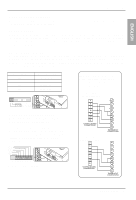
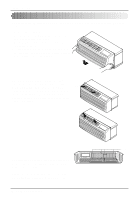
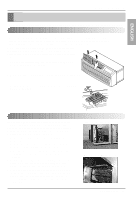
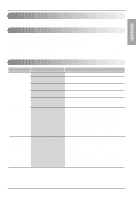
Control Locations Disassembly Instructions - Before the following disassembly, POWER SWITCH is set to OFF and disconnected the power cord. 1. Remove the front grille. 2. To remove the front grille, pull out the bottom of the front grille and then lift up. Re-install the component by referring to the removal procedure. 3. To replace the front grille, place the tabs over the top of the unit and push the bottom of front grille until the clips snap into place. • This Room Air Conditioner (PTAC) discharges air from the top of the unit through reversible, 2- position discharge grille louvers. The unit is 40˚ shipped from the factory with the discharge grille louvers at an angle of 40˚ off vertical. In an alternate position the louvers will be at an angle of 15˚ off vertical. 15˚ To adjust the air direction, remove the front grille. Remove the 4 screws that fasten the discharge grille to the front grille. Flip the discharge grille 180°, then reattach the discharge grille to the front grille with 4 screws. 20 Room Air Conditioner Screws
-
 1
1 -
2
-
3
-
4
-
5
-
6
-
7
-
8
-
9
-
10
-
11
-
12
-
13
-
14
-
 15
15 -
 16
16 -
 17
17 -
 18
18 -
 19
19 -
 20
20 -
 21
21 -
 22
22 -
 23
23 -
 24
24 -
 25
25 -
26
-
27
 |
 |
