Lexmark 2500 User's Guide - Page 64
Poor copy quality, Partial document or photo copies, Scan troubleshooting
 |
UPC - 734646093309
View all Lexmark 2500 manuals
Add to My Manuals
Save this manual to your list of manuals |
Page 64 highlights
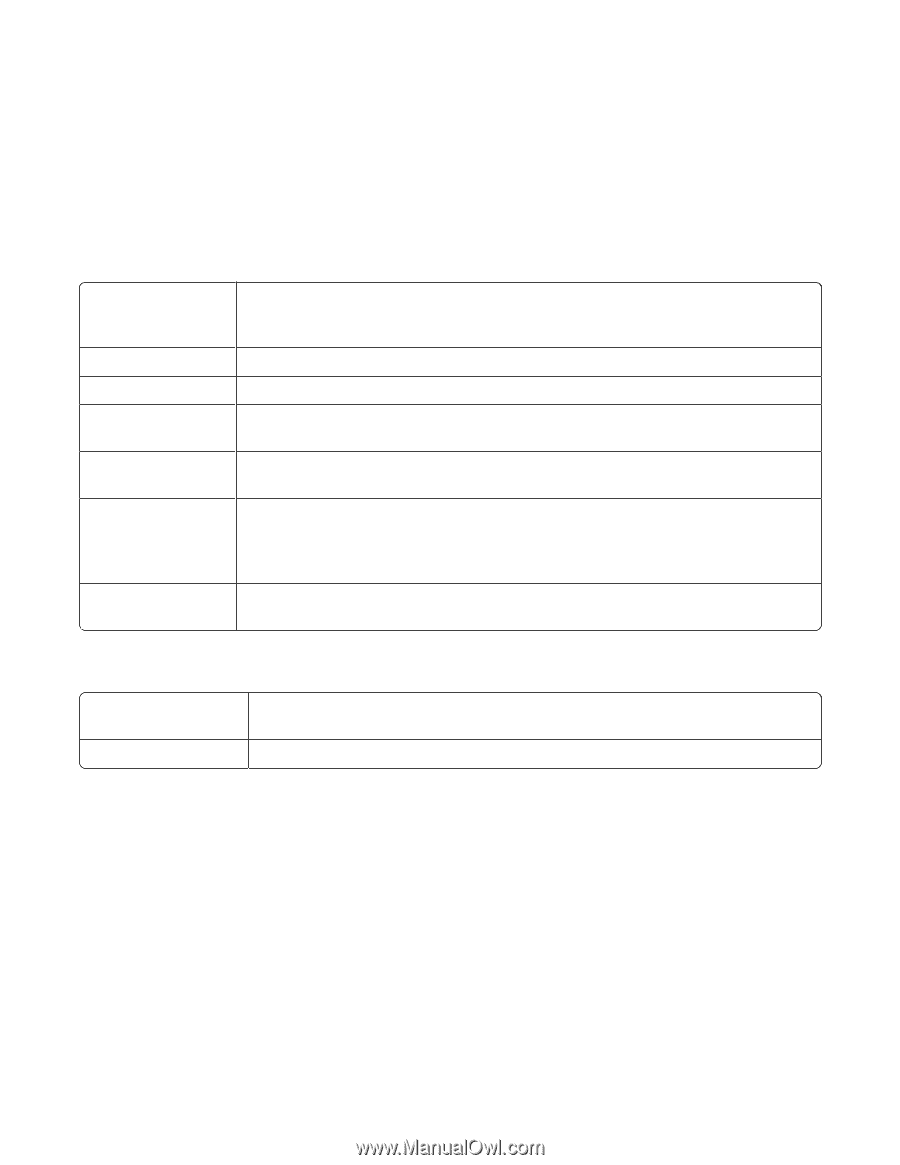
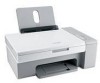
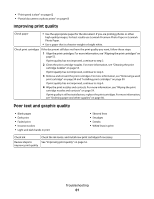
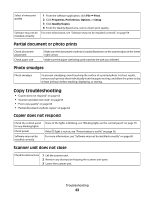
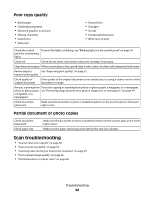
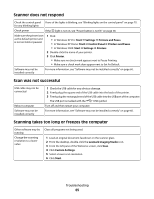
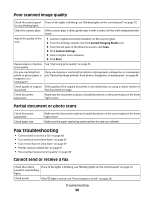
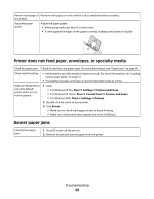
Poor copy quality • Blank pages • Checkerboard pattern • Distorted graphics or pictures • Missing characters • Faded print • Dark print • Skewed lines • Smudges • Streaks • Unexpected characters • White lines in print Check the control If one of the lights is blinking, see "Blinking lights on the control panel" on page 70. panel for any blinking lights Check ink Check the ink levels, and install a new print cartridge if necessary. Clean the scanner glass If the scanner glass is dirty, gently wipe it with a clean, lint-free cloth dampened with water. Review steps to See "Improving print quality" on page 52. improve print quality Check quality of original document If the quality of the original document is not satisfactory, try using a clearer version of the document or image. Are you scanning from If you are copying or scanning from photo or glossy paper, a magazine, or a newspaper, photo or glossy paper, see "Removing image patterns from photos, magazines, or newspapers" on page 44. a magazine, or a newspaper? Check document placement Make sure the document or photo is loaded facedown on the scanner glass in the lower right corner. Partial document or photo copies Check document placement Check paper size Make sure the document or photo is loaded facedown on the scanner glass in the lower right corner. Make sure the paper size being used matches the size you selected. Scan troubleshooting • "Scanner does not respond" on page 65 • "Scan was not successful" on page 65 • "Scanning takes too long or freezes the computer" on page 65 • "Poor scanned image quality" on page 66 • "Partial document or photo scans" on page 66 Troubleshooting 64
-
 1
1 -
2
-
3
-
4
-
5
-
6
-
7
-
8
-
9
-
10
-
11
-
12
-
13
-
14
-
15
-
16
-
17
-
18
-
19
-
20
-
21
-
22
-
23
-
24
-
25
-
26
-
27
-
28
-
29
-
30
-
31
-
32
-
33
-
34
-
35
-
36
-
37
-
38
-
39
-
40
-
41
-
42
-
43
-
44
-
45
-
46
-
47
-
48
-
49
-
50
-
51
-
52
-
53
-
54
-
55
-
56
-
57
-
58
-
 59
59 -
 60
60 -
 61
61 -
 62
62 -
 63
63 -
 64
64 -
 65
65 -
 66
66 -
 67
67 -
 68
68 -
 69
69 -
70
-
71
-
72
-
73
-
74
-
75
-
76
-
77
-
78
-
79
-
80
-
81
-
82
-
83
-
84
 |
 |