Lexmark 25C0350 Quick Reference
Lexmark 25C0350 - C 734n Color Laser Printer Manual
 |
UPC - 734646086042
View all Lexmark 25C0350 manuals
Add to My Manuals
Save this manual to your list of manuals |
Lexmark 25C0350 manual content summary:
- Lexmark 25C0350 | Quick Reference - Page 1
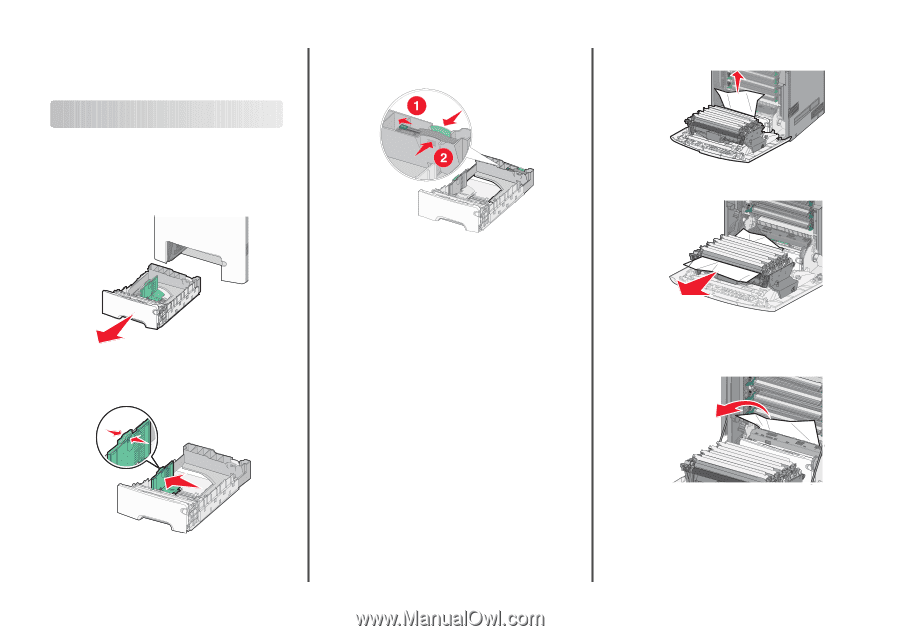
indicators to help position the guides. 2 Squeeze the width guide tabs as shown, and then slide the guide to the correct position for the the step that corresponds to the error message displayed on the printer control panel. Note: To avoid overexposing the photoconductors, do not cartridge area. - Lexmark 25C0350 | Quick Reference - Page 2
or under the top cover 1 Open the front door, and then open the top cover. CAUTION-HOT SURFACE: The fuser and the inside of the printer near the fuser may be hot. Wait for the fuser to cool before clearing jams from this area. 2 Determine where the jam is located: a If
-
 1
1 -
 2
2
 |
 |
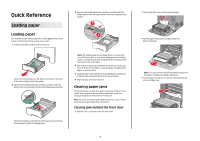
Quick Reference
Loading paper
Loading paper
Do not remove trays while a job prints or while
Busy
blinks on the
printer control panel. Doing so may cause a jam.
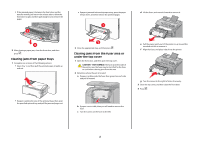
1
Grasp the handle, and then pull the tray out.
Notice the size indicators on the bottom of the tray. Use these
indicators to help position the guides.
2
Squeeze the width guide tabs as shown, and then slide the
guide to the correct position for the size of paper being loaded.
Notice the load line on the left side of the paper tray: it indicates
the maximum height for loading paper.
3
Squeeze the length guide tabs together, and then slide the
length guide to the correct position for the size of paper being
loaded.
Note:
The length guide has a locking device. To unlock the
tray, slide the button on top of the length guide to the left as
shown. To lock the tray once a length has been selected, slide
the button back to the right.
4
Flex a stack of paper back and forth to loosen the sheets, and
then fan them. Do not fold or crease the paper. Straighten the
edges on a level surface.
5
Load the paper stack with the recommended print side faceup.
Load the stack toward the back of the tray as shown.
6
Align the tray, and then reinsert it.
Clearing paper jams
If a jammed sheet is visible, then pull it out gently. If the jam is not
visible, then complete the step that corresponds to the error
message displayed on the printer control panel.
Note:
To avoid overexposing the photoconductors, do not leave
the front door open longer than 10 minutes.
Clearing jams behind the front door
1
Remove Tray 1, and then open the front door.
•
Pull straight up to remove the jammed paper.
•
Pull the paper forward if it is lodged under the
photoconductors.
Note:
You may need to remove the photoconductors if
the paper is lodged too tightly under them.
•
Pull the paper up and out to remove it from behind the
toner cartridge area.
1