Lexmark 5470 User's Guide - Page 111
After Dial, Close the Fax Setup Utility.
 |
UPC - 734646010801
View all Lexmark 5470 manuals
Add to My Manuals
Save this manual to your list of manuals |
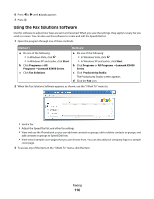
Page 111 highlights
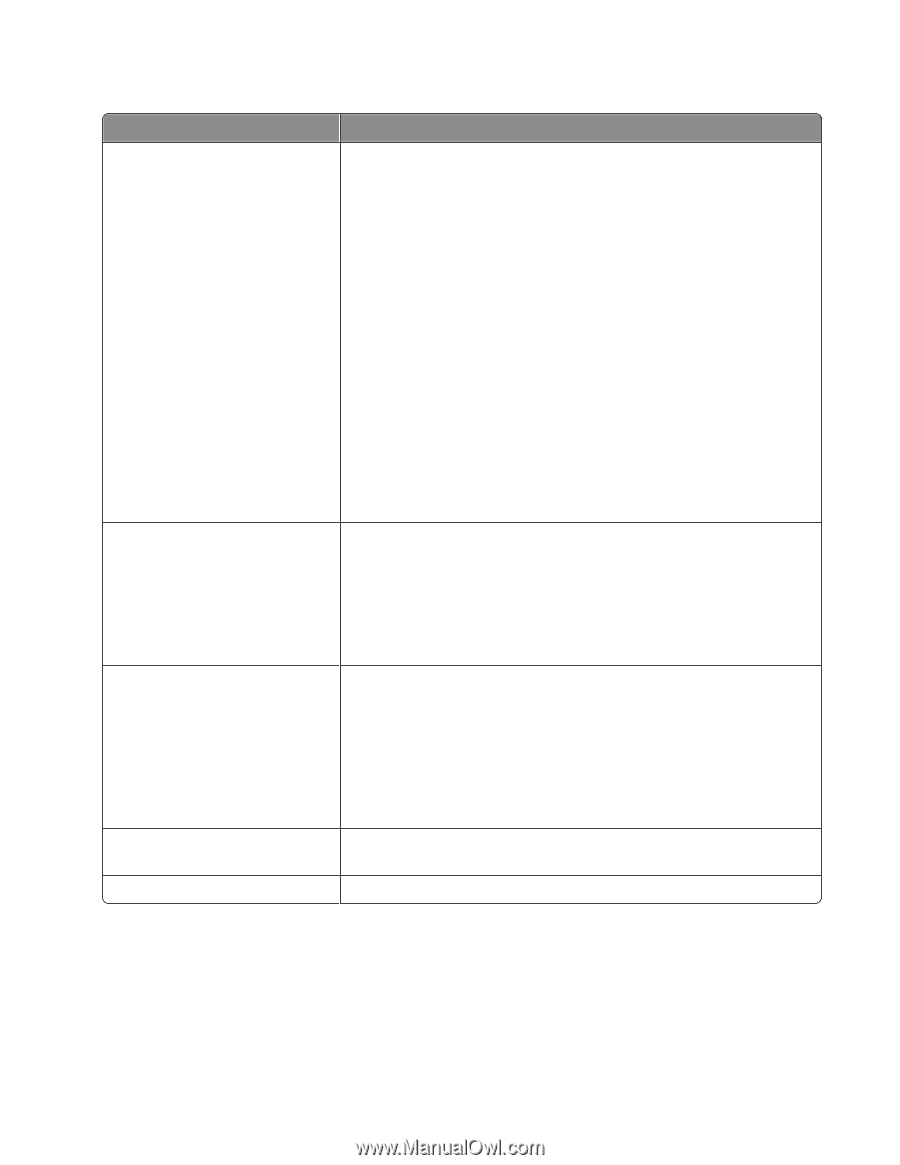
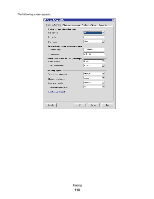
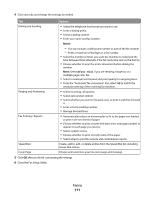
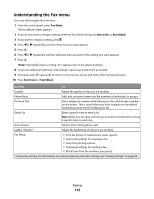
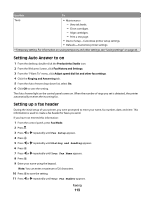
4 Click each tab, and change the settings as needed. Tab Dialing and Sending Options • Select the telephone line format you want to use. • Enter a dialing prefix. • Select a dialing volume. • Enter your name and fax number. Ringing and Answering Fax Printing / Reports Notes: - You can include a calling card number as part of the fax number. - Enter a maximum of 64 digits in a fax number. • Select the number of times you want the machine to redial and the time between those attempts if the fax cannot be sent on the first try. • Choose whether to scan the entire document before dialing the number. Note: Select After Dial if you are sending a large fax or a multiple-page color fax. • Select a maximum send speed and print quality for outgoing faxes. • From the "Automatic fax conversion" line, select ON to match the resolution setting of the receiving fax machine. • Select incoming call options. • Select auto answer options. • Select whether you want to forward a fax, or print it and then forward it. • Enter a fax forwarding number. • Manage blocked faxes. • Automatically reduce an incoming fax to fit to the paper size loaded, or print it on two sheets of paper. • Choose whether to print a footer (the date, time, and page number) to appear on each page you receive. • Select a paper source. • Choose whether to print on both sides of the paper. • Select when to print fax activity and confirmation reports. Speed Dial Create, add to, edit, or delete entries from the Speed Dial list, including Group Dial entries. Cover Page Choose and customize your fax cover page and message. 5 Click OK after you finish customizing the settings. 6 Close the Fax Setup Utility. Faxing 111
-
 1
1 -
2
-
3
-
4
-
5
-
6
-
7
-
8
-
9
-
10
-
11
-
12
-
13
-
14
-
15
-
16
-
17
-
18
-
19
-
20
-
21
-
22
-
23
-
24
-
25
-
26
-
27
-
28
-
29
-
30
-
31
-
32
-
33
-
34
-
35
-
36
-
37
-
38
-
39
-
40
-
41
-
42
-
43
-
44
-
45
-
46
-
47
-
48
-
49
-
50
-
51
-
52
-
53
-
54
-
55
-
56
-
57
-
58
-
59
-
60
-
61
-
62
-
63
-
64
-
65
-
66
-
67
-
68
-
69
-
70
-
71
-
72
-
73
-
74
-
75
-
76
-
77
-
78
-
79
-
80
-
81
-
82
-
83
-
84
-
85
-
86
-
87
-
88
-
89
-
90
-
91
-
92
-
93
-
94
-
95
-
96
-
97
-
98
-
99
-
100
-
101
-
102
-
103
-
104
-
105
-
 106
106 -
 107
107 -
 108
108 -
 109
109 -
 110
110 -
 111
111 -
 112
112 -
 113
113 -
 114
114 -
 115
115 -
 116
116 -
117
-
118
-
119
-
120
-
121
-
122
-
123
-
124
-
125
-
126
-
127
-
128
-
129
-
130
-
131
-
132
-
133
-
134
-
135
-
136
-
137
-
138
-
139
-
140
-
141
-
142
-
143
-
144
-
145
-
146
-
147
-
148
-
149
-
150
-
151
-
152
-
153
-
154
-
155
-
156
-
157
-
158
-
159
-
160
-
161
-
162
-
163
-
164
-
165
-
166
-
167
-
168
-
169
-
170
-
171
-
172
-
173
-
174
-
175
-
176
-
177
-
178
-
179
-
180
-
181
-
182
-
183
-
184
-
185
-
186
-
187
-
188
-
189
-
190
-
191
-
192
-
193
-
194
-
195
-
196
-
197
-
198
-
199
-
200
-
201
-
202
 |
 |