Lexmark 5470 User's Guide - Page 84
Printing photos from a digital camera using DPOF, Notes, Start Color, Start Black
 |
UPC - 734646010801
View all Lexmark 5470 manuals
Add to My Manuals
Save this manual to your list of manuals |
Page 84 highlights
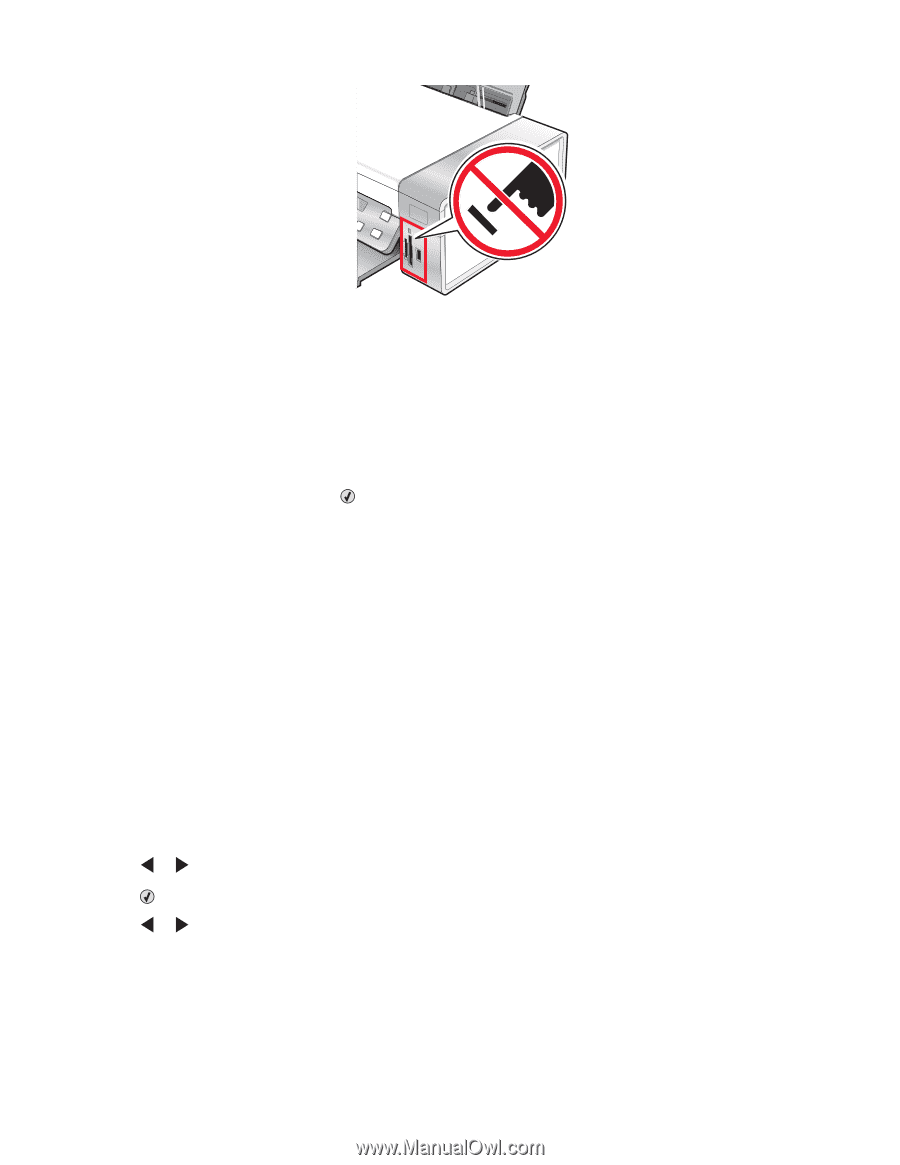
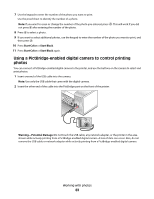
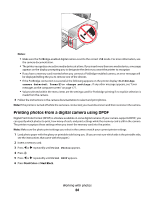
Notes: • Make sure the PictBridge-enabled digital camera is set to the correct USB mode. For more information, see the camera documentation. • The printer recognizes one active media device at a time. If you insert more than one media device, a message appears on the display prompting you to designate the device you want the printer to recognize. • If you have a memory card inserted when you connect a PictBridge-enabled camera, an error message will be displayed telling the you to remove one of the devices. • If the PictBridge connection is successful, the following appears on the printer display: PictBridge camera detected. Press to change settings. If any other message appears, see "Error messages on the computer screen" on page 177. • Values selected within the menu items are the settings used for Pictbridge printing if no explicit selection is made from the camera. 3 Follow the instructions in the camera documentation to select and print photos. Note: If the printer is turned off while the camera is connected, you must disconnect and then reconnect the camera. Printing photos from a digital camera using DPOF Digital Print Order Format (DPOF) is a feature available on some digital cameras. If your camera supports DPOF, you can specify which photos to print, how many of each, and print settings while the memory card is still in the camera. The printer recognizes these settings when you insert the memory card into the printer. Note: Make sure the photo print settings you select in the camera match your current printer settings. 1 Load photo paper with the glossy or printable side facing you. (If you are not sure which side is the printable side, see the instructions that came with the paper.) 2 Insert a memory card. 3 Press or repeatedly until Print Photos appears. 4 Press . 5 Press or repeatedly until Print DPOF appears. 6 Press Start Color or Start Black. Working with photos 84
-
 1
1 -
2
-
3
-
4
-
5
-
6
-
7
-
8
-
9
-
10
-
11
-
12
-
13
-
14
-
15
-
16
-
17
-
18
-
19
-
20
-
21
-
22
-
23
-
24
-
25
-
26
-
27
-
28
-
29
-
30
-
31
-
32
-
33
-
34
-
35
-
36
-
37
-
38
-
39
-
40
-
41
-
42
-
43
-
44
-
45
-
46
-
47
-
48
-
49
-
50
-
51
-
52
-
53
-
54
-
55
-
56
-
57
-
58
-
59
-
60
-
61
-
62
-
63
-
64
-
65
-
66
-
67
-
68
-
69
-
70
-
71
-
72
-
73
-
74
-
75
-
76
-
77
-
78
-
 79
79 -
 80
80 -
 81
81 -
 82
82 -
 83
83 -
 84
84 -
 85
85 -
 86
86 -
 87
87 -
 88
88 -
 89
89 -
90
-
91
-
92
-
93
-
94
-
95
-
96
-
97
-
98
-
99
-
100
-
101
-
102
-
103
-
104
-
105
-
106
-
107
-
108
-
109
-
110
-
111
-
112
-
113
-
114
-
115
-
116
-
117
-
118
-
119
-
120
-
121
-
122
-
123
-
124
-
125
-
126
-
127
-
128
-
129
-
130
-
131
-
132
-
133
-
134
-
135
-
136
-
137
-
138
-
139
-
140
-
141
-
142
-
143
-
144
-
145
-
146
-
147
-
148
-
149
-
150
-
151
-
152
-
153
-
154
-
155
-
156
-
157
-
158
-
159
-
160
-
161
-
162
-
163
-
164
-
165
-
166
-
167
-
168
-
169
-
170
-
171
-
172
-
173
-
174
-
175
-
176
-
177
-
178
-
179
-
180
-
181
-
182
-
183
-
184
-
185
-
186
-
187
-
188
-
189
-
190
-
191
-
192
-
193
-
194
-
195
-
196
-
197
-
198
-
199
-
200
-
201
-
202
 |
 |