Lexmark E450DN User's Guide - Page 41
Changing a photoconductor kit - replace photoconductor
 |
View all Lexmark E450DN manuals
Add to My Manuals
Save this manual to your list of manuals |
Page 41 highlights
Maintaining the printer Changing a photoconductor kit Warning: When replacing a photoconductor kit, do not leave the new photoconductor kit exposed to direct light for an extended period of time. Extended light exposure can cause print quality problems. 1 Turn the printer offc 2 Remove the print cartridge assembly. a Press the button on the left side of the printer to release the front door. b Lower the front door. c Grasp the toner cartridge handle, and pull up and out. Note: Do not press the button on the print cartridge assembly 1 2 3 Place the print cartridge assembly on a flat, clean surface. Ordering supplies 41
-
 1
1 -
2
-
3
-
4
-
5
-
6
-
7
-
8
-
9
-
10
-
11
-
12
-
13
-
14
-
15
-
16
-
17
-
18
-
19
-
20
-
21
-
22
-
23
-
24
-
25
-
26
-
27
-
28
-
29
-
30
-
31
-
32
-
33
-
34
-
35
-
 36
36 -
 37
37 -
 38
38 -
 39
39 -
 40
40 -
 41
41 -
 42
42 -
 43
43 -
 44
44 -
 45
45 -
 46
46 -
47
-
48
-
49
-
50
-
51
-
52
-
53
-
54
-
55
-
56
-
57
-
58
-
59
-
60
-
61
-
62
-
63
-
64
-
65
-
66
-
67
-
68
-
69
-
70
 |
 |
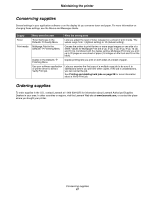
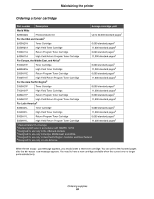
Ordering supplies
41
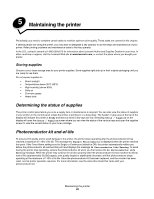
Maintaining the printer
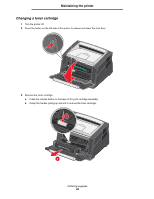
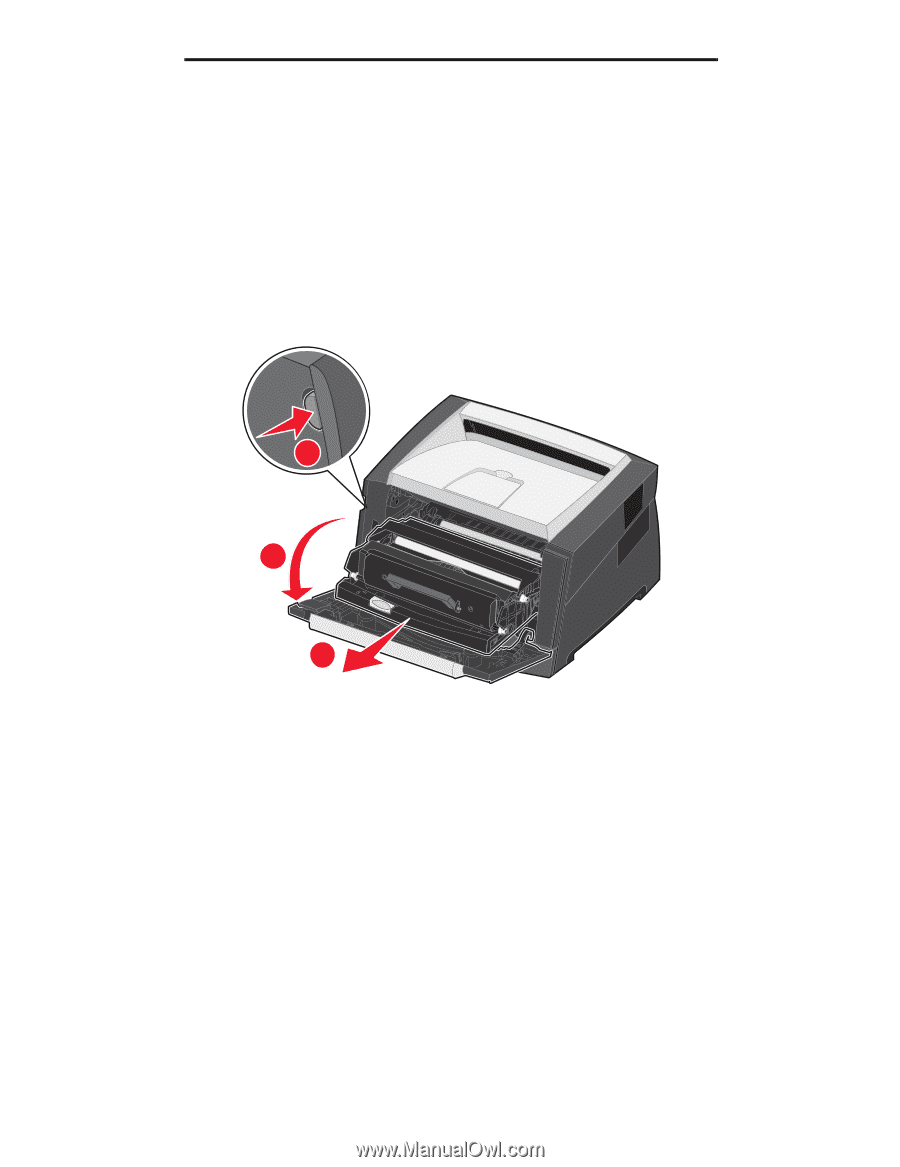
Changing a photoconductor kit
Warning:
When replacing a photoconductor kit, do not leave the new photoconductor kit exposed to direct light
for an extended period of time. Extended light exposure can cause print quality problems.
1
Turn the printer offc
2
Remove the print cartridge assembly.
a
Press the button on the left side of the printer to release the front door.
b
Lower the front door.
c
Grasp the toner cartridge handle, and pull up and out.
Note:
Do not press the button on the print cartridge assembly
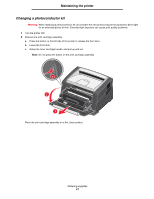
Place the print cartridge assembly on a flat, clean surface.
1
2
3