Lexmark Prestige Pro800 SmartSolutions User's Guide - Page 9
Using your workspace, Screen Saver, Save and Sync
 |
View all Lexmark Prestige Pro800 manuals
Add to My Manuals
Save this manual to your list of manuals |
Page 9 highlights
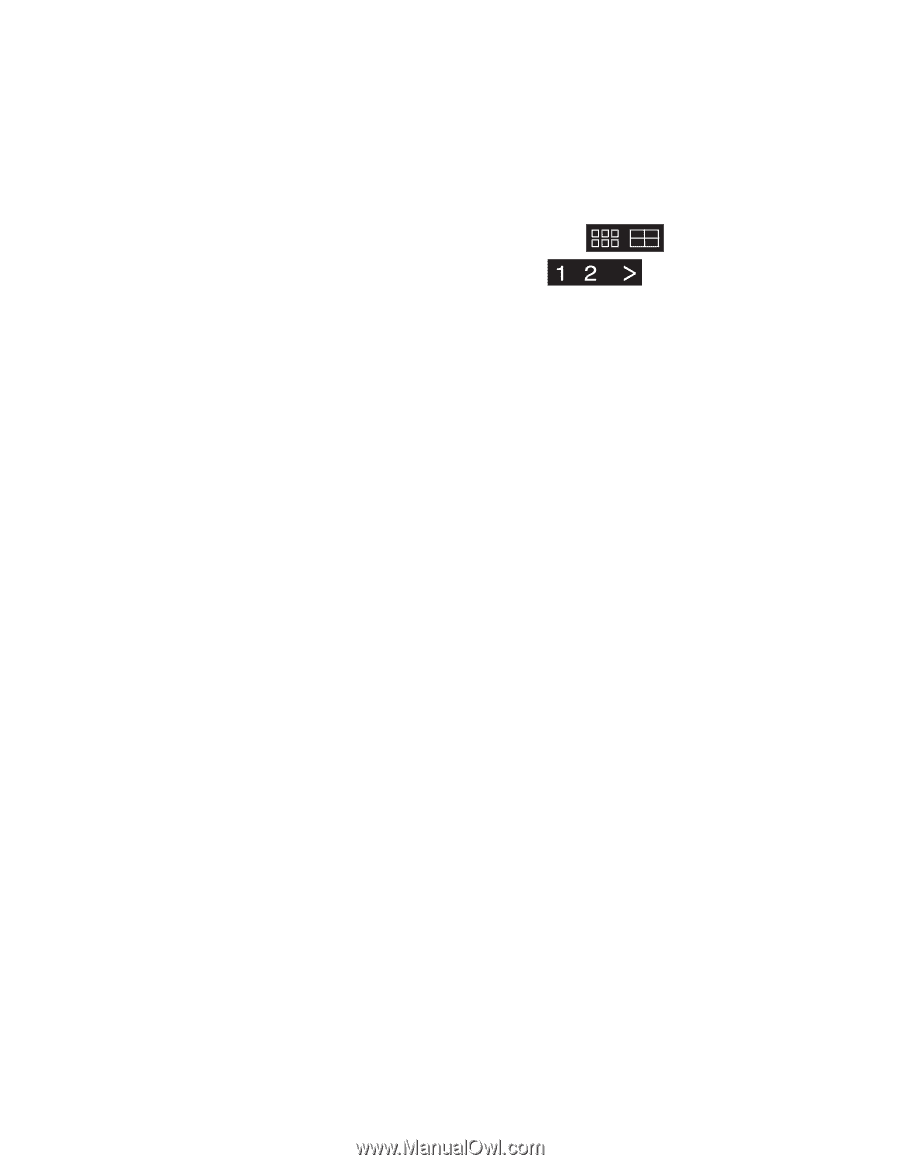
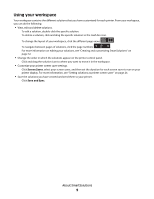
Using your workspace Your workspace contains the different solutions that you have customized for each printer. From your workspace, you can do the following: • View, edit and delete solutions. To edit a solution, double-click the specific solution. To delete a solution, click and drag the specific solution to the trash bin icon. To change the layout of your workspace, click the different page views . To navigate between pages of solutions, click the page numbers . For more information on editing your solutions, see "Creating and customizing SmartSolutions" on page 12. • Change the order in which the solutions appear on the printer control panel. Click and drag the solution icon to where you want to move it in the workspace. • Customize your printer screen saver settings. Click Screen Saver, select your screen saver, and then set the duration for each screen saver to run on your printer display. For more information, see "Setting solutions as printer screen saver" on page 24. • Save the solutions you have created and send them to your printer. Click Save and Sync. About SmartSolutions 9
-
 1
1 -
2
-
3
-
 4
4 -
 5
5 -
 6
6 -
 7
7 -
 8
8 -
 9
9 -
 10
10 -
 11
11 -
 12
12 -
 13
13 -
 14
14 -
15
-
16
-
17
-
18
-
19
-
20
-
21
-
22
-
23
-
24
-
25
-
26
-
27
-
28
-
29
-
30
-
31
-
32
-
33
-
34
-
35
-
36
-
37
-
38
-
39
-
40
-
41
-
42
-
43
-
44
-
45
-
46
-
47
-
48
-
49
-
50
-
51
 |
 |