Lexmark T632 Quick Reference
Lexmark T632 Manual
 |
View all Lexmark T632 manuals
Add to My Manuals
Save this manual to your list of manuals |
Lexmark T632 manual content summary:
- Lexmark T632 | Quick Reference - Page 1
• Save the selection as a new default setting. Press Return to return to the previous menu level. Press Go to: • Exit printer menus and return to the Ready state. • Clear messages. Press Stop to temporarily stop all print activity without losing data. Printing this quick reference 1 Press Menu until - Lexmark T632 | Quick Reference - Page 2
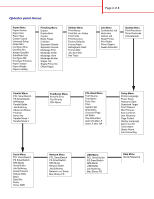
Print Directory Factory Defaults Format Flash Defragment Flash Format Disk Job Acct Stat Hex Trace Page 2 of 8 Job Menu Confidential Job Held Jobs Cancel Job Reset Printer Print Buffer Prime Stapler Reset Active Bin Quality Menu Print Resolution Toner Darkness PictureGrade Parallel Menu PCL - Lexmark T632 | Quick Reference - Page 3
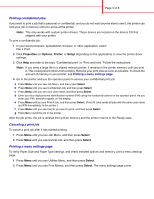
on the application) to view the printer driver settings. 3 Click Help and refer to the topic "Confidential print" or "Print and hold." Follow the instructions. Note: If you send a large file to a shared network printer, it remains in the printer memory until you print it. This could prevent others - Lexmark T632 | Quick Reference - Page 4
is loaded. • Remove the currently loaded print media from the specified tray, and then load the requested print media. • Press Select to clear the message and print on the print media currently loaded in the tray. • Cancel the current job. Load Manual The printer is ready for print media to be - Lexmark T632 | Quick Reference - Page 5
Page 5 of 8 Loading letterhead Letterhead must be loaded differently depending on what options you have installed. In a tray Without finisher, single-sided printing In the multipurpose feeder Without finisher, double-sided printing With finisher, single-sided printing With finisher, double- - Lexmark T632 | Quick Reference - Page 6
Loading a tray Width guide tab Size indicators Page 6 of 8 Squeeze Length guide Width guide Load print media into any of the standard or optional trays. All trays are loaded the same way. 1 Remove the tray. 2 Squeeze the width guide tab and the width guide, and slide the guide to the far right - Lexmark T632 | Quick Reference - Page 7
the metal bar out far enough to support your print media size. 3 Slide the width guide to the far right. 4 Place the print media in the multipurpose feeder and push it forward without forcing it. Paper and transparencies Envelopes Width guide 5 Slide the width guide to the left until it lightly - Lexmark T632 | Quick Reference - Page 8
sources and possible jam areas. Be sure to remove any print jobs from the standard bin before opening the upper front door. CAUTION: Floor-mounted configurations require additional furniture. You must use either a printer stand or printer base if you are using a 2000-sheet drawer, a duplex unit and
-
 1
1 -
 2
2 -
 3
3 -
 4
4 -
 5
5 -
 6
6 -
 7
7 -
8
 |
 |
Page 1 of 8
Quick Reference
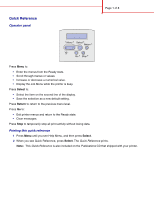
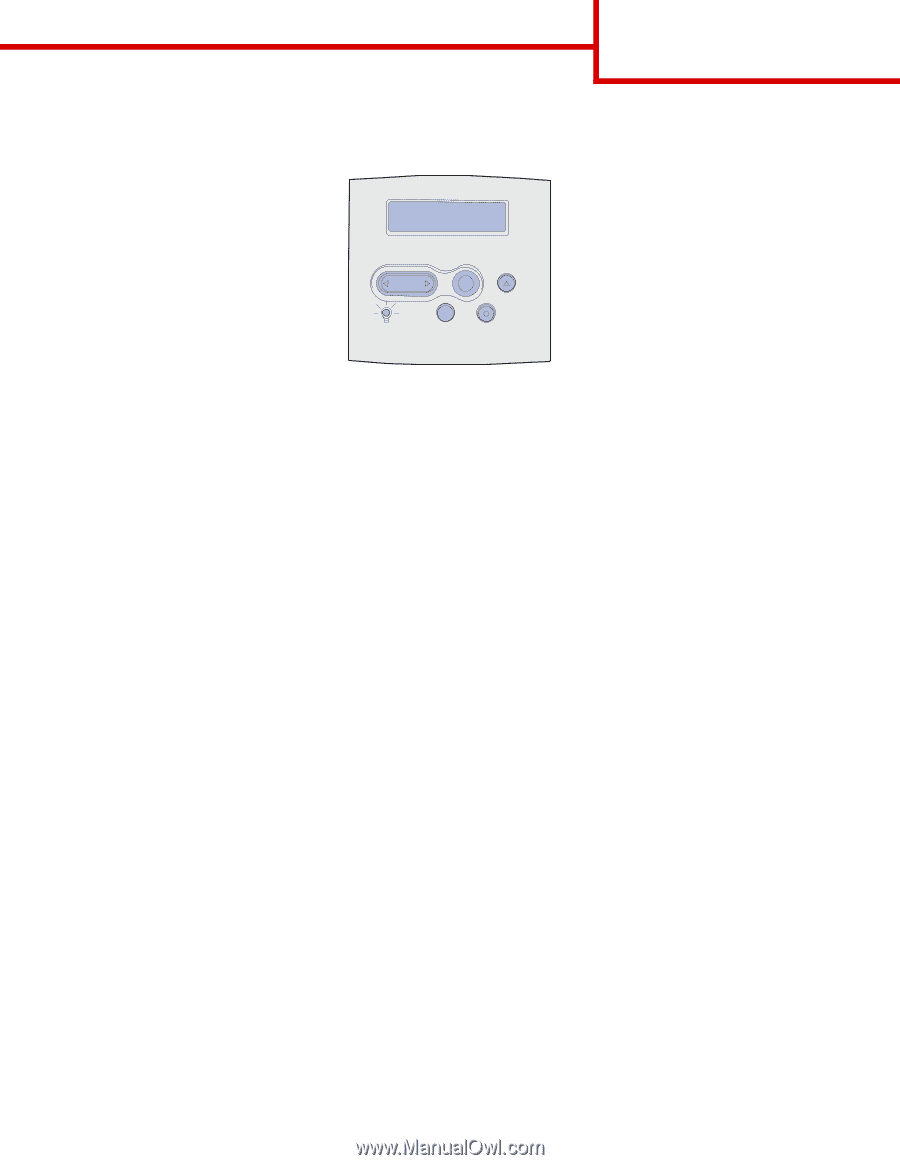
Operator panel
Press
Menu
to:
•
Enter the menus from the Ready state.
•
Scroll through menus or values.
•
Increase or decrease a numerical value.
•
Display the Job Menu while the printer is busy.
Press
Select
to:
•
Select the item on the second line of the display.
•
Save the selection as a new default setting.
Press
Return
to return to the previous menu level.
Press
Go
to:
•
Exit printer menus and return to the Ready state.
•
Clear messages.
Press
Stop
to temporarily stop all print activity without losing data.
Printing this quick reference
1
Press
Menu
until you see Help Menu, and then press
Select
.
2
When you see Quick Reference, press
Select.
The
Quick Reference
prints.
Note:
This
Quick Reference
is also included on the
Publications
CD that shipped with your printer.
1
Menu
2
Select
3
Return
4
Go
5
Stop
6