Lexmark X342N Service Manual - Page 74
Removal procedures, Covers, Extender cover removal, Front access cover removal
 |
UPC - 734646256292
View all Lexmark X342N manuals
Add to My Manuals
Save this manual to your list of manuals |
Page 74 highlights
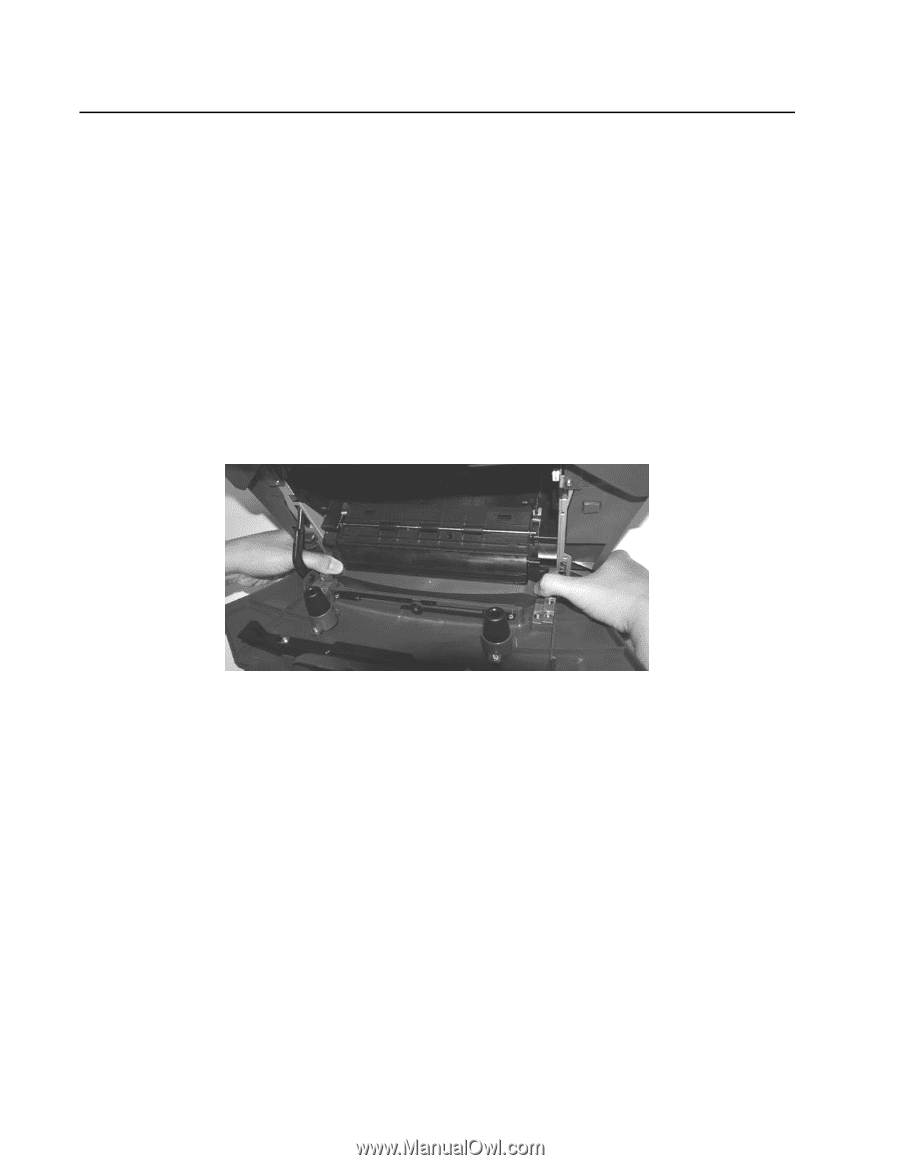
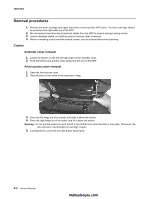
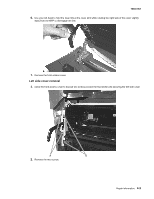
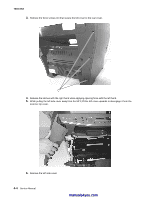
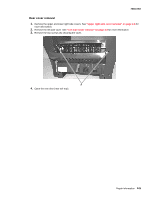
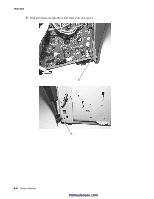
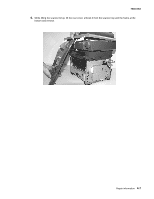
7003-XXX Removal procedures 1. Remove the toner cartridge and paper tray before removing other MFP parts. The toner cartridge should be protected from light while out of the MFP. 2. We recommend disconnecting all external cables from the MFP to prevent damage during service. 3. Unless otherwise stated, re-install the parts in reverse order of removal. 4. When re-installing a part held with several screws, start all screws before final tightening. Covers Extender cover removal 1. Locate the latches on the left and right sides of the extender cover. 2. Push the latches and pull the cover away from the rear of the MFP. Front access cover removal 1. Open the front access cover. 2. Place thumbs on the inside of the respective hinge. 3. Force the left hinge out of its socket, and relax it above the socket. 4. Force the right hinge out of its socket, and lift it above the socket. Warning: Do not pull the fuser link out of the MFP any farther than when the door is fully open. Otherwise, the link extension may dislodge the cartridge coupler. 5. Carefully lift the cover free from the printer base frame. 4-2 Service Manual manuals4you.com
-
 1
1 -
2
-
3
-
4
-
5
-
6
-
7
-
8
-
9
-
10
-
11
-
12
-
13
-
14
-
15
-
16
-
17
-
18
-
19
-
20
-
21
-
22
-
23
-
24
-
25
-
26
-
27
-
28
-
29
-
30
-
31
-
32
-
33
-
34
-
35
-
36
-
37
-
38
-
39
-
40
-
41
-
42
-
43
-
44
-
45
-
46
-
47
-
48
-
49
-
50
-
51
-
52
-
53
-
54
-
55
-
56
-
57
-
58
-
59
-
60
-
61
-
62
-
63
-
64
-
65
-
66
-
67
-
68
-
 69
69 -
 70
70 -
 71
71 -
 72
72 -
 73
73 -
 74
74 -
 75
75 -
 76
76 -
 77
77 -
 78
78 -
 79
79 -
80
-
81
-
82
-
83
-
84
-
85
-
86
-
87
-
88
-
89
-
90
-
91
-
92
-
93
-
94
-
95
-
96
-
97
-
98
-
99
-
100
-
101
-
102
-
103
-
104
-
105
-
106
-
107
-
108
-
109
-
110
-
111
-
112
-
113
-
114
-
115
-
116
-
117
-
118
-
119
-
120
-
121
-
122
-
123
-
124
-
125
-
126
-
127
-
128
-
129
-
130
-
131
-
132
-
133
-
134
-
135
-
136
-
137
-
138
-
139
-
140
-
141
-
142
-
143
-
144
-
145
-
146
-
147
-
148
-
149
-
150
-
151
-
152
-
153
-
154
-
155
-
156
-
157
-
158
-
159
-
160
-
161
-
162
-
163
 |
 |