Lexmark X6570 User's Guide - Page 118
Receiving a two-sided fax, Forwarding faxes
 |
UPC - 836367002285
View all Lexmark X6570 manuals
Add to My Manuals
Save this manual to your list of manuals |
Page 118 highlights
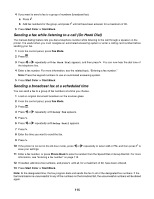
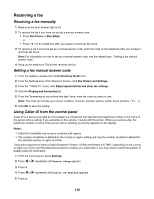
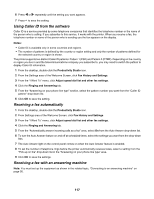
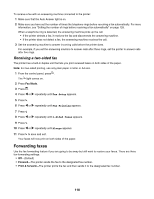
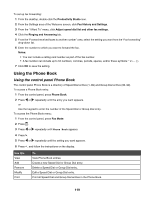
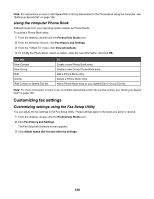
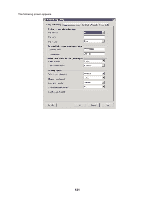
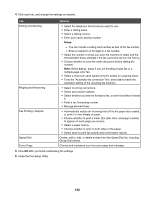
To receive a fax with an answering machine connected to the printer: 1 Make sure that the Auto Answer light is on. 2 Make sure you have set the number of times the telephone rings before receiving a fax automatically. For more information, see "Setting the number of rings before receiving a fax automatically" on page 128. When a telephone ring is detected, the answering machine picks up the call. • If the printer detects a fax, it receives the fax and disconnects the answering machine. • If the printer does not detect a fax, the answering machine receives the call. 3 Set the answering machine to answer incoming calls before the printer does. For example, if you set the answering machine to answer calls after three rings, set the printer to answer calls after five rings. Receiving a two-sided fax The printer has a built-in duplex unit that lets you print received faxes on both sides of the paper. Note: For two-sided printing, use only plain paper in letter or A4 size. 1 From the control panel, press . The light comes on. 2 Press Fax Mode. 3 Press . 4 Press or repeatedly until Fax Setup appears. 5 Press . 6 Press or repeatedly until Fax Printing appears. 7 Press 8 Press or repeatedly until 2-Sided Faxes appears. 9 Press . 10 Press or repeatedly until Always appears. 11 Press to save and exit. Your faxes will now print on both sides of the paper. Forwarding faxes Use the fax-forwarding feature if you are going to be away but still want to receive your faxes. There are three fax-forwarding settings: • Off-(Default) • Forward-The printer sends the fax to the designated fax number. • Print & forward-The printer prints the fax and then sends it to the designated fax number. 118
-
 1
1 -
2
-
3
-
4
-
5
-
6
-
7
-
8
-
9
-
10
-
11
-
12
-
13
-
14
-
15
-
16
-
17
-
18
-
19
-
20
-
21
-
22
-
23
-
24
-
25
-
26
-
27
-
28
-
29
-
30
-
31
-
32
-
33
-
34
-
35
-
36
-
37
-
38
-
39
-
40
-
41
-
42
-
43
-
44
-
45
-
46
-
47
-
48
-
49
-
50
-
51
-
52
-
53
-
54
-
55
-
56
-
57
-
58
-
59
-
60
-
61
-
62
-
63
-
64
-
65
-
66
-
67
-
68
-
69
-
70
-
71
-
72
-
73
-
74
-
75
-
76
-
77
-
78
-
79
-
80
-
81
-
82
-
83
-
84
-
85
-
86
-
87
-
88
-
89
-
90
-
91
-
92
-
93
-
94
-
95
-
96
-
97
-
98
-
99
-
100
-
101
-
102
-
103
-
104
-
105
-
106
-
107
-
108
-
109
-
110
-
111
-
112
-
 113
113 -
 114
114 -
 115
115 -
 116
116 -
 117
117 -
 118
118 -
 119
119 -
 120
120 -
 121
121 -
 122
122 -
 123
123 -
124
-
125
-
126
-
127
-
128
-
129
-
130
-
131
-
132
-
133
-
134
-
135
-
136
-
137
-
138
-
139
-
140
-
141
-
142
-
143
-
144
-
145
-
146
-
147
-
148
-
149
-
150
-
151
-
152
-
153
-
154
-
155
-
156
-
157
-
158
-
159
-
160
-
161
-
162
-
163
-
164
-
165
-
166
-
167
-
168
-
169
-
170
-
171
-
172
-
173
-
174
-
175
-
176
-
177
-
178
-
179
-
180
-
181
-
182
-
183
-
184
-
185
-
186
-
187
-
188
-
189
-
190
-
191
-
192
-
193
-
194
-
195
-
196
-
197
-
198
-
199
-
200
-
201
-
202
-
203
-
204
-
205
-
206
-
207
-
208
-
209
-
210
-
211
-
212
-
213
-
214
-
215
-
216
-
217
-
218
-
219
-
220
-
221
-
222
-
223
 |
 |