Linksys WIP320 User Guide - Page 15
Charging the Phone’s Battery, USB mini-B port
 |
UPC - 745883577330
View all Linksys WIP320 manuals
Add to My Manuals
Save this manual to your list of manuals |
Page 15 highlights
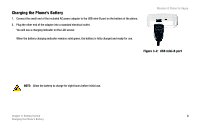
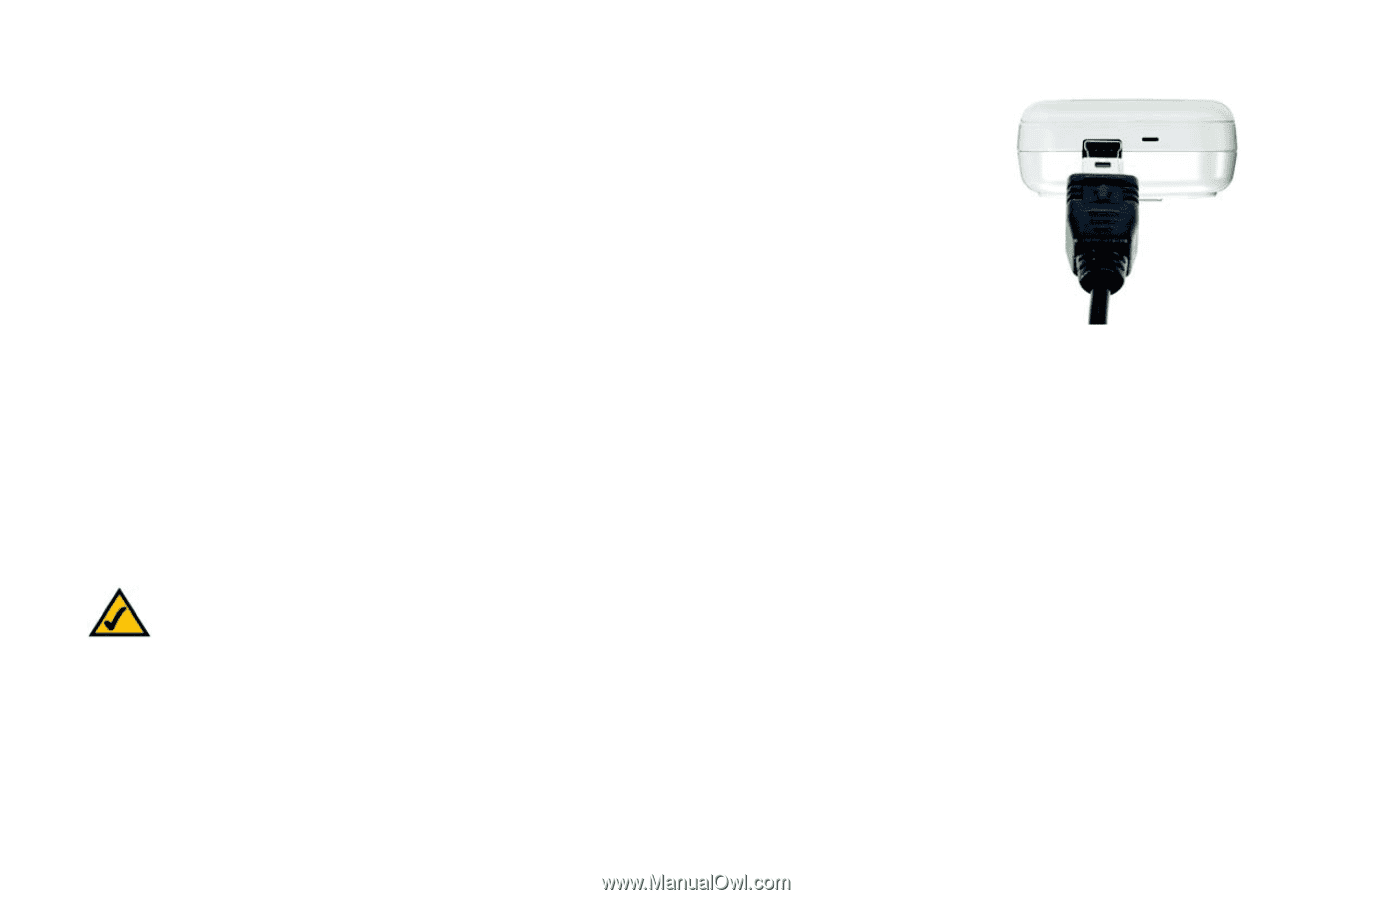
Charging the Phone's Battery 1. Connect the small end of the included AC power adapter to the USB mini-B port on the bottom of the phone. 2. Plug the other end of the adapter into a standard electrical outlet. You will see a charging indicator on the LCD screen When the battery charging indicator remains solid green, the battery is fully charged and ready for use. Wireless-G Phone for Skype Figure 3-2: USB mini-B port NOTE: Allow the battery to charge for eight hours before initial use. Chapter 3: Getting Started 8 Charging the Phone's Battery
-
 1
1 -
2
-
3
-
4
-
5
-
6
-
7
-
8
-
9
-
 10
10 -
 11
11 -
 12
12 -
 13
13 -
 14
14 -
 15
15 -
 16
16 -
 17
17 -
 18
18 -
 19
19 -
 20
20 -
21
-
22
-
23
-
24
-
25
-
26
-
27
-
28
-
29
-
30
-
31
-
32
-
33
-
34
-
35
-
36
-
37
-
38
-
39
-
40
-
41
-
42
-
43
-
44
-
45
-
46
-
47
-
48
-
49
-
50
-
51
-
52
-
53
-
54
-
55
-
56
-
57
-
58
-
59
-
60
-
61
-
62
-
63
-
64
-
65
-
66
-
67
-
68
-
69
-
70
-
71
-
72
-
73
-
74
-
75
-
76
-
77
-
78
-
79
-
80
-
81
 |
 |
Wireless-G Phone for Skype
8
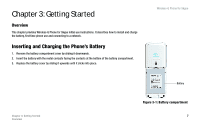
Chapter 3: Getting Started
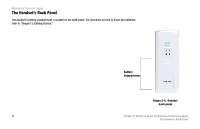
Charging the Phone’s Battery
Charging the Phone’s Battery
1.
Connect the small end of the included AC power adapter to the USB mini-B port on the bottom of the phone.
2.
Plug the other end of the adapter into a standard electrical outlet.
You will see a charging indicator on the LCD screen
When the battery charging indicator remains solid green, the battery is fully charged and ready for use.
NOTE:
Allow the battery to charge for eight hours before initial use.
Figure 3-2:
USB mini-B port