Magnavox MDR513H User manual, English (US) - Page 45
Note for one-touch timer recording, Press [STOP, to stop recording., Press [REC] to start recording. - finalize
 |
UPC - 609585189706
View all Magnavox MDR513H manuals
Add to My Manuals
Save this manual to your list of manuals |
Page 45 highlights
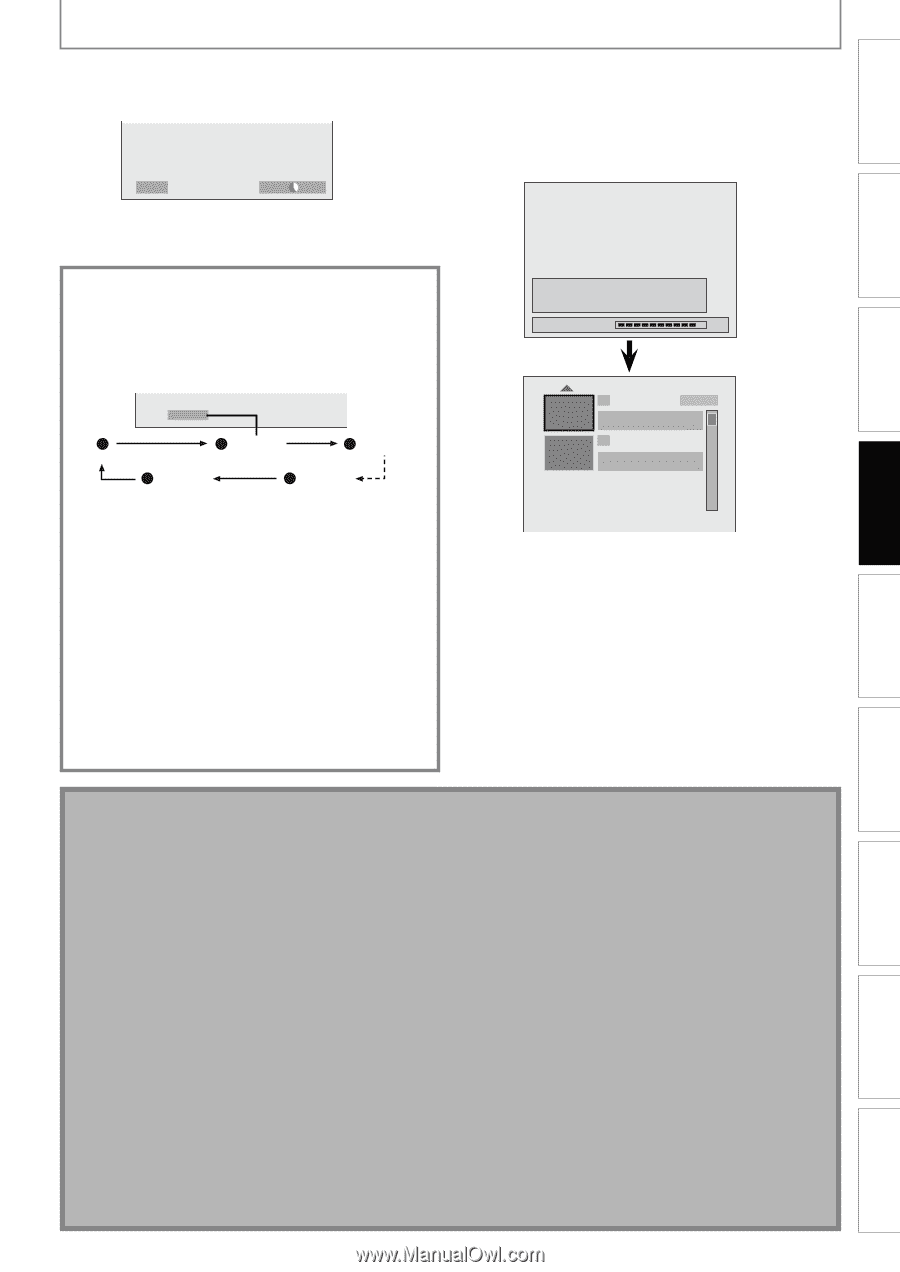
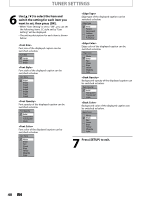
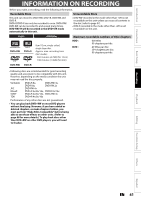
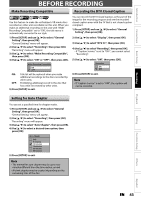
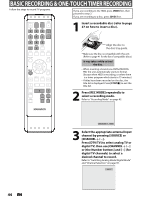
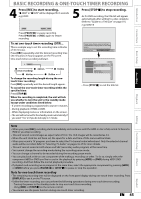
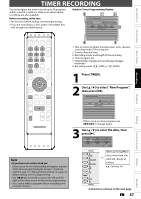
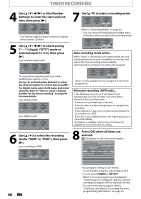
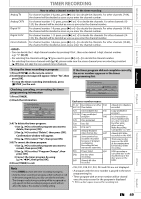
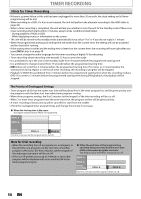
Introduction Connections Basic Setup BASIC RECORDING & ONE-TOUCH TIMER RECORDING 4 Press [REC] to start recording. "I HDD" or "I DVD" will be displayed for 4 seconds. e.g.) DVD I DVD SP(2Hr) 2h00m 5 Press [STOP C] to stop recording. As for DVD recording, the title list will appear automatically after writing to a disc complete. (Refer to "Guide to a Title List" on page 81.) e.g.) DVD+R Press [PAUSE F] to pause recording. Press [PAUSE F]] or [REC] again to restart recording. To set one-touch timer recording (OTR)... This is a simple way to set the recording time in blocks of 30 minutes. Press [REC] repeatedly until the desired recording time (30 minutes to 6 hours) appears on the TV screen. One-touch timer recording will start. I 0h30m 0h30m (normal recording) 1h00m 6h00m 5h30m To change the recording length during the onetouch timer recording: Press [REC] repeatedly until the desired length appear. To cancel the one-touch timer recording within the specified time: Press [STOP C]. When the recording is completed, the unit will ask you whether to turn the unit to the standby mode except under conditions listed below. - If a timer recording is programmed to start in 5 minutes. - During playback of HDD or DVD. - While displaying menus or information on the screen. • The unit will be turned to the standby mode automatically if you select "Yes" or if you do not reply in 1 minute. Please finalize the disc when the writing is completed before playing back on other DVD players. Writing to Disc 90% 1 SP(2Hr) NOV/21/10 11:00AM CH12 SP NOV/21/10 0:20:44 2 EMPTY TITLE 1:41:17 SP (2Hr) • Press [STOP C] to exit the title list. Recording Playback Editing Function Setup Others Note • When you press [REC], recording starts immediately and continues until the HDD or disc is full, record 12 hours to HDD or you stop recording. • This unit cannot record images as aspect ratio of 16:9. The 16:9 images will be recorded as 4:3. • When the unit clock has not been set, the space for a date and time of title names will be blank. • When you record a TV program, you have to select the TV channel audio beforehand. Only the selected channel audio will be recorded. Refer to "Selecting TV Audio" on pages 36-37 for more details. • This unit cannot record in both stereo and SAP (secondary audio program) at the same time. • You cannot change the recording mode during the recording pause mode. • You can change a channel to be recorded during the recording pause mode. • You can play back a title on one component while making a recording on other. To do so, simply select the component (HDD or DVD) you like to use for the playback by pressing [HDD] or [DVD] during HDD / DVD recording. And then follow the normal playback procedure. • If playback and recording are in progress at the same time, select the appropriate component by pressing [HDD] or [DVD] before you press [PAUSE F] or [STOP C] to pause or stop the operation. Note for one-touch timer recording • The remaining recording time will be displayed on the front panel display during one-touch timer recording. Press [DISPLAY] to see it on the TV screen. • Unlike the timer recording, you can perform the following operations during one-touch timer recording. - Turning the power to the standby mode to stop one-touch timer recording. - Using [REC] or [STOP C] on the remote control. • You cannot use the pause function during one-touch timer recording. EN 45 Español
-
 1
1 -
2
-
3
-
4
-
5
-
6
-
7
-
8
-
9
-
10
-
11
-
12
-
13
-
14
-
15
-
16
-
17
-
18
-
19
-
20
-
21
-
22
-
23
-
24
-
25
-
26
-
27
-
28
-
29
-
30
-
31
-
32
-
33
-
34
-
35
-
36
-
37
-
38
-
39
-
 40
40 -
 41
41 -
 42
42 -
 43
43 -
 44
44 -
 45
45 -
 46
46 -
 47
47 -
 48
48 -
 49
49 -
 50
50 -
51
-
52
-
53
-
54
-
55
-
56
-
57
-
58
-
59
-
60
-
61
-
62
-
63
-
64
-
65
-
66
-
67
-
68
-
69
-
70
-
71
-
72
-
73
-
74
-
75
-
76
-
77
-
78
-
79
-
80
-
81
-
82
-
83
-
84
-
85
-
86
-
87
-
88
-
89
-
90
-
91
-
92
-
93
-
94
-
95
-
96
-
97
-
98
-
99
-
100
-
101
-
102
-
103
-
104
-
105
-
106
-
107
-
108
-
109
-
110
-
111
-
112
-
113
-
114
-
115
-
116
-
117
-
118
-
119
-
120
-
121
-
122
-
123
-
124
-
125
-
126
-
127
-
128
 |
 |