Magnavox ZV427MG9 User manual, English (US) - Page 77
HDMI, to select HDMI, then
 |
UPC - 053818570722
View all Magnavox ZV427MG9 manuals
Add to My Manuals
Save this manual to your list of manuals |
Page 77 highlights
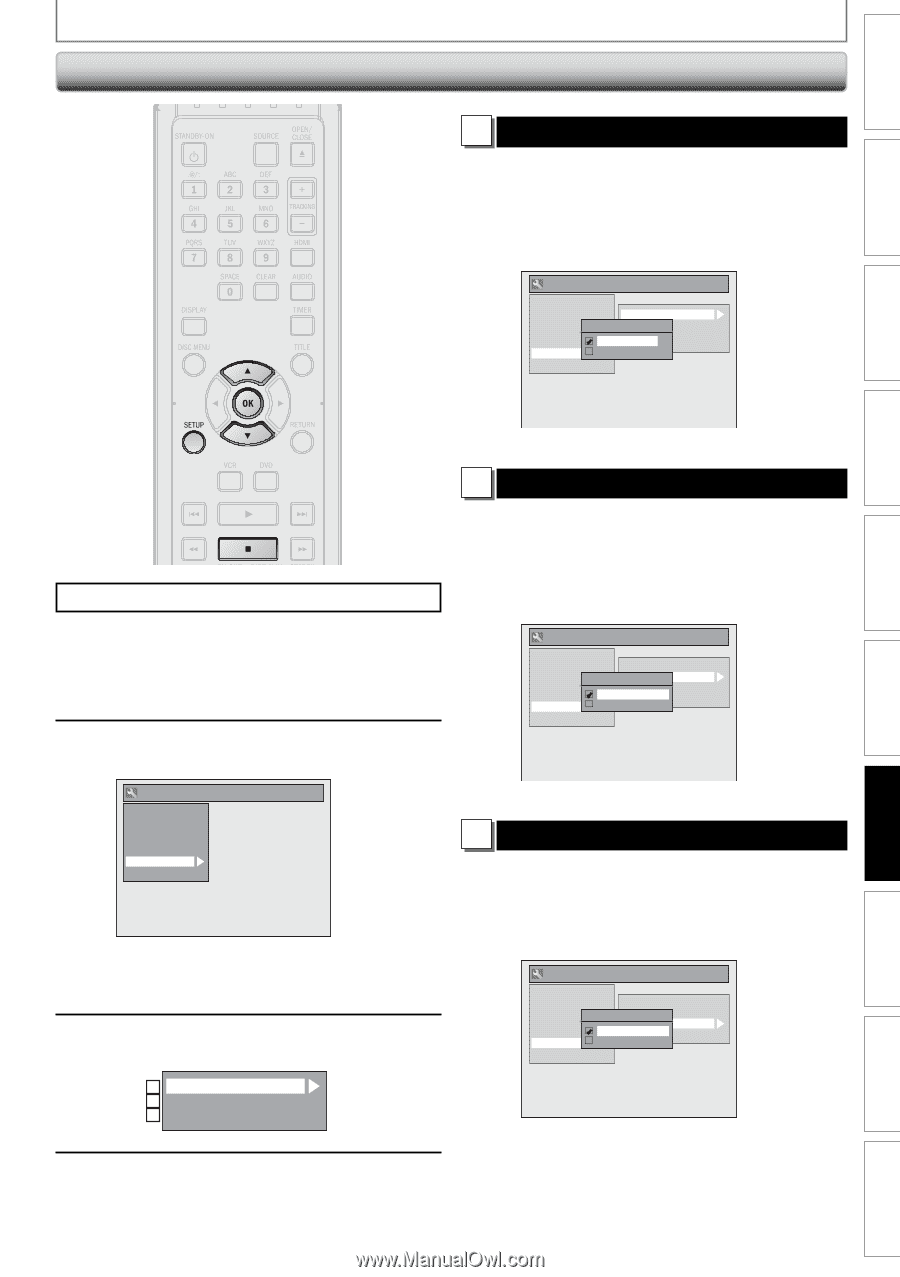
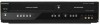
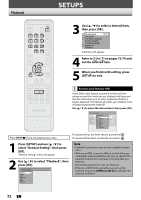
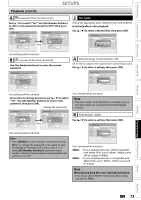
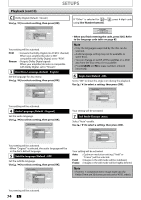
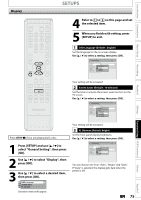
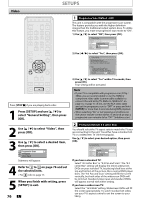
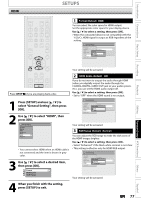
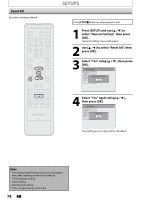
Introduction Connections Basic Setup HDMI SETUPS 1 Format (Default : RGB) You can select the color space for HDMI output. Set the appropriate color space for your display device. Use [K / L] to select a setting, then press [OK]. • When the connected device is not compatible with the Y/Cb/Cr, HDMI signal is output as RGB regardless of the setting. General Setting Playback Display Video Recording Clock HDMI Reset All Format Format HDMI Audio RGB Range RGB HDMI CEC YCbCr Recording Playback Editing Function Setup VCR Functions Your setting will be activated. Press [STOP C] if you are playing back a disc. 2 HDMI Audio (Default : ON) If you do not want to output the audio through HDMI (when you digitally output the audio through the COAXIAL DIGITAL AUDIO OUT jack to your audio system, etc.), you can set the HDMI audio output off. Use [K / L] to select a setting, then press [OK]. • Set to "OFF" when the HDMI sound is not output. 1 Press [SETUP] and use [K / L] to select "General Setting", then press [OK]. 2 Use [K / L] to select "HDMI", then press [OK]. General Setting Playback Display Video Recording Clock HDMI Reset All • You cannot select HDMI when an HDMI cable is not connected and the item is shown in grey color. 3 Use [K / L] to select a desired item, then press [OK]. 1 Format 2 HDMI Audio 3 RGB Range General Setting Playback Display Video Recording Clock HDMI Reset All Format HDMI AudioHDMI Audio RGB Range ON HDMI CEC OFF Your setting will be activated. 3 RGB Range (Default : Normal) You can adjust the RGB range to make the dark areas of the HDMI images brighter. Use [K / L] to select a setting, then press [OK]. • Select "Enhanced" if the black-white contrast is not clear. • This setting is effective only for HDMI RGB output. General Setting Playback Display Video Recording Clock HDMI Reset All Format RGB RangeHDMI Audio RGB Range NormaHl DMI CEC Enhanced Your setting will be activated. 4 When you finish with the setting, press [SETUP] to exit. EN 77 Others Español
-
 1
1 -
2
-
3
-
4
-
5
-
6
-
7
-
8
-
9
-
10
-
11
-
12
-
13
-
14
-
15
-
16
-
17
-
18
-
19
-
20
-
21
-
22
-
23
-
24
-
25
-
26
-
27
-
28
-
29
-
30
-
31
-
32
-
33
-
34
-
35
-
36
-
37
-
38
-
39
-
40
-
41
-
42
-
43
-
44
-
45
-
46
-
47
-
48
-
49
-
50
-
51
-
52
-
53
-
54
-
55
-
56
-
57
-
58
-
59
-
60
-
61
-
62
-
63
-
64
-
65
-
66
-
67
-
68
-
69
-
70
-
71
-
 72
72 -
 73
73 -
 74
74 -
 75
75 -
 76
76 -
 77
77 -
 78
78 -
 79
79 -
 80
80 -
 81
81 -
 82
82 -
83
-
84
-
85
-
86
-
87
-
88
-
89
-
90
-
91
-
92
 |
 |