Magnavox ZV450MW8 Owners Manual - Page 83
Playback cont'd
 |
UPC - 961613075208
View all Magnavox ZV450MW8 manuals
Add to My Manuals
Save this manual to your list of manuals |
Page 83 highlights
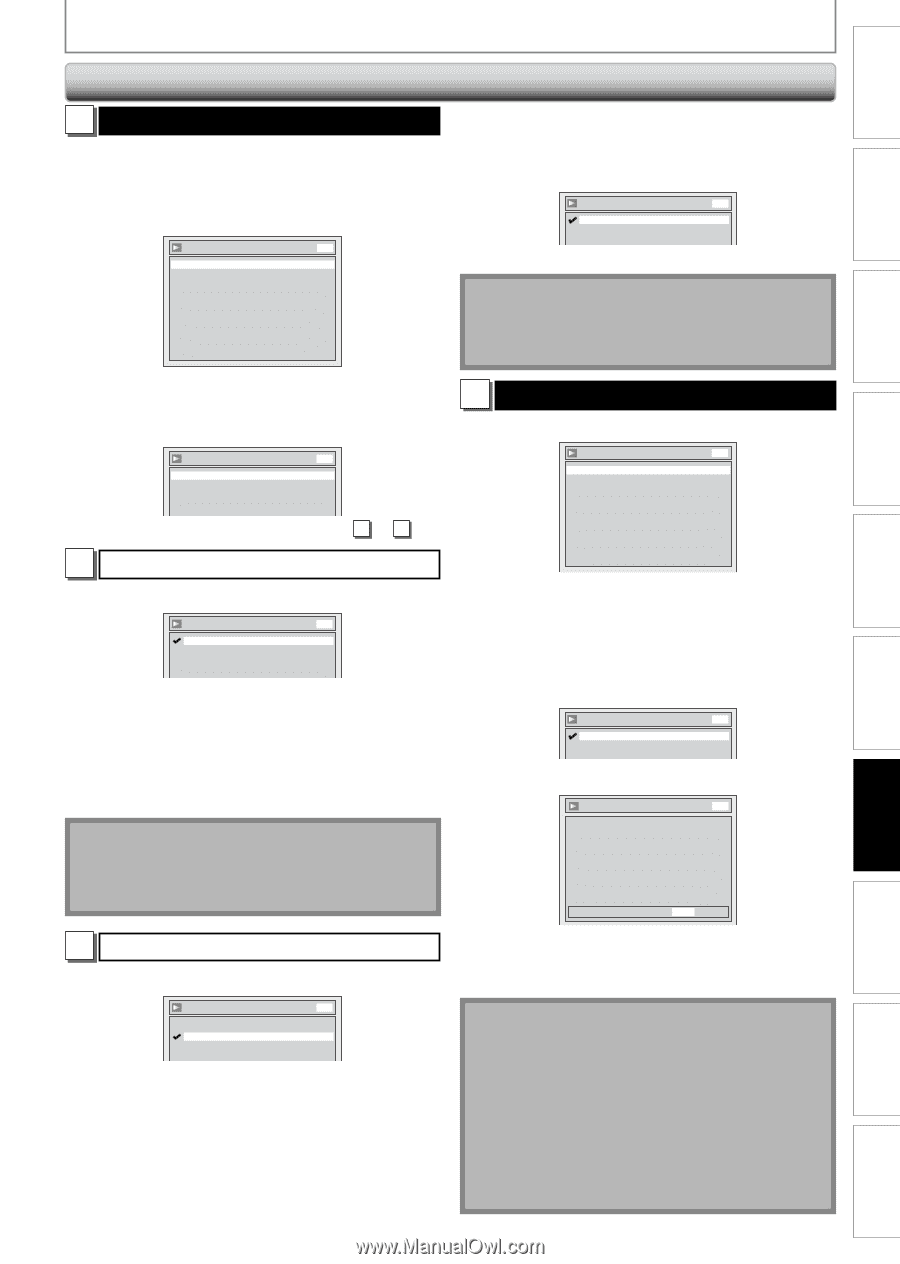
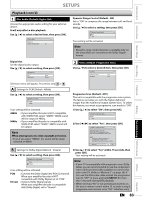
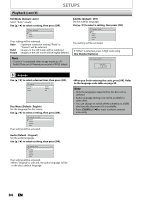
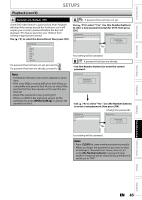
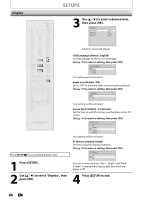
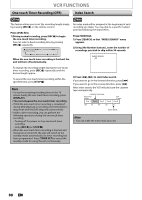
SETUPS Introduction Connections Basic Setup Playback (cont'd) 1 Disc Audio (Default: Digital Out) Choose the appropriate audio setting for your external device. It will only affect a disc playback. Use [K / L] to select a desired item, then press [OK]. Disc Audio Digital Out Dynamic Range Control DVD ON Digital Out Set the digital audio output. Use [K / L] to select a setting, then press [OK]. Digital Out PCM Dolby Digital DVD 48kHz Stream Dynamic Range Control (Default : ON) Set to "ON" to compress the range between soft and loud sounds. Use [K / L] to select a setting, then press [OK]. Dynamic Range Control ON OFF DVD Your setting will be activated. Note • Dynamic range control function is available only on the discs which are recorded in the Dolby Digital format. 2 Video (Default: Progressive Scan) Use [K / L] to select a desired item, then press [OK]. Video Progressive Scan Still Mode OFF Auto DVD Recording Playback Editing Function Setup VCR Functions Selection menu will appear. Proceed to step A or B . A Settings for PCM (Default : 48kHz) Use [K / L] to select a setting, then press [OK]. Digital Out - PCM 48kHz 96kHz DVD Your setting will be activated. 48kHz 96kHz : If your amplifier/decoder is NOT compatible with 96kHz PCM, select "48kHz". 96kHz sound will be output in 48kHz. : If your amplifier/decoder is compatible with 96kHz PCM, select "96kHz". 96kHz sound will be output. Note When playing back disc with copyright protection • Even if you select "96kHz", the sound will be down sampled at 48kHz. Progressive Scan (Default : OFF) This unit is compatible with the progressive scan system. The feature provides you with the higher definition images than the traditional output system does. To utilize this feature, you must set progressive scan mode to "ON". 1) Use [K / L] to select "ON", then press [OK]. Video - Progressive Scan ON OFF DVD 2) Use [{ / B] to select "Yes", then press [OK]. Video - Progressive Scan DVD Activating progressive scan: Check your TV has progressive scan and connect with component video cable. NOTE: If there is no picture or picture is distorted after selecting "Yes", Wait about 15 seconds for auto recovery. Activate? Yes No B Settings for Dolby Digital (Default : Stream) Use [K / L] to select a setting, then press [OK]. 3) Use [K / L] to select "Yes" within 15 seconds, then press [OK]. Your setting will be activated. Digital Out - Dolby Digital PCM Stream DVD Your setting will be activated. PCM : Converts the Dolby Digital into PCM (2 channel). When your amplifier/decoder is NOT compatible with Dolby Digital, set to "PCM". Stream : Outputs Dolby Digital signals When your amplifier/decoder is compatible with Dolby Digital, set to "Stream". Note • If your TV is compatible with progressive scan (525p / 480p), you are recommended to use the component video cable (commercially available) to connect this unit to the TV. (Refer to "Method 2" on page 16.) If not, use the RCA video cable and set the progressive scan to "OFF" or press and hold [SETUP] for more than 3 seconds during DVD playback. • When selecting "No" or not pressing any buttons on the unit or remote control within 15 seconds at step 3, progressive scan remains to be "OFF" (interlace scan). EN 83 Others Español
-
 1
1 -
2
-
3
-
4
-
5
-
6
-
7
-
8
-
9
-
10
-
11
-
12
-
13
-
14
-
15
-
16
-
17
-
18
-
19
-
20
-
21
-
22
-
23
-
24
-
25
-
26
-
27
-
28
-
29
-
30
-
31
-
32
-
33
-
34
-
35
-
36
-
37
-
38
-
39
-
40
-
41
-
42
-
43
-
44
-
45
-
46
-
47
-
48
-
49
-
50
-
51
-
52
-
53
-
54
-
55
-
56
-
57
-
58
-
59
-
60
-
61
-
62
-
63
-
64
-
65
-
66
-
67
-
68
-
69
-
70
-
71
-
72
-
73
-
74
-
75
-
76
-
77
-
 78
78 -
 79
79 -
 80
80 -
 81
81 -
 82
82 -
 83
83 -
 84
84 -
 85
85 -
 86
86 -
 87
87 -
 88
88 -
89
-
90
-
91
-
92
-
93
-
94
-
95
-
96
-
97
-
98
-
99
-
100
-
101
-
102
 |
 |