Makita LS1040 Owners Manual
Makita LS1040 Manual
 |
View all Makita LS1040 manuals
Add to My Manuals
Save this manual to your list of manuals |
Makita LS1040 manual content summary:
- Makita LS1040 | Owners Manual - Page 1
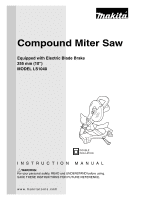
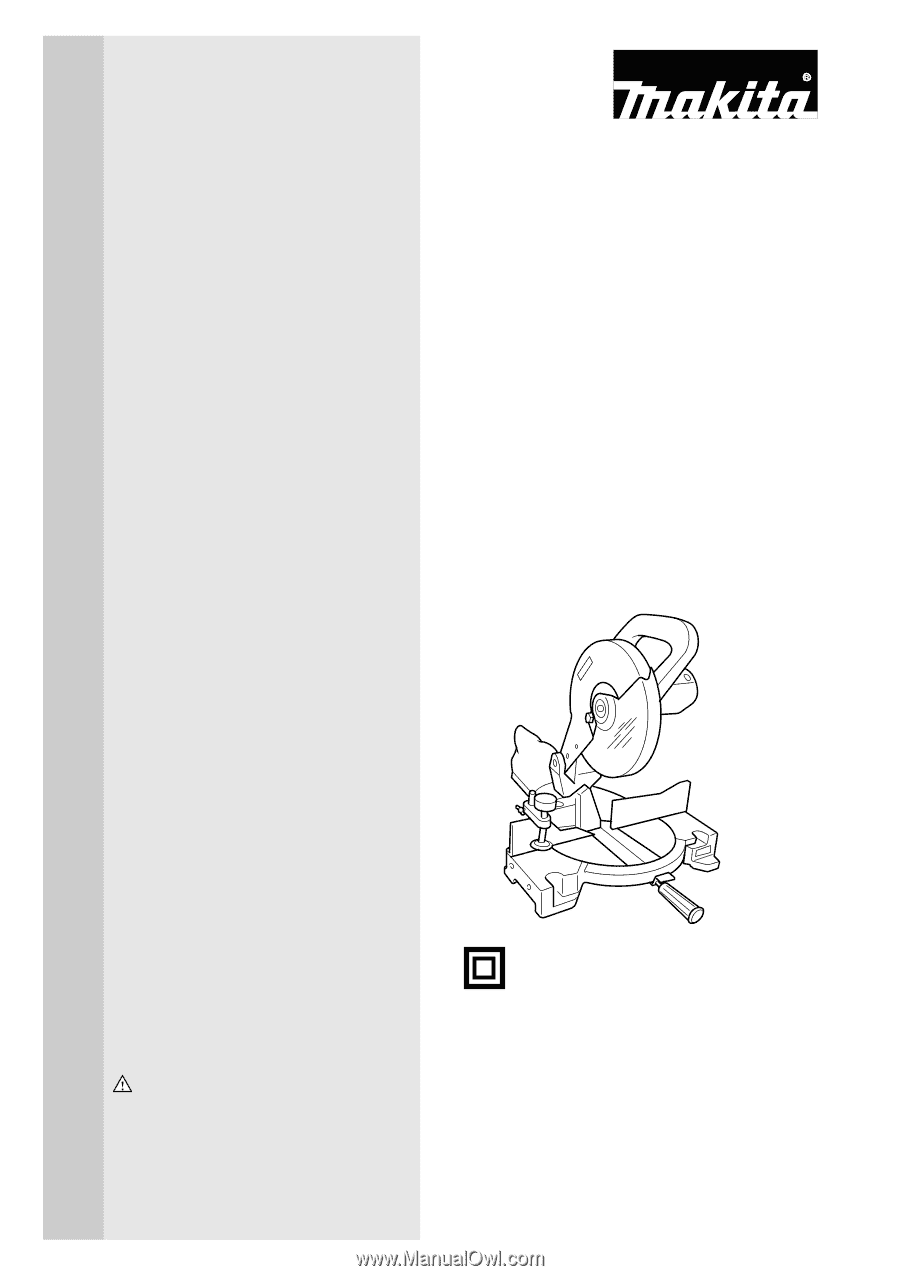
Compound Miter Saw Equipped with Electric Blade Brake 255 mm (10") MODEL LS1040 DOUBLE INSULATION INSTRUCTION MANUAL WARNING: For your personal safety, READ and UNDERSTAND before using. SAVE THESE INSTRUCTIONS FOR FUTURE REFERENCE. www.makitatools.com - Makita LS1040 | Owners Manual - Page 2
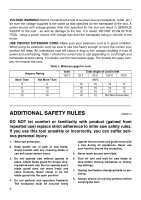
16") Net weight 11.0 kg (24.2 lbs) • Manufacturer reserves the right to change specifications without notice. • Specifications may differ from country to country. For Your Own Safety Read Instruction Manual Before Operating Tool Save it for future reference GENERAL SAFETY PRECAUTIONS USA007 - Makita LS1040 | Owners Manual - Page 3
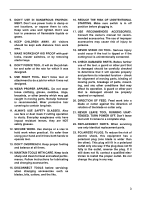
best and safest performance. Follow instructions for lubricating and changing accessories. 15. DISCONNECT TOOLS before servicing; when changing accessories such as blades, bits, cutters, and the like. 16. REDUCE THE RISK OF UNINTENTIONAL STARTING. Make sure switch is in off position before plugging - Makita LS1040 | Owners Manual - Page 4
turn base and guide fence with a vise during all operations. Never use your hand to secure the workpiece. 5. Never reach around saw blade. 6. Turn off tool and wait for saw blade to stop before moving workpiece or changing settings. 7. Unplug tool before changing blade or servicing. 8. Always secure - Makita LS1040 | Owners Manual - Page 5
unforgiving. 25. Always use accessories recommended in this manual. Use of improper accessories such as abrasive wheels may cause an injury. 26. NEVER hold workpiece on right side of blade with left hand or vice versa. This is called cross-armed cutting and exposes user to risk of SERIOUS PERSONAL - Makita LS1040 | Owners Manual - Page 6
SAVE THESE INSTRUCTIONS WARNING: MISUSE or failure to follow the safety rules stated in this instruction manual may cause serious personal injury. 6 - Makita LS1040 | Owners Manual - Page 7
INSTALLATION 001855 Installing auxiliary plate 1 Installing the auxiliary plate using the notch in the tool's base 2 and secure it by tightening the hex bolt. 3 1. Auxiliary plate 2. Hex bolt 3. Base 1 2 001832 3 4 1. Auxiliary plate 2. Base 3. Hex bolt 4. Nut Bench mounting 001792 - Makita LS1040 | Owners Manual - Page 8
can be more completely and efficiently accomplished. When cleaning is complete, reverse procedure above and secure bolt. Do not remove spring holding blade guard. If guard becomes discolored through age or UV light exposure, contact a Makita service center for a new guard. DO NOT DEFEAT OR REMOVE - Makita LS1040 | Owners Manual - Page 9
. Switch on the tool and lower the blade gently to cut a groove in the kerf board. 2 1 1. Socket wrench 2. Adjusting bolt 2 1 002257 Maintaining maximum cutting capacity This tool is factory adjusted to provide the maximum cutting capacity for a 255 mm (10") saw blade. When installing a new blade - Makita LS1040 | Owners Manual - Page 10
1 1. Lever • After changing the miter angle, always secure the turn base by tightening the grip firmly. 001864 Adjusting the bevel angle To adjust the bevel angle, loosen the lever at the rear of the tool counterclockwise. Push the handle to the left to tilt the saw blade until the pointer points - Makita LS1040 | Owners Manual - Page 11
of lock-off button. Electric brake This tool is equipped with an electric blade brake. If the tool consistently fails to quickly stop blade after switch trigger release, have tool serviced at a Makita service center. The blade brake system is not a substitute for blade guard. NEVER USE TOOL - Makita LS1040 | Owners Manual - Page 12
guard 2 4 001859 Press the shaft lock to lock the spindle and use the socket wrench to loosen the hex bolt clockwise. Then remove the hex bolt, outer flange and blade. 1 1. Socket wrench 2. Shaft lock 1 2 1. Hex bolt 2. Outer flange 3. Saw blade 4. Inner flange 5. Spindle 001786 To install - Makita LS1040 | Owners Manual - Page 13
the dust bag is about half full, remove the dust bag from the tool and pull the fastener out. Empty the dust bag of its contents, tapping it lightly so as to remove particles adhering to the insides which might hamper further collection. NOTE: If you connect a Makita vacuum cleaner to your saw, more - Makita LS1040 | Owners Manual - Page 14
and guide fence with the vise during all operations. 3 4 1. Vise knob 2. Projection 3. Vise shaft 4. Base 14 001807 Horizontal vise (optional accessory) 21 The horizontal vise can be installed on either the left or right side of the base. When performing 15° or greater miter cuts, install the - Makita LS1040 | Owners Manual - Page 15
assembly (optional accessories) The holders and the holder assembly can be installed on either side as a convenient means of supporting workpieces horizontally. Install them as shown the stopper pin. • Make sure the blade is not contacting the workpiece, etc. before the switch is turned on. 15 - Makita LS1040 | Owners Manual - Page 16
cut is completed, switch off the tool and WAIT UNTIL THE BLADE HAS COME TO A COMPLETE STOP before returning the blade to its fully elevated position. 2. Miter cutting Refer to the previously covered "Adjusting the miter angle". 001868 3. Bevel cut Loosen the lever and tilt the saw blade to set the - Makita LS1040 | Owners Manual - Page 17
blade. If the blade is raised while the blade is still rotating, this piece may be caught by the blade, causing fragments to be scattered which is dangerous. The blade should be raised ONLY after the blade and cove moldings can be cut on a compound miter saw with the moldings laid flat on the turn - Makita LS1040 | Owners Manual - Page 18
miter angle setting to 31.6° RIGHT. • Lay crown molding with its broad back (hidden) surface down on the turn base with its CEILING CONTACT EDGE against the guide fence on the saw . • The finished piece to be used will always be on the LEFT side of the blade after the - Makita LS1040 | Owners Manual - Page 19
38˚ 000031 Compound Miter Saw Miter and Bevel Angle Settings EN0002-1 Wall Wall to Crown Molding Angle: 52/38 degrees Wall Angle Bevel Angle Miter Angle ( 146 13.3 10.7 147 12.9 10.3 148 12.5 10.0 149 12.2 9.7 150 11.8 9.4 151 11.4 9.0 152 11.0 8.7 153 10.8 8.4 154 10.2 8.1 - Makita LS1040 | Owners Manual - Page 20
Compound Miter Saw Miter and Bevel Angle Settings EN0003-1 Wall Wall to Crown Molding Angle: 45 degrees Wall Angle Bevel Angle Miter Angle Wall Angle Bevel Angle Miter 11.6 11.8 148 11.2 11.5 149 10.9 11.1 150 10.5 10.7 151 10.2 10.4 152 9.8 10.0 153 9.5 9.6 154 9.2 9.3 155 8.8 - Makita LS1040 | Owners Manual - Page 21
Crown molding stoppers (optional accessories) allow 2 easier cuts of crown molding without tilting the saw 1 blade. Install them on the base as shown in the figures. 3 1. Crown molding stopper L 2. Crown molding stopper R 3. Base 001560 2 1 34 1. Guide fence 2. Crown molding 3. Crown - Makita LS1040 | Owners Manual - Page 22
blade and/or the wood facing will be damaged. 8. Cutting repetitive lengths When cutting several pieces of stock to the same length, ranging from 240 mm (9 - 29/64") to 400 mm (15 - 3/4"), use of the set plate (optional accessory) will facilitate more efficient operation. Install the set plate on - Makita LS1040 | Owners Manual - Page 23
. Secure the blade at 0° bevel angle and the turn base at right miter angle fully. Lower the handle fully and lock it in the lowered position by pushing in the stopper pin. 1. Stopper pin 001774 Carry the tool by carrying grip as shown in the figure. If you remove the holders, dust bag, etc - Makita LS1040 | Owners Manual - Page 24
stopper pin. Square the side of the blade with the face of the guide fence using a triangular 1 rule, try-square, etc. Then securely tighten 0° bevel angle adjusting bolt and tighten the lever securely. 1. Triangular rule 2. Saw blade 3. Top surface of turn base 001769 1 1. Arm 2. Bevel scale 3. Pointer - Makita LS1040 | Owners Manual - Page 25
brush holder caps. After replacing brushes, plug in the tool and break in brushes by running tool with no load for about 10 minutes. Then check the tool while running and electric brake operation when releasing the switch trigger. If electric brake is not working well, ask your local Makita service - Makita LS1040 | Owners Manual - Page 26
you need any assistance for more details regarding these accessories, ask your local Makita service center. • Steel & Carbide-tipped saw blades Miter saw blades Combination Crosscutting Fine cross cuts Non-ferrous metals miter saw blades For smooth and precise cutting in various materials. General - Makita LS1040 | Owners Manual - Page 27
Memo 27 - Makita LS1040 | Owners Manual - Page 28
Memo 28 - Makita LS1040 | Owners Manual - Page 29
Cut Makita U.S.A., Inc. 14930 Northam Street La Mirada, CA 90638-5753 First-Class Postage Required Post Office will not deliver without proper postage. Fold 29 - Makita LS1040 | Owners Manual - Page 30
) 2. Use of the product is intended for: Construction Trade Industrial Maintenance Home Maintenance Hobby Other ( ) 4. Most favored points are: Design Features Size Price Makita Brand Repair Service Durability Power Other ( ) 5. Any comments: Paste Paste Paste Paste Paste Paste - Makita LS1040 | Owners Manual - Page 31
541-4776 CUSTOMER'S RECORD When you need service: Send complete tool (prepaid) to one of the Makita Factory Service Centers listed, or to an Authorized Makita Service Center. Be sure to attach a letter to the outside of the carton detailing the problem with your tool. Date Purchased Dealer's Name - Makita LS1040 | Owners Manual - Page 32
dust created by power sanding, sawing Makita's Factory or Authorized Service Centers. If inspection shows the trouble is caused by defective workmanship or material, Makita will repair (or at our option, replace MAKITA BE LIABLE FOR ANY INDIRECT, INCIDENTAL OR CONSEQUENTIAL DAMAGES FROM THE SALE
-
 1
1 -
 2
2 -
 3
3 -
 4
4 -
 5
5 -
 6
6 -
 7
7 -
8
-
9
-
10
-
11
-
12
-
13
-
14
-
15
-
16
-
17
-
18
-
19
-
20
-
21
-
22
-
23
-
24
-
25
-
26
-
27
-
28
-
29
-
30
-
31
-
32
 |
 |
INSTRUCTION MANUAL
WARNING:
For your personal safety, READ and UNDERSTAND before using.
SAVE THESE INSTRUCTIONS FOR FUTURE REFERENCE.
www.makitatools.com
Compound Miter Saw
Equipped with Electric Blade Brake
255 mm (10”)
MODEL LS1040
DOUBLE
INSULATION