Maytag CWG3600AAB Installation Instructions
Maytag CWG3600AAB Manual
 |
View all Maytag CWG3600AAB manuals
Add to My Manuals
Save this manual to your list of manuals |
Maytag CWG3600AAB manual content summary:
- Maytag CWG3600AAB | Installation Instructions - Page 1
and Parts 3 Location Requirements 3 Electrical Requirements 4 Gas Supply Requirements 5 INSTALLATION INSTRUCTIONS 6 Prepare Built-In Oven 6 Make Gas Connection 6 Install Oven 7 Complete Installation 8 GAS CONVERSIONS 9 LP Gas Conversion 9 Natural Gas Conversion 10 BUILT-IN OVEN SAFETY - Maytag CWG3600AAB | Installation Instructions - Page 2
to light any appliance. • Do not touch any electrical switch. • Do not use any phone in your building. • Immediately call your gas supplier from a neighbor's phone. Follow the gas supplier's instructions. • If you cannot reach your gas supplier, call the fire department. - Installation and service - Maytag CWG3600AAB | Installation Instructions - Page 3
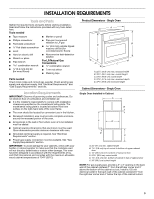
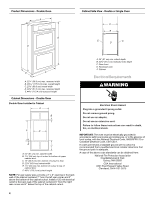
in the wall or floor where oven is to be installed must be sealed. ■ Cabinet opening dimensions that are shown must be used. Given dimensions provide minimum clearance with oven. ■ Grounded electrical supply is required. See "Electrical Requirements" section. ■ Proper gas supply connection must be - Maytag CWG3600AAB | Installation Instructions - Page 4
44³⁄₄" (113.4 cm) recessed height A. 24" (61 cm) min. cutout depth B. 22⁵⁄₈" (57.5 cm) recessed oven depth C. Oven front D. Recessed oven E. Cabinet Electrical Requirements WARNING Cabinet Dimensions - Double Oven Double Oven Installed in Cabinet A B F D E C A. 24" (61 cm) min. cabinet width - Maytag CWG3600AAB | Installation Instructions - Page 5
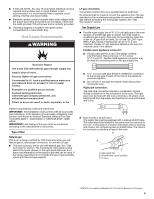
to the manufacturer's instructions. Type of Gas Natural gas: This oven is design-certified by CSA International for use with Natural gas or, after proper conversion, for use with LP gas. ■ This oven is factory set for use with Natural gas. See "Gas Conversions" section. The model/serial rating plate - Maytag CWG3600AAB | Installation Instructions - Page 6
oven doors. 1. Open door to the broil stop position (about 4" to 6"). 2. Grasp sides of the door at the middle. Slowly lift door straight up. Explosion Hazard Use a new CSA International approved gas supply line. Install a shut-off valve. Securely tighten all gas connections. If connected to LP - Maytag CWG3600AAB | Installation Instructions - Page 7
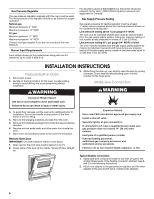
prong. Do not use an adapter. Do not use an extension cord. Failure to follow these instructions can result in death, fire, or electrical shock. 3. Plug into a grounded 3 prong outlet. Install Oven 1. Using 2 or more people, lift oven partially into cabinet cutout. Use the oven opening as an area - Maytag CWG3600AAB | Installation Instructions - Page 8
. Display panel will light briefly, and "PF" should appear in the display. 12. If display panel does not light, please reference the "Assistance or Service" section of the Use and Care Guide or contact the dealer from whom you purchased your oven. Complete Installation 1. Check that all parts are - Maytag CWG3600AAB | Installation Instructions - Page 9
a qualified person include: licensed heating personnel, authorized gas company personnel, and authorized service personnel. Failure to do so can result in death, explosion, or fire. LP Gas Conversion 1. Turn manual shutoff valve to the closed position. 2. Unplug oven or disconnect power. B A C A. To - Maytag CWG3600AAB | Installation Instructions - Page 10
LP gas position 4. Screw the hex-shaped regulator cap securely back into place. Do not overtighten. To Convert Bake/Broiler Burner 1. Remove racks from inside the broiler cavity. 2. Screw the burner orifice hood down tight against the pins. Do not overtighten. Natural Gas Conversion 1. Turn manual - Maytag CWG3600AAB | Installation Instructions - Page 11
the regulator pin over and snap pin firmly into place. B A A. LP gas position B. Natural gas position A. Burner orifice hood NOTE: On units using Eaton Oven Safety Valve, screw the burner orifice hood away from the pin. There will be approximately 1¹⁄₂ to 2 turns. 3. Adjust burner air shutter to - Maytag CWG3600AAB | Installation Instructions - Page 12
W10203509A © 2008. Whirlpool Corporation. All rights reserved. 7/08 Printed in U.S.A.
-
 1
1 -
 2
2 -
 3
3 -
 4
4 -
 5
5 -
 6
6 -
 7
7 -
8
-
9
-
10
-
11
-
12
 |
 |
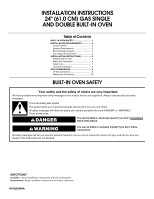
INSTALLATION INSTRUCTIONS
24" (61.0 CM) GAS SINGLE
AND DOUBLE BUILT-IN OVEN
BUILT-IN OVEN SAFETY
IMPORTANT:
Installer:
Leave installation instructions with the homeowner.
Homeowner:
Keep installation instructions for future reference.
W10203509A
Table of Contents
BUILT-IN OVEN SAFETY
................................
1
INSTALLATION REQUIREMENTS
.................
3
Tools and Parts
.............................................
3
Location Requirements
.................................
3
Electrical Requirements
................................
4
Gas Supply Requirements
............................
5
INSTALLATION INSTRUCTIONS
...................
6
Prepare Built-In Oven
....................................
6
Make Gas Connection
..................................
6
Install Oven
....................................................
7
Complete Installation
....................................
8
GAS CONVERSIONS
.......................................
9
LP Gas Conversion
.......................................
9
Natural Gas Conversion
..............................
10
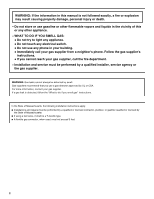
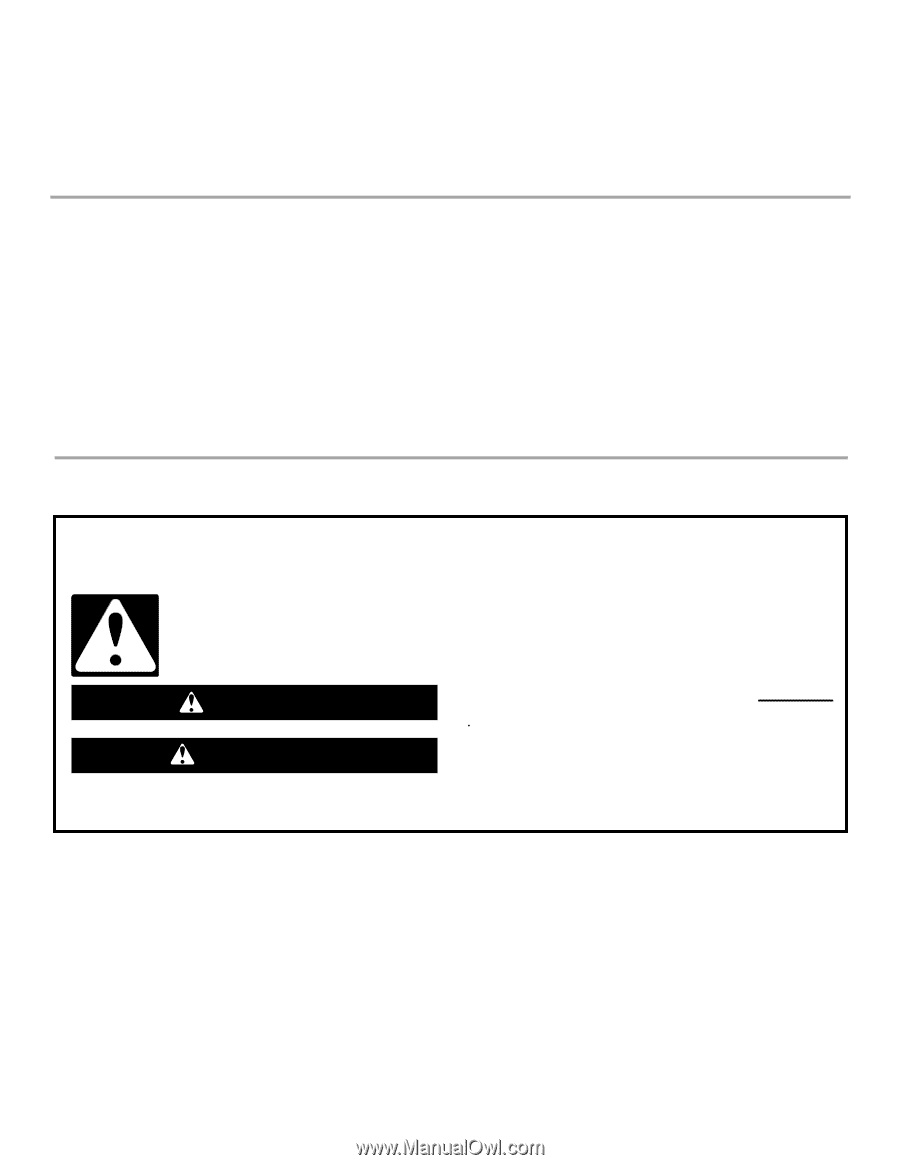
You can be killed or seriously injured if you don't immediately
You
can be killed or seriously injured if you don't follow
All safety messages will tell you what the potential hazard is, tell you how to reduce the chance of injury, and tell you what can
happen if the instructions are not followed.
Your safety and the safety of others are very important.
We have provided many important safety messages in this manual and on your appliance. Always read and obey all safety
messages.
This is the safety alert symbol.
This symbol alerts you to potential hazards that can kill or hurt you and others.
All safety messages will follow the safety alert symbol and either the word “DANGER” or “WARNING.”
These words mean:
follow instructions.
instructions.
DANGER
WARNING