Miele ESW 4724 Operating and Installation manual
Miele ESW 4724 Manual
 |
View all Miele ESW 4724 manuals
Add to My Manuals
Save this manual to your list of manuals |
Miele ESW 4724 manual content summary:
- Miele ESW 4724 | Operating and Installation manual - Page 1
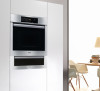
Operating and Installation Instructions Built-in Warming Drawer ESW 408x-14 ESW 47xx ESW 48xx To prevent accidents and machine damages, read these instructions before installation or use. en - US, CA M.-Nr. 07 342 380 - Miele ESW 4724 | Operating and Installation manual - Page 2
13 Sabbath Mode 14 Loading the warming drawer 15 Keeping food warm 16 Warming tableware 18 Other usages 19 Cleaning and care 20 Frequently asked questions 21 Technical Service 22 IMPORTANT SAFETY INSTRUCTIONS 24 ESW 408x-14 25 ESW 408x-14 BRWS 29 ESW 47xx 33 ESW 48xx 35 Installation - Miele ESW 4724 | Operating and Installation manual - Page 3
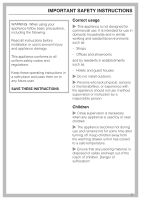
it without supervision or instruction by a responsible person. Children ~ Close supervision is necessary when any appliance is used by or near children. ~ The appliance becomes hot during use and remains hot for some time after turning off. Keep children away from the warming drawer until it has - Miele ESW 4724 | Operating and Installation manual - Page 4
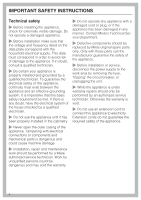
IMPORTANT SAFETY INSTRUCTIONS Technical safety ~ Before installing the appliance, check for externally the appliance has been damaged in any manner. Contact Miele's Technical Service Department. ~ Defective components should be replaced by Miele original spare parts only. Only with these parts can - Miele ESW 4724 | Operating and Installation manual - Page 5
SAFETY INSTRUCTIONS Safety ~ Protect your hands with oven mitts or potholders when using the appliance. Use only dry, heat resistant potholders. Moist or damp potholders used on hot surfaces can result in steam burns. ~ Be aware of loose fitting or hanging clothing while using the warming drawer - Miele ESW 4724 | Operating and Installation manual - Page 6
plastic wrap or aluminum foil in the warming drawer. These items may melt and cause damage to the warming drawer or injury. ~ Do not use a steam cleaner to clean the drawer. Steam could penetrate electrical components and cause a short circuit. SAVE THESE INSTRUCTIONS AND REVIEW THEM PERIODICALLY 6 - Miele ESW 4724 | Operating and Installation manual - Page 7
ESW 408x-14 Guide to the warming drawer a Control panel b Non-slip mat 7 - Miele ESW 4724 | Operating and Installation manual - Page 8
Guide to the warming drawer ESW 47xx / ESW 48xx a Control panel b Non-slip mat c Vent d Rack 8 - Miele ESW 4724 | Operating and Installation manual - Page 9
Control panel Guide to the warming drawer On/Off Turns the warming drawer On and Off Menu Allows you to select the operating mode Operating modes: / Cups/glasses H Tableware 2 Food - warm and hold Temp. Allows you to select the desired temperature. The display shows: ]^^^^ See "Temperature - Miele ESW 4724 | Operating and Installation manual - Page 10
, inside and out, with a damp cloth and wipe dry. ^ Replace the non/slip mat once has completely dried. Heat the appliance Heat the warming drawer for a minimum of 2 hours. ^ Turn on with the "On/Off" touch control ^ Tap the "Menu" touch control until the 2 symbol lights. ^ Tap the "Temp." touch - Miele ESW 4724 | Operating and Installation manual - Page 11
selected appears in the control panel when the drawer is turned on. The warming drawer is equipped with a fan which distributes warm air throughout the drawer. During the operating modes "Cups/Glasses" and "Tableware" the fan runs continuously. During "Food - warm and hold" it runs in intervals. You - Miele ESW 4724 | Operating and Installation manual - Page 12
to change the setting in increments. The last selected temperature is shown in the control panel the next time the warming drawer is turned on. Temperature Display Temperature °F (C°) * / H s ] ^ ^ ^ ^ 104 (40) 140 (60) 149 (65) ^ ] ^ ^ ^ 113 (45) 149 (65) 158 (70) ^ ^ ] ^ ^ 122 (50 - Miele ESW 4724 | Operating and Installation manual - Page 13
, beginning with 1 hour and ending with 4 hours. Selecting "Timer" one more time (equaling 5 taps) will set continuous operating mode. Do not leave the warming drawer in continuous operation mode for an extended period of time. Long heating times will dry out the food possibly causing it to ignite - Miele ESW 4724 | Operating and Installation manual - Page 14
Using the warming drawer Sabbath Mode For religious observance, the appliance can be set for the duration of the Sabbath. In Sabbath mode the timer is operating mode and temperature. Deactivate ^ Press and hold "On/Off" until all indicators go out. The appliance is reset for normal operation. 14 - Miele ESW 4724 | Operating and Installation manual - Page 15
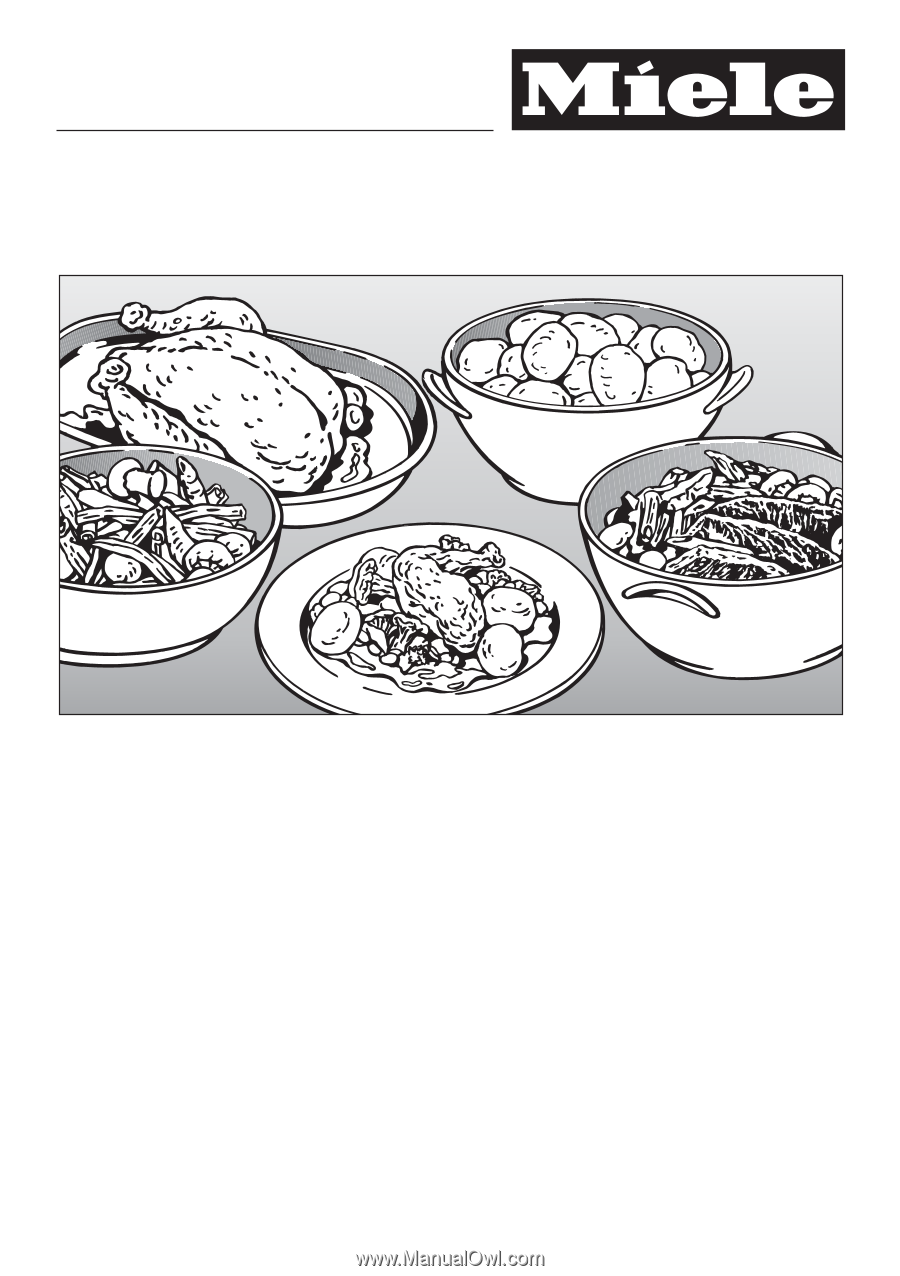
warming drawer The drawer load will depend on the type and size of your dishes. The maximum load is 55 lbs (25 kg). Do not overload the drawer. ESW 408x-14 To increase the load space use the supplied rack. Two racks will fit in the drawer at one time. Additional racks are available from Miele - Miele ESW 4724 | Operating and Installation manual - Page 16
to guarantee that the interior has risen to the desired temperature. - Place food into preheated tableware before placing into the warming drawer. Tip: Put tableware into the warming drawer while it is preheating. - Do not cover foods which you would like to keep crisp. - Cover foods with a high - Miele ESW 4724 | Operating and Installation manual - Page 17
no * depending on model ** maximum recommended warming time is 30 minutes Keeping food warm Temperature for 2 setting Position in drawer Floor Rack* x x x x x x x x x x x x x x x x x x x x x x x x x x x x x x x x x x x x x x x x x x x x 17 - Miele ESW 4724 | Operating and Installation manual - Page 18
that the max. temperature of 140°F (60°C) is not exceeded. - Heated tableware cools very quickly. Remove it from the drawer right before you need it. Various factors will affect the warming times of tableware: - type and thickness of the dishes, - quantity, - how the dishes are arranged, and - the - Miele ESW 4724 | Operating and Installation manual - Page 19
"Temp." to select the ^ ^ ^ ^ ] temperature setting. ^ Put the dough in a bowl and cover with a plate. ^ Place bowl on either the floor or rack of the warming drawer. ^ Allow dough to proof for approx. 30 minutes or until it has doubled in size. ^ Put the bread on a plate and place in on the - Miele ESW 4724 | Operating and Installation manual - Page 20
, hard brushes, - metal scrapers. ^ Clean the appliance with a solution of warm water and liquid soap applied with a soft sponge. Dry with a soft cloth. The mat can be removed to clean the bottom of the drawer. ^ Clean the mat by hand with warm water and liquid dish soap. ^ Dry thoroughly. Do not - Miele ESW 4724 | Operating and Installation manual - Page 21
local and national safety regulations. Unauthorized repairs could cause injury or appliance damage. What if the drawer does not heat? Possible fault Solution There is no power to the warming drawer. Insert the plug into the outlet. The circuit breaker has tripped. Reset the circuit breaker - Miele ESW 4724 | Operating and Installation manual - Page 22
by 5 years of worry free ownership. MieleCare is the only Extended Service Contract in the industry that guarantees repairs by a Miele Authorized Service Provider using genuine Miele parts. Only genuine Miele parts installed by factory trained professionals can guarantee the safety, reliability and - Miele ESW 4724 | Operating and Installation manual - Page 23
to change. Please refer to our website to obtain the most current product specification, technical & warranty information. To prevent accidents and machine damage read these instructions before installation or use. - Miele ESW 4724 | Operating and Installation manual - Page 24
location (e.g. on a ship). ESW 408x-14 ~ Only install the warming drawer in combination with built-in appliances warming drawer must be added to the building in dimensions of the combination appliance to determine the niche size required. Note to the installer: Please leave these instructions - Miele ESW 4724 | Operating and Installation manual - Page 25
ESW 408x-14 Miele appliances can be installed flush or proud. Discuss your installation requirements with your architect, designer and installer. Combination possibilities Installation with an oven a 13/16" ( - Miele ESW 4724 | Operating and Installation manual - Page 26
ESW 408x-14 Installation with a speed oven 23 3/8"- 237/16" (593 mm - 595 mm) ( 0 217/8" 555 mm) 22(--51562/610286m"3m/m8m" ) 2(52610/1m6m" ) (254115/1m(62"m2*)7/2/ - Miele ESW 4724 | Operating and Installation manual - Page 27
Installation with a steam oven ESW 408x-14 233/8"- 237/16" (593 mm - 595 mm) 22(-(55-1660/20815226mm5"15mm3)/7m8/"8m" ) 2(51459/8m" m) (147441(/m222"m*7/)2/83*"*mm) 17 15/16" (455.5 mm) - Miele ESW 4724 | Operating and Installation manual - Page 28
17 15/16" (455.5 mm) ESW 408x-14 Installation with a coffee machine 23 3/8"- 23 7/16" (593 mm - 595 mm) 22(-5(-1560/260125826m5"m1m53m7//m8)8""m) 22" (559 mm) (146810/8m"m(2)103m/1m6)" 17 9/16" ( - Miele ESW 4724 | Operating and Installation manual - Page 29
Combination possibilities Installation with an oven a 13/16" (30 mm) ESW 408x-14 BRWS 28 7/8" - 29" (734 mm - 736 mm) 21 22((--15065/210652685m"m5m37m//m88) ""m) 2(51497/1m6m" ) (524189m(/21m267)*//823"**mm) 23 7/16" (596 mm) 22 3/4" (578 - Miele ESW 4724 | Operating and Installation manual - Page 30
ESW 408x-14 BRWS Installation with a speed oven 23 3/8"- 237/16" (593 mm - 595 mm) ( 0 217/8" 555 mm) 22(--51562/610286m"3m/m8m" ) 2(52610/1m6m" ) (254115/1m(62" - Miele ESW 4724 | Operating and Installation manual - Page 31
Installation with a steam oven ESW 408x-14 BRWS 23 3/8"- 237/16" (593 mm - 595 mm) 22(-55(-1660/20812526mm5"1mm537)/m8/8"m" ) 2(51459/8m" m) (147441/m2"m(2)2*7/2/83*"*mm) 17 15/16" (455.5 mm) - Miele ESW 4724 | Operating and Installation manual - Page 32
ESW 408x-14 BRWS Installation with a coffee machine 23 3/8"- 23 7/16" (593 mm - 595 mm) 22(-5(-1560/260125826m5"m1m53m7//m8)8""m) 22" (559 mm) 181/8" (460 mm) 1(32/01m6m" ) - Miele ESW 4724 | Operating and Installation manual - Page 33
Solo installation ESW 47xx Side view a A base is required for solo installations 33 - Miele ESW 4724 | Operating and Installation manual - Page 34
ESW 47xx Installation with an oven Side view with oven 34 - Miele ESW 4724 | Operating and Installation manual - Page 35
Solo installation ESW 48xx Side view a A base is required for solo installations 35 - Miele ESW 4724 | Operating and Installation manual - Page 36
ESW 48xx Installation with an oven Side view with oven 36 - Miele ESW 4724 | Operating and Installation manual - Page 37
into the cabinetry, and align. ^ Open the drawer and fix the appliance with the supplied screws at the side panels of the cabinet (see appropriate illustration). ^ ESW 408x-14 Install the combination appliance regarding the manual supplied with that machine. ESW 408x-14 ESW 47xx / ESW 48xx 37 - Miele ESW 4724 | Operating and Installation manual - Page 38
align the appliance front and/or the gap between the appliances/furniture front above. ^ Remove the screws a from the left and right sides of the drawer front. ^ Carefully lift the control panel out of the drawer. Be careful not to pull or damage the power cord. ESW 408x-14 ESW 47xx / ESW 48xx 38 - Miele ESW 4724 | Operating and Installation manual - Page 39
^ Loosen the 2 screws b on the inside of the drawer front. ^ Align the front. ^ Tighten the screws on the inside of the drawer front. ^ Replace the control panel, use caution with the power cord. ^ Replace the screws on the left and right sides of the drawer front. ESW 408x-14 ESW 47xx / ESW 48xx 39 - Miele ESW 4724 | Operating and Installation manual - Page 40
Custom made front panels can be installed with models ESW 4702 FB and ESW 4802 FB. The custom panel must be at least the screws from the left and right sides of the drawer front and carefully lift the control panel out of the drawer (see chapter "Aligning the appliance front"). Be careful not - Miele ESW 4724 | Operating and Installation manual - Page 41
bottom. Make sure the seal is seated correctly. ^ Replace and slightly tighten the screws on the inside of the drawer front. ^ Align the front. ^ Tighten the screws on the inside of the drawer front. ^ Replace the control panel, use caution with the power cord. ^ Replace and tighten the screws on to - Miele ESW 4724 | Operating and Installation manual - Page 42
manually "tripping" the circuit breaker. Installation work and repairs should only be performed by a qualified technician in accordance with all applicable codes and standards. Repairs and service appliance is installed in combination with the warming drawer to the same circuit, operating both - Miele ESW 4724 | Operating and Installation manual - Page 43
Help protect our environment Disposal of packing materials The cardboard box and packing materials are biodegradable and recyclable. Please recycle. Ensure that any plastic wrappings, bags, etc. are disposed of safely and kept out of the reach of children. Danger of suffocation! Disposal of an old - Miele ESW 4724 | Operating and Installation manual - Page 44
Alteration rights reserved / 4611 M.-Nr. 07 342 380 / 08 INFORMATION IS SUBJECT TO CHANGE. PLEASE REFER TO OUR WEBSITE TO OBTAIN THE MOST CURRENT PRODUCT SPECIFICATIONS, TECHNICAL & WARRANTY INFORMATION.
-
 1
1 -
 2
2 -
 3
3 -
 4
4 -
 5
5 -
 6
6 -
 7
7 -
8
-
9
-
10
-
11
-
12
-
13
-
14
-
15
-
16
-
17
-
18
-
19
-
20
-
21
-
22
-
23
-
24
-
25
-
26
-
27
-
28
-
29
-
30
-
31
-
32
-
33
-
34
-
35
-
36
-
37
-
38
-
39
-
40
-
41
-
42
-
43
-
44
 |
 |
Operating and Installation
Instructions
Built-in Warming Drawer
ESW 408x-14
ESW 47xx
ESW 48xx
To prevent accidents
and machine damages,
read these instructions
before
installation or use.
M.-Nr. 07 342 380
en - US, CA