NEC PX-61XM1A 61MP1 - Page 19
Basic Operations
 |
View all NEC PX-61XM1A manuals
Add to My Manuals
Save this manual to your list of manuals |
Page 19 highlights
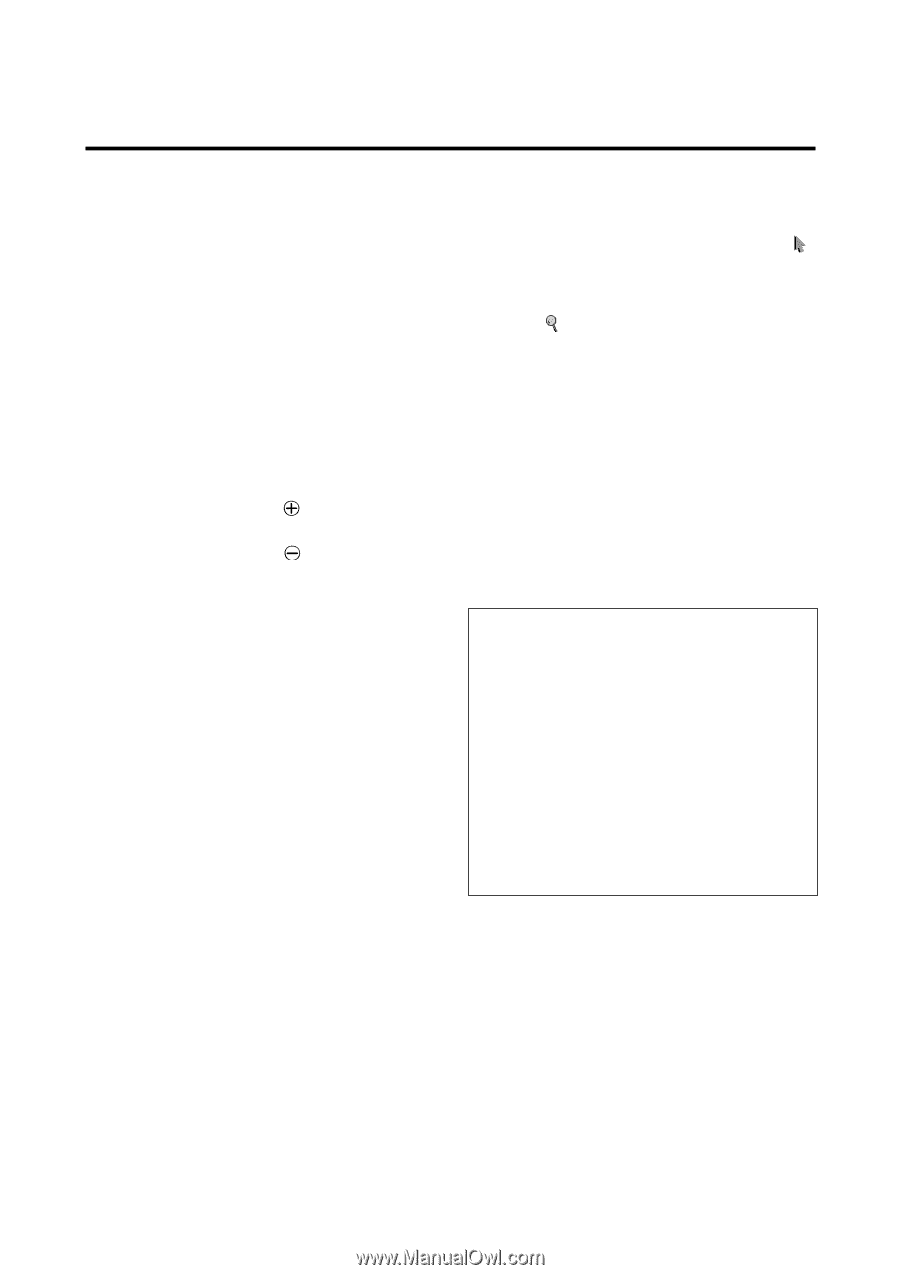
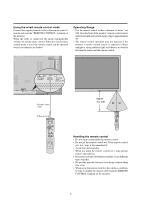
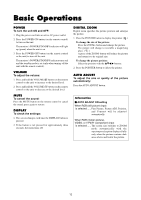
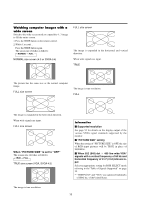
Basic Operations POWER To turn the unit ON and OFF: 1. Plug the power cord into an active AC power outlet. 2. Press the POWER ON button (on the remote control) to turn on the unit. The monitor's POWER/STANDBY indicator will light up (green) when the unit is on. 3. Press the POWER OFF button (on the remote control or the unit) to turn off the unit. The monitor's POWER/STANDBY indicator turns red and the standby mode is set (only when turning off the unit with the remote control). VOLUME To adjust the volume: 1. Press and hold the VOLUME button (on the remote control or the unit) to increase to the desired level. 2. Press and hold the VOLUME button (on the remote control or the unit) to decrease to the desired level. MUTE To cancel the sound: Press the MUTE button on the remote control to cancel the sound; press again to restore. DISPLAY To check the settings: 1. The screen changes each time the DISPLAY button is pressed. 2. If the button is not pressed for approximately three seconds, the menu turns off. DIGITAL ZOOM Digital zoom specifies the picture position and enlarges the picture. 1. Press the POINTER button to display the pointer. ( ) To change the size of the picture: Press the ZOOM+ button and enlarge the picture. The pointer will change to resemble a magnifying glass. ( ) A press of the ZOOM- button will reduce the picture and return it to its original size. To change the picture position: Select the position with the LMᮤ ᮣ buttons. 2. Press the POINTER button to delete the pointer. AUTO ADJUST To adjust the size or quality of the picture automatically: Press the AUTO ADJUST button. Information Ⅵ AUTO ADJUST ON setting When RGB (still picture) input is selected ...... Fine Picture, Picture ADJ, Position, and Contrast will be adjusted automatically. When RGB (motion picture), VIDEO, or Y/Pb/Pr (component) input is selected ...... The screen size switches to ZOOM mode automatically with the superimposed caption displayed fully only when the picture contains dark areas above and below the picture. 12
-
 1
1 -
2
-
3
-
4
-
5
-
6
-
7
-
8
-
9
-
10
-
11
-
12
-
13
-
 14
14 -
 15
15 -
 16
16 -
 17
17 -
 18
18 -
 19
19 -
 20
20 -
 21
21 -
 22
22 -
 23
23 -
 24
24 -
25
-
26
-
27
-
28
-
29
-
30
-
31
-
32
-
33
-
34
-
35
-
36
-
37
-
38
-
39
-
40
-
41
-
42
-
43
-
44
-
45
-
46
-
47
-
48
-
49
-
50
-
51
-
52
-
53
-
54
-
55
-
56
-
57
-
58
-
59
-
60
-
61
-
62
-
63
-
64
 |
 |