Netgear PS101v2 PS101v2 Installation Guide
Netgear PS101v2 - Mini MFP Print Server Manual
 |
View all Netgear PS101v2 manuals
Add to My Manuals
Save this manual to your list of manuals |
Netgear PS101v2 manual content summary:
- Netgear PS101v2 | PS101v2 Installation Guide - Page 1
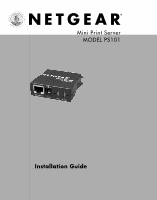
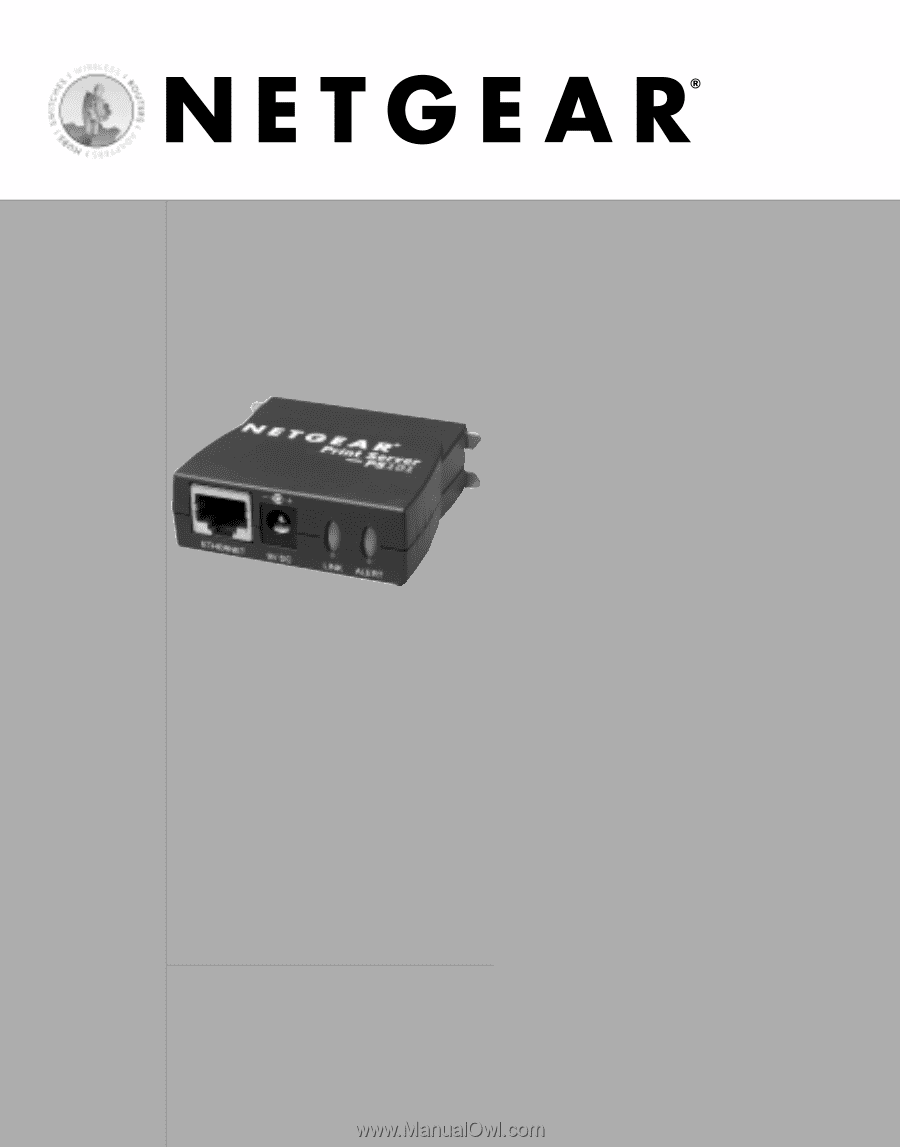
Mini Print Server MODEL PS101 Installation Guide - Netgear PS101v2 | PS101v2 Installation Guide - Page 2
information card for the correct telephone number for your country. Technical support is available 24 hours a day, 7 days a week. NETGEAR, INC. E-mail: [email protected] www.NETGEAR.com ©2002 by NETGEAR, Inc. All rights reserved. NETGEAR and AutoUplink are trademarks or registered trademarks of - Netgear PS101v2 | PS101v2 Installation Guide - Page 3
the instructions in this guide, the print server will soon be up and running for your computers. If you have problems, there is a troubleshooting section on page 9 to help you. You can get more detailed troubleshooting information from the Reference Manual on the CD or online at www.NETGEAR.com - Netgear PS101v2 | PS101v2 Installation Guide - Page 4
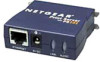
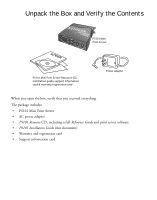
PS101 Mini Print Server PS101 Mini Print Server Resource CD, installation guide, support information card & warranty/registration card Power adapter When you open the box, verify that you received everything. The package includes: • PS101 Mini Print Server • AC power adapter • PS101 Resource - Netgear PS101v2 | PS101v2 Installation Guide - Page 5
ALERT Printer with PS101 attached Netgear Router DSL modem 3. Turn the printer on. 4. Connect the power adapter's cord into the back of the print server and then plug the adapter into a power source (such as a wall socket or power strip). When power has been applied to the print server: The LINK - Netgear PS101v2 | PS101v2 Installation Guide - Page 6
install all the software onto one Windows computer to act as the print server administrator. For the other computers, only install the NETGEAR Add Printer Wizard as described in procedure 4. To install the NETGEAR Print Server software: 1. Insert the PS101 Printer Server Resource CD in the CD-ROM - Netgear PS101v2 | PS101v2 Installation Guide - Page 7
or make other changes in the settings. There are 2 ways to administer your NETGEAR Print Server. The Reference Manual on the Resource CD has full instructions. a. Open a Web browser and go to the IP address for the print server. (For example, type http://192.168.0.150 and click Go.) or b. You can - Netgear PS101v2 | PS101v2 Installation Guide - Page 8
computer. 1. Insert the PS101 Printer Server Resource CD in the CD-ROM drive. NETGEAR Print Server Software Installation wizard starts up automatically. If it doesn't, double-click My Computer, double-click your CD-ROM drive, and double-click Setup.exe. 2. Follow the instructions in the installation - Netgear PS101v2 | PS101v2 Installation Guide - Page 9
NT, 2000, and XP: 1. Click Start, point to Programs> NETGEAR Print Server and click NETGEAR Add Printer Wizard. 2. Read, follow the instructions, and click OK in the Setup message window. 3. In the list, select the print server port with the printer you want to add to this computer and click Add - Netgear PS101v2 | PS101v2 Installation Guide - Page 10
Programs> NETGEAR Print Server and click NETGEAR Add Printer Wizard. 2. Read, follow the instructions, and click OK in the Setup message window. 3. need to install the printer driver, click Have Disk and follow the instructions. 5. Click Next and select the print server in the Available ports list. - Netgear PS101v2 | PS101v2 Installation Guide - Page 11
into the wall, verify that it is not a switched outlet. • Make sure you are using the correct NETGEAR power adapter supplied with your print server. The printer is not on or there is a connection problem. • Make sure the printer is turned on. • Make sure the connector is securely plugged in at the - Netgear PS101v2 | PS101v2 Installation Guide - Page 12
and click NETGEAR Print Server>NETGEAR Print Server Administration. The Reference Manual on the Resource CD has full instructions. 2. Click Printer Ports on the left. 3. Click Print Test Page. 4. After the test page prints, click Logout. 5. Click Yes (or OK) if asked about closing the browser window - Netgear PS101v2 | PS101v2 Installation Guide - Page 13
area, such as one building. TCP/IP: Transfer Control Protocol (TCP) with Internet Protocol (IP). The main internetworking protocol used in the Internet. Mini Print Server System Requirements • Windows 95 OSR2, 98, Me, NT 4.x, 2000, XP • A printer with a Centronics parallel port • Network software 11 - Netgear PS101v2 | PS101v2 Installation Guide - Page 14
Mini Print Server Specifications Network Protocols: IEEE 802.3i, 10BASE-T CSMA/CD cm) Weight 0.4 lb. (0.1 kg) Status LEDs Link and Alert lights Power Adapter 9 V DC, 0.50A (customized power plug for individual countries) Environmental Specifications Operating temperature 32˚ to 104˚ F - Netgear PS101v2 | PS101v2 Installation Guide - Page 15
NETGEAR does not assume any liability that may occur due to the use or application of the product(s) or circuit layout(s) described herein. Certificate of the Manufacturer/Importer It is hereby certified that the Model PS101 Mini Print Server notes in the operating instructions. Federal Office for - Netgear PS101v2 | PS101v2 Installation Guide - Page 16
-
 1
1 -
 2
2 -
 3
3 -
 4
4 -
 5
5 -
 6
6 -
 7
7 -
8
-
9
-
10
-
11
-
12
-
13
-
14
-
15
-
16
 |
 |
Installation Guide
Mini Print Server
MODEL PS101